Placing a camera on a tripod is simple. Ensure the tripod is stable.
Attach the camera securely. The tripod is a photographer’s best friend. It offers stability for clear shots. Many find it tricky to set up. But, knowing the steps makes it easy. First, ensure the tripod’s legs are sturdy. Adjust them if needed.
Then, focus on the mounting plate. This is where your camera rests. It’s crucial to secure it properly. This prevents accidents. Once done, attach the camera. Make sure it’s tight. This setup allows for steady photos. Even in challenging conditions. Tripods are essential for capturing moments beautifully. Whether it’s a landscape or a family portrait. Understanding the setup process is key. It’s a skill every photographer should master. You can achieve perfect shots with ease.

Credit: www.youtube.com
Table of Contents
Choosing The Right Tripod
Tripods come in many shapes and sizes. Some are tall, some are small. Pocket tripods fit in your bag. Medium-sized tripods are easy to carry. Heavy-duty tripods are big and strong. Choose one that suits your need.
Tripods are made from different materials. Aluminum tripods are light and cheap. Carbon fiber tripods are lighter and stronger. Plastic tripods are very cheap. Wooden tripods look nice. Pick a material based on your budget and purpose.
Preparing The Camera
First, ensure the lens is clean and free from dust. Attach the lens securely to the camera body. Check the lens cap and remove it before shooting. Use a UV filter to protect the lens glass. Attach any additional accessories like a microphone or flash. Make sure everything is securely fitted.
Always check the camera’s battery level before shooting. Charge the battery if it’s low. Carry an extra fully charged battery for long shoots. Ensure the battery is properly inserted into the camera. Turn on the camera to check the power status. Confirm the battery is working fine.
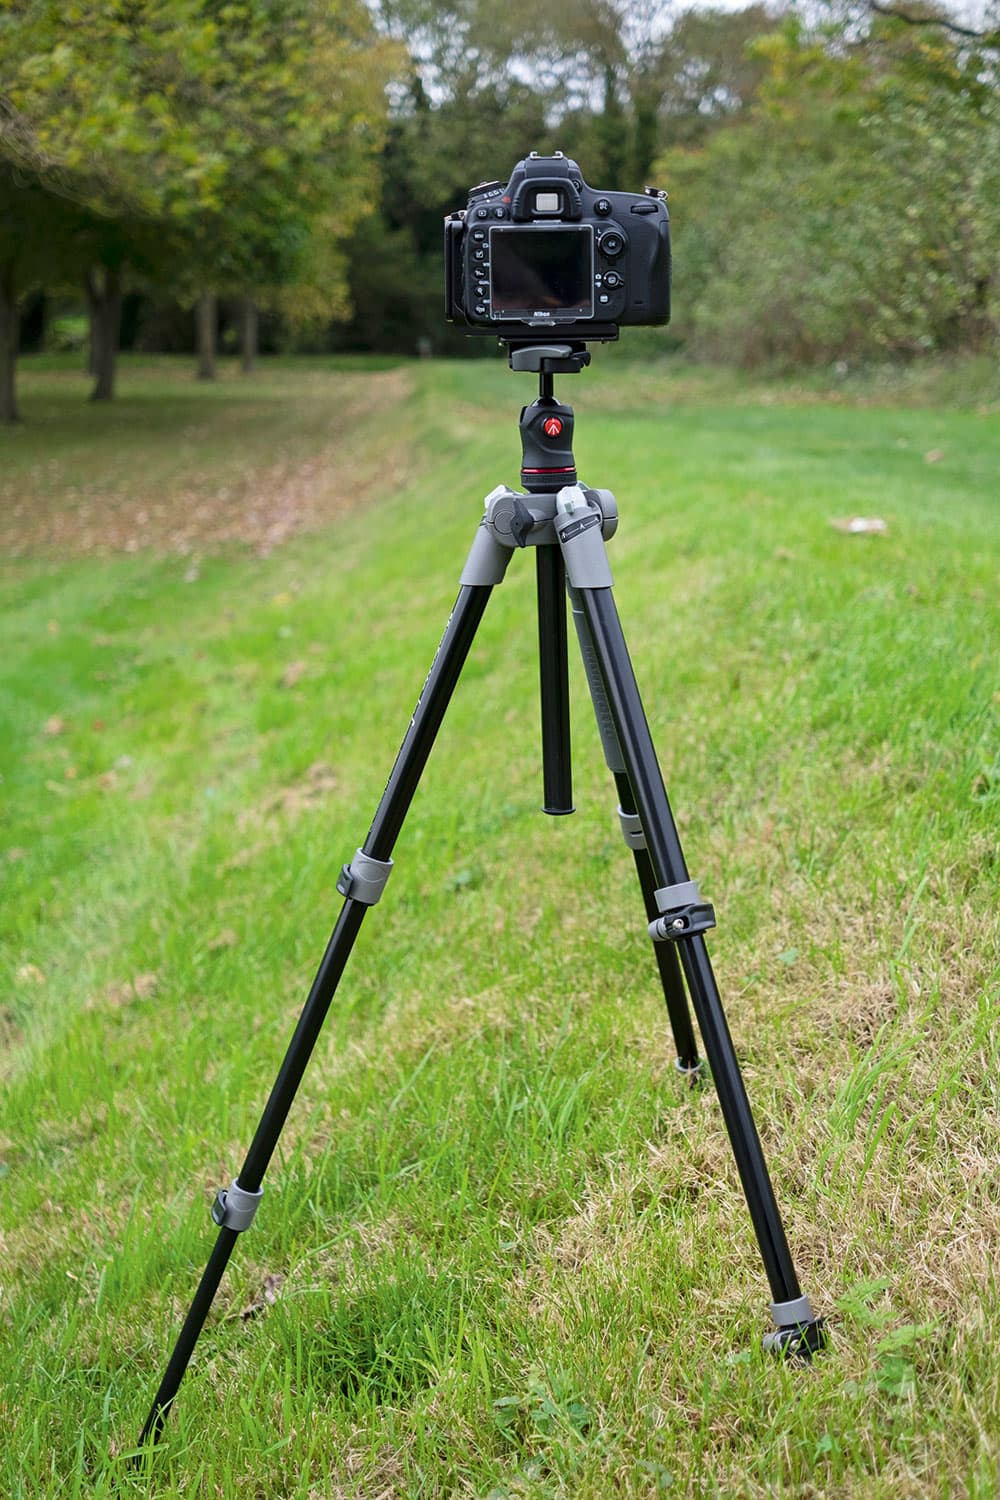
Setting Up The Tripod
The tripod legs have locks. Open these locks to change their height. Make sure each leg is the same length. This keeps the camera steady. Taller tripods help in rough places. Shorter tripods work indoors. Check the locks after adjusting. They must be tight. Loose locks can cause falls.
Once the legs are set, secure them well. Push each leg into the ground or floor. Make sure they do not move. This is important for photos. Test the tripod by shaking it. If it moves, adjust the legs again. Safety is key. A steady tripod keeps the camera safe.
Attaching The Camera
Most tripods have a universal screw on top. This screw fits into the bottom of the camera. Some cameras need a special plate. It helps attach them securely. Always check the camera’s base before mounting. The right fit is important. It keeps the camera safe. If unsure, look for a quick-release plate. This plate makes attaching and removing easy.
After mounting, use the locking mechanism. Twist the knob or lever tightly. This stops the camera from moving. Always double-check the lock. A loose camera can fall. It’s best to secure it well. Many tripods have a safety lock. Engage it for extra security. Ensure all parts are firm before use. This keeps your camera steady during shots.
Balancing The Camera
Place the camera on the tripod head. Ensure the camera sits in the center. This helps the tripod stand firm. A centered camera is less likely to tip over. Check each side. Balance is key. Adjust the camera if it’s off-center. Keep it stable. Stability matters for clear photos. Always double-check the camera position.
A bubble level helps you balance the camera. Look at the bubble. It should be in the middle. If not, adjust the tripod legs. Move them until the bubble centers. This ensures the camera is level. A level camera takes better pictures. Always use the bubble level. It makes balancing easy.
Adjusting Angle And Position
Set the camera on the tripod. Make sure it is secure. Then, adjust the tripod head to pan left or right. Use the handle to move smoothly. This helps to follow moving objects. Next, use the same handle to tilt up or down. This is good for capturing tall things. Keep movements slow for better results.
Check the camera screen. Ensure the subject is centered. Adjust the legs of the tripod to change height. This helps to frame the shot better. Use the bubble level if available. It keeps the camera straight. Double-check before taking the photo.
Ensuring Stability
Weight hooks help keep the tripod stable. They are often found under the center column. Attach a weight like a bag to this hook. This makes the tripod steady. Wind can shake the camera. A weight helps stop this. Use a bag with rocks or books. Heavy things work best. It must not touch the ground. Balance is important.
Wind can move your camera. Vibrations can blur photos. Avoid these problems for clear shots. Choose a sheltered spot to set up. Use trees or buildings to block wind. Keep your tripod legs low for stability. Lower legs make it stronger. Stay near the tripod. Hold it steady if needed.

Credit: en.wikipedia.org
Maintenance And Care
Securing a camera on a tripod involves aligning the mounting plate with the camera base. Tighten the screws to ensure stability. Adjust the tripod legs to achieve the desired height and angle for optimal shots. Regularly check the fastenings to prevent any wobble or accidental falls.
Cleaning Tips
Always keep your camera and tripod clean. Use a soft brush to remove dust. A gentle cloth can wipe away dirt. Water should not touch your camera. Moisture can harm it. Use a dry cloth instead. For lenses, use a special lens cleaner. This keeps your camera ready for great photos.
Storage Advice
Store your camera in a safe place. A camera bag is ideal. It protects from dust and damage. Keep the tripod in a dry area. Avoid damp places. Moisture can rust metal parts. Always check your equipment before storing it. Tighten loose screws. This ensures it stays in good condition.
Credit: amateurphotographer.com
Frequently Asked Questions
How To Attach A Camera To A Tripod?
Secure the camera by screwing the tripod’s mounting plate to its base. Ensure it’s tightly fastened. Slide the plate into the tripod’s quick-release mechanism. Lock the plate to ensure stability. Adjust the tripod’s legs for height and angle to suit your shooting needs.
How To Mount A Camera On A Tripod Without Screws?
Use a quick-release plate to mount a camera on a tripod without screws. Secure the camera by tightening the plate’s clamp. Ensure the plate is compatible with your tripod head. This method provides stability and allows easy attachment and detachment.
How Do You Mount A Camera On A Tripod Vertically?
To mount a camera vertically on a tripod, use a tripod with a ball head. Adjust the ball head to tilt the camera sideways. Ensure the camera is securely locked in place and balanced. Check compatibility of your camera with the tripod’s mounting system for stability.
Can A Camera Go On Any Tripod?
Most cameras can fit on any tripod with a compatible mount. Check the tripod’s head type and camera’s mount size for compatibility. Universal mounts like 1/4-inch and 3/8-inch are common. Ensure the tripod can support your camera’s weight for stability.
Always verify specifications before purchase.
Conclusion
Setting up a camera on a tripod is simple. First, secure the tripod legs firmly. This provides a stable base. Next, attach the camera to the tripod head. Ensure the camera is tightly secured. Adjust the angle to capture your desired shot.
Check the level for balanced images. Practice makes perfect. With these steps, you can capture stunning photos. Confidence grows with each use. Remember, a steady tripod enhances photo quality. Explore different angles. Experiment with lighting. Enjoy the process of photography.
Keep shooting and discovering new perspectives. Your skills will improve over time.