Crocheting your own camera bag is a creative way to protect your gear and show your style. If you know basic crochet stitches, you can make a sturdy, padded bag that fits your camera perfectly. This guide will help you pick the right materials, follow clear steps, and avoid common mistakes. Even beginners can create a bag that looks great and keeps a camera safe during travel or daily use.
Table of Contents
Materials And Preparation
Before starting, gather these supplies:
- Medium-weight cotton yarn (at least 200g)
- Crochet hook (size G/4.0 mm or as your yarn suggests)
- Stitch markers
- Measuring tape
- Buttons, Velcro, or a zipper (for closure)
- Yarn needle
- Foam or felt (optional, for extra padding)
- Scissors
Measure your camera’s length, width, and height. Add 1 inch (2. 5 cm) to each measurement for seam allowance and padding. This ensures a snug but safe fit.
| Camera Size | Yarn Needed (approx.) | Time to Crochet |
|---|---|---|
| Small (Point & Shoot) | 100g | 2-3 hours |
| Medium (Mirrorless) | 150g | 4-5 hours |
| Large (DSLR) | 200g | 6-7 hours |
Step-by-step Instructions
- Crochet the base: Make a chain matching your camera’s length. Single crochet across for the width, turning as needed, until you reach the desired base size.
- Build up the sides: Without fastening off, single crochet around the base. Continue in rounds, using stitch markers to track your start point, until you reach the camera’s height.
- Add padding: Insert a piece of foam or felt inside before closing the bag. This adds shock absorption.
- Create the flap: Crochet a rectangle attached to one long side. This should cover the top and overlap the front by about 1-2 inches.
- Add closure: Sew on your chosen closure (button, Velcro, or zipper) to keep the bag secure.
- Make a strap: Crochet a long chain, then single crochet back across for strength. Attach firmly to both sides of the bag.
| Closure Type | Security | Difficulty |
|---|---|---|
| Button | Medium | Easy |
| Velcro | High | Easy |
| Zipper | Very High | Intermediate |
Non-obvious tip: Lining the bag with soft fabric prevents scratches and gives a professional look. Also, try using two yarn colors for a striped pattern, which helps hide dirt.
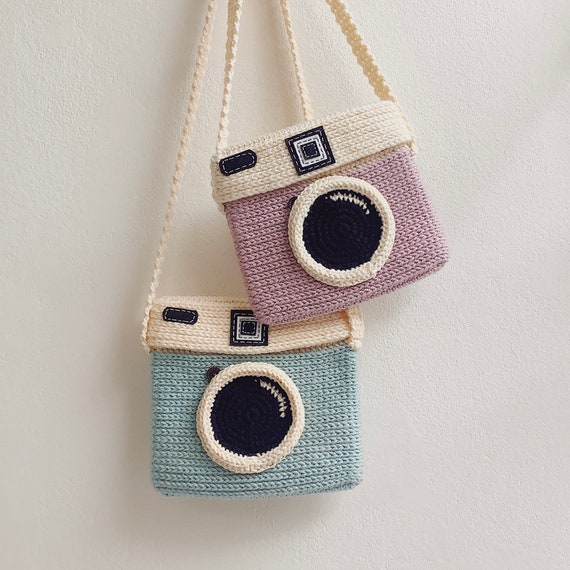
Credit: www.etsy.com
Finishing Touches
Check all seams to ensure there are no gaps. Weave in loose yarn ends using your needle. Test the fit by placing your camera inside. Adjust the strap length for comfort. For extra protection, consider adding a small pocket inside for memory cards or batteries.
Frequently Asked Questions
How Long Does It Take To Crochet A Camera Bag?
Most people finish a basic bag in 4–7 hours, depending on camera size and crochet speed.
What Type Of Yarn Is Best?
Cotton yarn is durable and soft, making it ideal for camera protection.
Can I Wash My Crochet Camera Bag?
Yes, but hand wash with mild soap and air dry to keep the shape and structure.
Is It Necessary To Add Padding?
Padding is optional but highly recommended for shock protection.
Where Can I Find More Crochet Patterns?
Many free patterns are available online, including on Ravelry, a trusted crochet community.
Making your own crochet camera bag is rewarding and practical. With a bit of time and care, you’ll have a unique, protective case that travels everywhere you go.
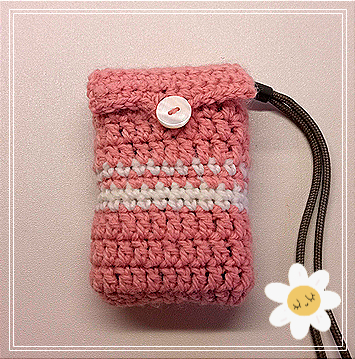
Credit: ribblr.com