Creating your own camera bag can save money and give you exactly what you need. Store-bought bags are often expensive and may not fit your style or camera gear. With some planning, basic materials, and a little time, you can build a custom bag that keeps your equipment safe and organized. Here’s a practical guide to making a camera bag that fits your needs.
Table of Contents
Materials You Will Need
Before you start, gather these supplies:
- A sturdy bag (like a messenger bag or backpack)
- Thick foam or padding material
- Strong fabric (canvas or nylon)
- Velcro strips or zippers
- Scissors and a measuring tape
- Fabric glue or sewing kit
Tip: Old yoga mats or foam mattress toppers work well for padding.
Step-by-step Guide
1. Choose The Right Bag
Pick a bag that is big enough for your camera, lenses, and accessories. It should have a strong base and comfortable straps. Many people use old laptop bags or backpacks as a base.
2. Measure And Cut The Padding
Measure the inside of your bag. Cut the foam to fit the bottom, sides, and dividers. Each piece should be snug so the padding doesn’t move around.
| Bag Type | Average Size (inches) | Recommended Padding Thickness |
|---|---|---|
| Messenger | 15 x 10 x 5 | 0.5″ |
| Backpack | 18 x 12 x 6 | 0.7″ |
3. Make Adjustable Dividers
Cut extra foam pieces to create dividers for your camera and lenses. Wrap these in fabric for a smooth look. Attach Velcro to the ends so you can move them as needed.
4. Line The Bag
Use fabric glue or sew the foam padding to the inside of your bag. Make sure all corners and sides are covered. This helps absorb shocks and protects your gear.
5. Add Storage Pockets
Sew or glue extra fabric pockets inside the bag. These are great for batteries, memory cards, and cleaning cloths.
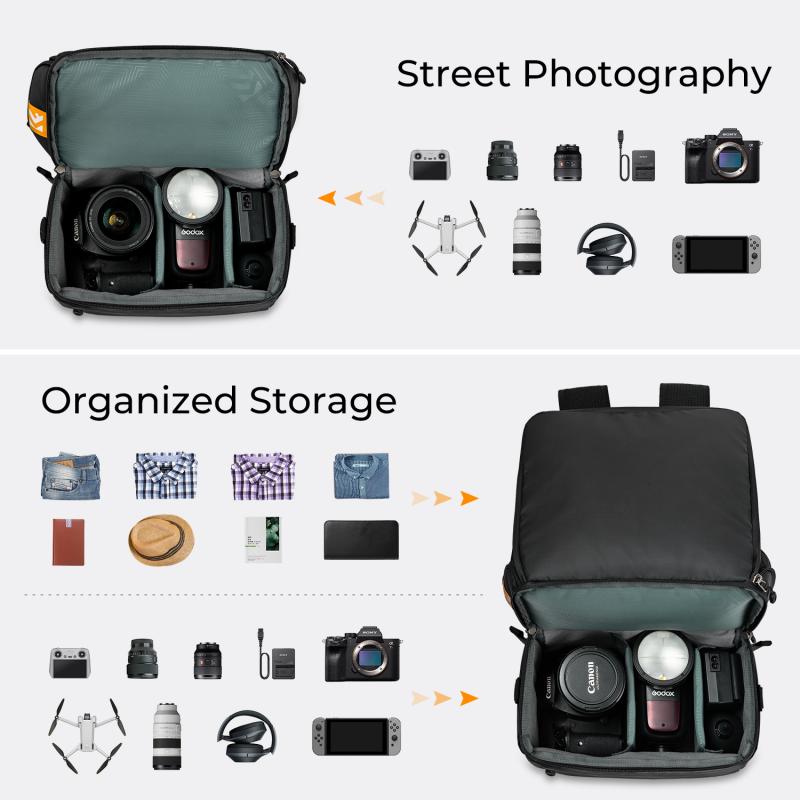
Credit: www.kentfaith.com
Customization Tips
- Waterproofing: Spray the outer fabric with a water-repellent spray.
- Color coding: Use different colors of fabric or Velcro for each divider.
- Anti-theft: Add zipper locks or hidden pockets for valuables.
Many beginners forget to check if the bag’s seams are strong enough to hold the extra weight. Double-stitching or reinforcement can prevent tears. Also, avoid overpacking, as too much gear can stress the bag and padding.
Comparison: Diy Camera Bag Vs Store-bought
| Feature | DIY Camera Bag | Store-Bought Bag |
|---|---|---|
| Cost | $20–$40 | $60–$200 |
| Customization | High | Limited |
| Protection | Depends on build | Standardized |
Making your own camera bag is a rewarding project. You get a personalized solution, save money, and learn more about your gear’s needs. If you want more design ideas, you can visit WikiHow for inspiration.

Credit: www.youtube.com
Frequently Asked Questions
How Much Does It Cost To Make A Camera Bag?
Most people spend $20–$40 on materials, depending on the quality and size of the bag.
What Kind Of Foam Should I Use?
Closed-cell foam is best because it is firm and shock-absorbent, offering better protection.
Can I Wash A Homemade Camera Bag?
If you use removable liners or machine-washable fabric, you can clean it easily. Always air dry to keep the padding in shape.
How Do I Make The Bag Waterproof?
Use a waterproof spray for fabric, or sew in a waterproof liner for extra protection against spills and rain.
What’s The Biggest Mistake Beginners Make?
The most common mistake is not measuring carefully. This leads to loose padding or dividers that don’t fit well, risking damage to your gear.