Mounting a Ring camera on your wall can boost your home’s security and give you peace of mind. Many people worry it’s a hard job, but with the right steps and tools, it’s simple—even if you’ve never done it before.
In this guide, you’ll learn how to mount your Ring camera safely, avoid common mistakes, and make sure your device works its best.
Table of Contents
What You Need Before Mounting
Check that you have these items ready:
- Ring camera (with mount)
- Screws and anchors (usually included)
- Drill and drill bits
- Screwdriver
- Pencil
- Level (optional, but helpful)
If mounting outdoors, make sure your camera is rated for weather resistance.
Step-by-step Mounting Instructions
1. Choose The Right Location
Pick a spot that covers the area you want to monitor. Most people place cameras 7–9 feet above the ground. Higher placement reduces tampering risk and gives a wider view.
2. Mark The Mounting Holes
Hold the camera’s mounting bracket against the wall. Use a pencil to mark where the screws will go. Use a level to keep it straight.
3. Drill Pilot Holes
Drill small holes at the marks. For brick, concrete, or stucco, use the correct masonry bit. For drywall, use the anchors provided to ensure a firm hold.
4. Attach The Bracket
Screw the mounting bracket into the wall. Make sure it feels tight and secure.
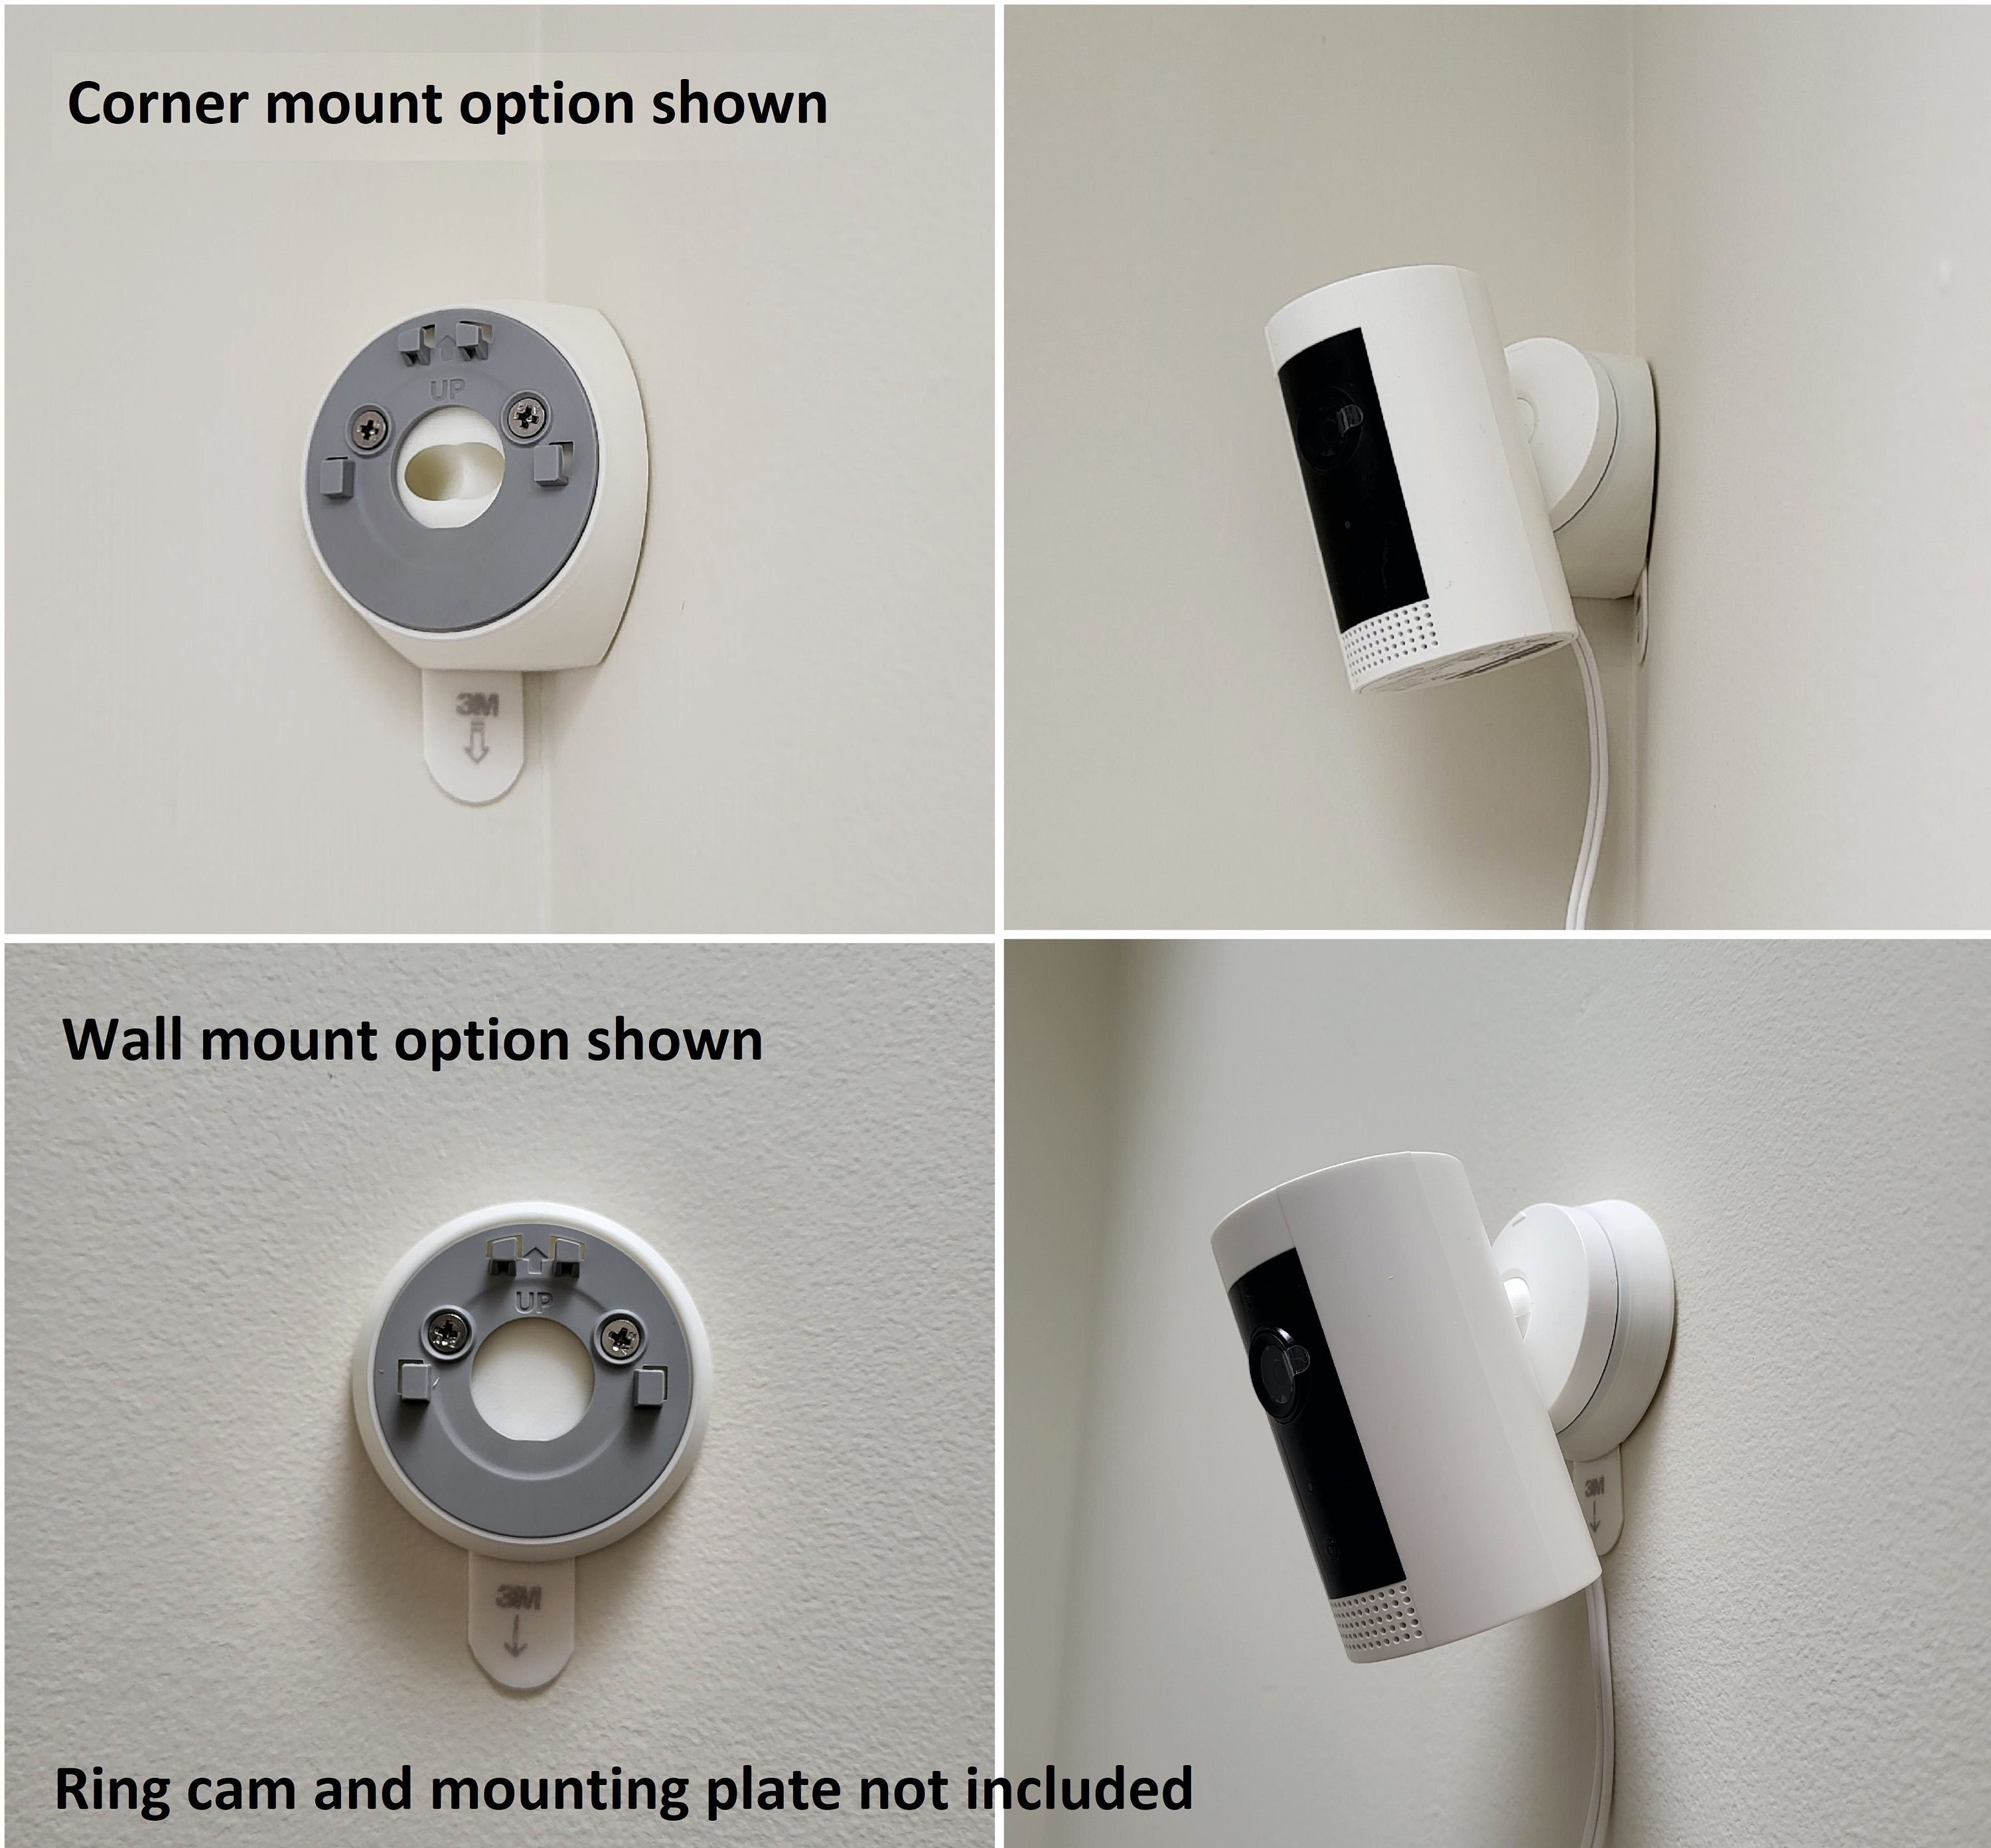
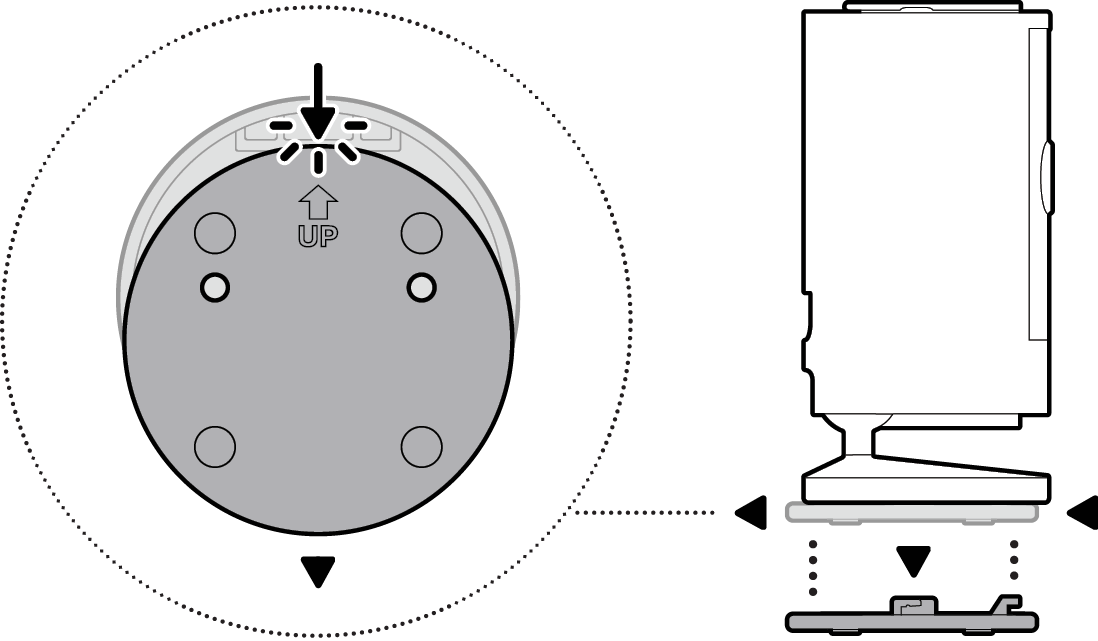
5. Mount The Camera
Attach your Ring camera to the bracket. Make adjustments so the camera points exactly where you want.
6. Connect Power And Wi-fi
Plug in the camera or insert batteries. Use the Ring app to connect it to Wi-Fi and test the live view.
Credit: www.etsy.com
Comparison: Battery Vs. Wired Ring Cameras
Here’s a quick comparison to help you pick the right model for your wall:
| Feature | Battery Ring Camera | Wired Ring Camera |
|---|---|---|
| Power Source | Rechargeable Battery | Hardwired |
| Installation | Easier, no wiring | More complex, needs power outlet |
| Maintenance | Replace/charge battery | Low, plug and play |
Common Mistakes To Avoid
- Ignoring Wi-Fi signal: Place your camera where your Wi-Fi is strong. A weak signal causes lag and missed footage.
- Skipping anchors: On drywall, always use anchors. Skipping them risks the camera falling.
- Wrong angle: Test the camera view before finalizing. Small adjustments can make a big difference.

Credit: www.amazon.com
Weatherproofing Tips
If mounting outdoors, seal around the screws with silicone to keep water out. Choose a spot with some overhead cover to protect the camera from direct rain or snow.
Quick Reference: Mounting Surfaces
| Surface | Drill Bit Needed | Anchor Type |
|---|---|---|
| Wood | Standard | Not needed |
| Drywall | Standard | Plastic anchor |
| Brick/Concrete | Masonry | Masonry anchor |
Mounting your Ring camera doesn’t have to be stressful. With a bit of planning and the right tools, you’ll have it up and running quickly. Remember, secure installation means better protection for your home.
Credit: ring.com
Frequently Asked Questions
How High Should I Mount My Ring Camera?
Most experts suggest 7–9 feet above the ground. This height gives a good view and helps prevent tampering.
Can I Install A Ring Camera Without Drilling?
You can use adhesive mounts for some surfaces, but screws are more secure, especially outdoors.
What If My Wi-fi Signal Is Weak Where I Want To Mount The Camera?
Consider a Wi-Fi extender or move your router closer. Good signal is important for video quality.
Is Ring Camera Installation Weatherproof?
Outdoor models are weather-resistant, but sealing the screw holes adds extra protection.
Where Can I Find More Help With Ring Camera Setup?
The official Ring Support page has detailed guides and videos.