Photography is not just about the camera or lens. The right filter can transform a good photo into something special. Filters help control light, color, reflections, and even protect your lens. But many beginners are unsure when to use them.
Knowing the right moment to add a filter can help you create the effect you want and avoid common mistakes.
Table of Contents
Types Of Filters And Their Uses
There are several main types of filters, each with a unique purpose:
- UV filters: These mainly protect your lens from dust and scratches. They used to help block ultraviolet light, but today’s digital sensors are less sensitive to UV.
- Polarizing filters: These are great for reducing glare and reflections, especially on water or glass. They also make skies look bluer and colors richer. For example, if you’re shooting a lake on a sunny day, a polarizer will cut reflections and show more detail below the surface.
- Neutral density (ND) filters: ND filters block some of the light entering your lens. This allows you to use slower shutter speeds or wider apertures in bright conditions. For instance, if you want to blur a waterfall during daylight, an ND filter is essential.
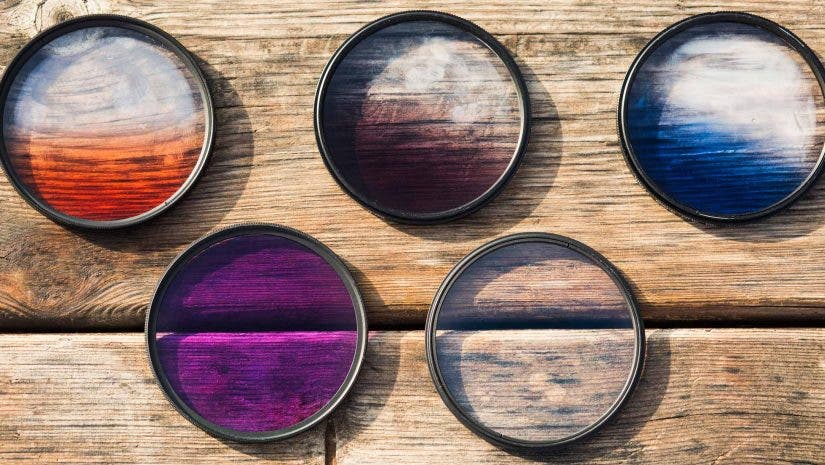
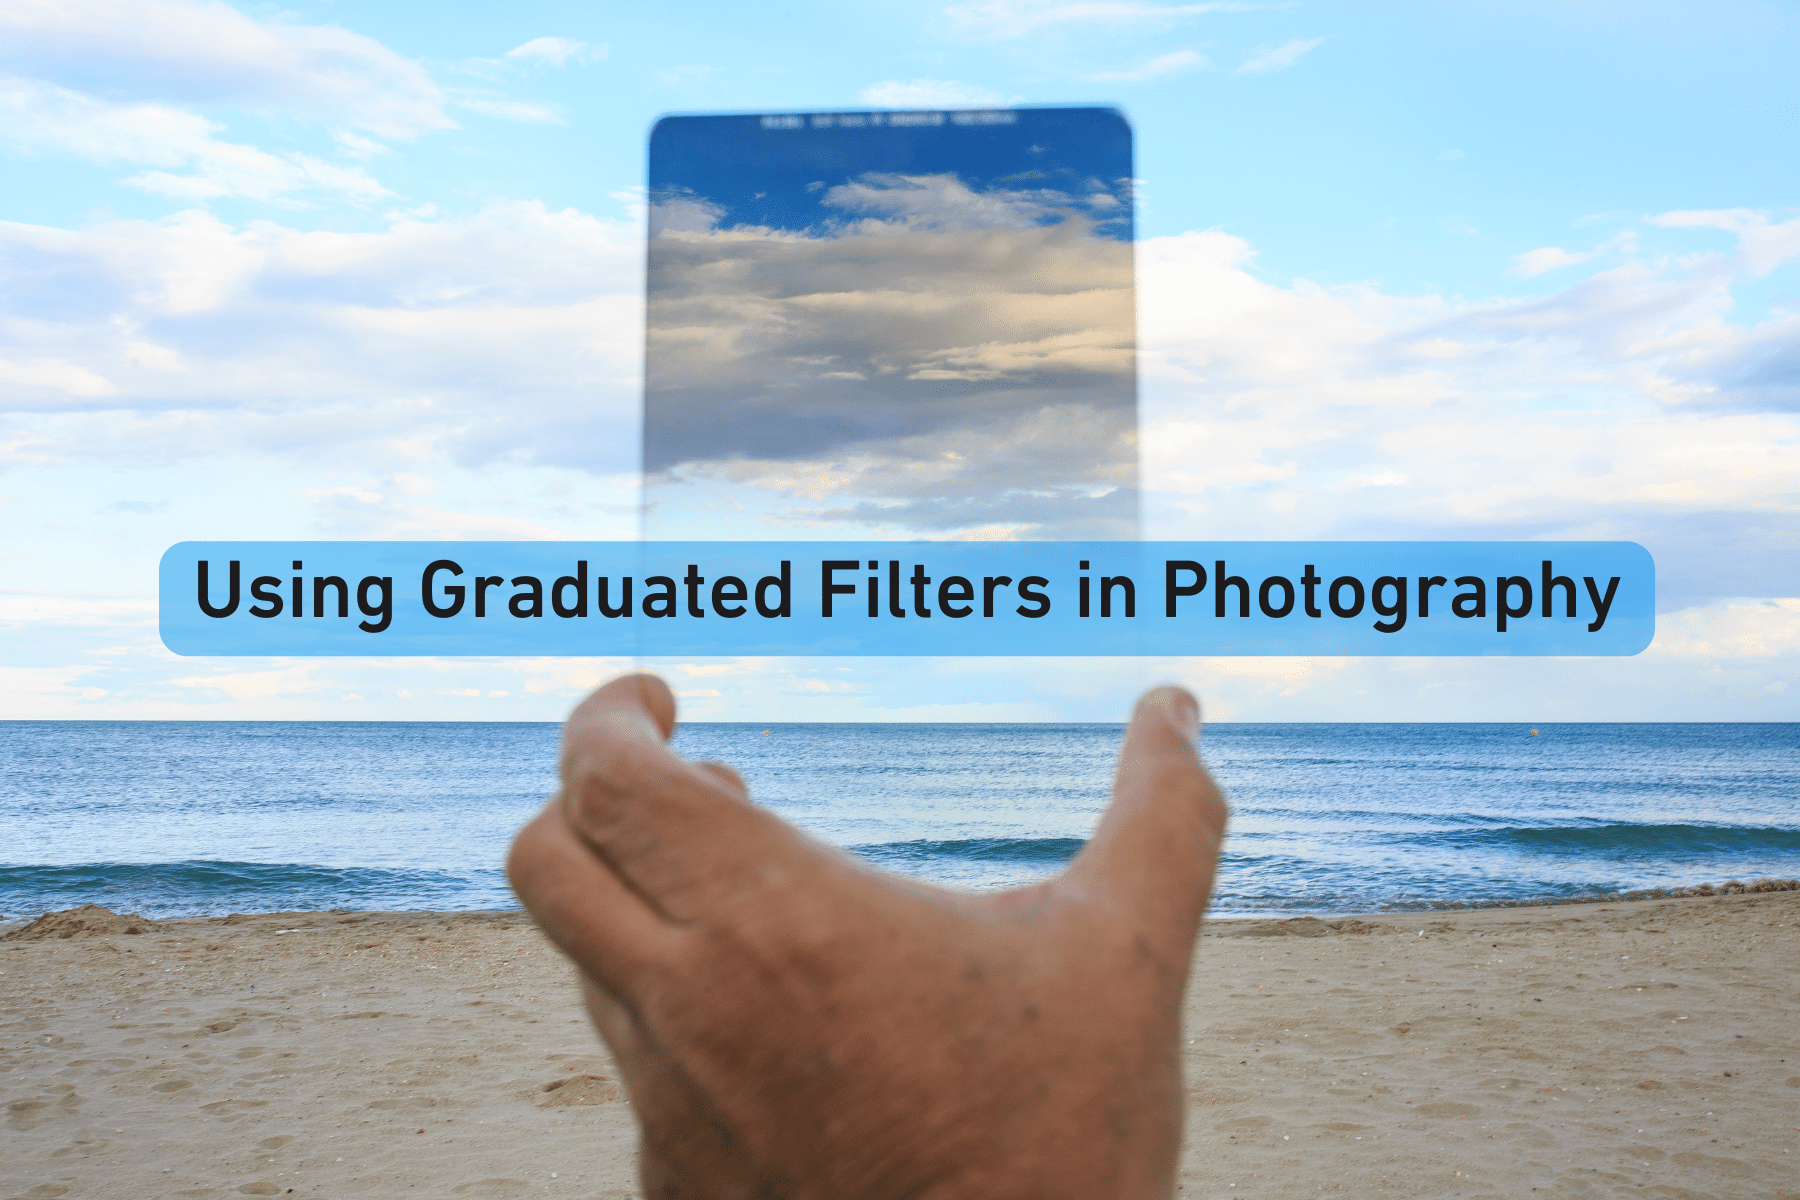
- Graduated ND filters: These are darker at the top and clear at the bottom. They help balance bright skies and darker foregrounds, perfect for landscape photography at sunrise or sunset.
- Color filters: Mostly used in black-and-white photography to enhance contrast. For example, a red filter will darken skies and make clouds stand out.
When To Use Filters For Best Results
Using filters depends on what you want from your photo. Here’s when each type shines:
- Bright sunlight: ND filters help avoid overexposed images when using slow shutter speeds.
- Reflections and haze: Polarizers are best when shooting scenes with water, wet rocks, or glass surfaces.
- Landscape shots: Graduated ND filters help balance exposure between the sky and land.
- Dusty or risky environments: UV filters protect your expensive lens from debris or scratches.
A mistake many beginners make is leaving a UV filter on at all times. While it protects the lens, it can cause unwanted reflections or reduce sharpness, especially in strong light.
Comparing Filter Effects
Here’s a quick look at how different filters impact exposure:
| Filter Type | Exposure Change | Main Benefit |
|---|---|---|
| Polarizer | -1.5 stops | Reduces glare, boosts color |
| ND (3-stop) | -3 stops | Allows slow shutter |
| UV | None | Lens protection |
Credit: www.adorama.com
Practical Tips For Using Filters
- Always check for vignetting (dark corners) when stacking filters, especially with wide-angle lenses.
- Clean your filters regularly to prevent image softness.
- Use the right size filter for your lens to avoid fitting problems.
Here’s a comparison of common filter sizes and their typical lens use:
| Filter Size (mm) | Common Lens Type |
|---|---|
| 49 | Standard primes |
| 67 | Mid-range zooms |
| 77 | Pro wide/telephoto |
Using filters opens creative options, but remember: not every scene needs a filter. Experiment, review your results, and learn when a filter improves your image.
Frequently Asked Questions
What Is The Best Filter For Landscape Photography?
A polarizing filter is excellent for landscapes, making skies deeper blue and cutting glare on water or leaves.
Can I Use Multiple Filters At Once?
Yes, but stacking too many can cause vignetting or image softness. Use only what you need.
Do I Need A Uv Filter On My Digital Camera?
Not for image quality, but it can protect your lens. Some pros skip it to avoid extra glass.
How Do I Clean My Filters Safely?
Use a microfiber cloth and gentle lens cleaner. Avoid scratching the surface.
Where Can I Learn More About Filter Types?
You can read more on Wikipedia’s Photographic Filter page for detailed information and examples.
Credit: store.bandccamera.com