When you need to mount a camera on a brick wall, it feels like a tough job. Brick is strong, but it’s also hard and can be brittle. You want your camera to be secure, but you don’t want to damage the wall. Finding the best way to mount a camera on brick means choosing the right tools and methods. This guide will walk you through the process, from picking the right hardware to drilling safely. We’ll cover everything you need to know to get your camera up and looking great.
Table of Contents
Understanding Brick Walls For Mounting
Brick walls are made of fired clay units, called bricks, held together by mortar. The type of brick and mortar can affect how well a screw or anchor holds. Older bricks might be softer or more crumbly than newer ones.
The mortar joints are often weaker than the bricks themselves. Knowing this helps you choose the best mounting spot.
For example, drilling into the mortar joint is sometimes easier, but it might not be as strong as drilling into the brick itself. However, drilling into a brick can create more dust and require a more powerful drill. Always check the condition of the brick and mortar before you start. If you see cracks or loose pieces, it’s best to find another spot.
Choosing The Right Mounting Hardware
The hardware you use is key to a secure mount. Standard screws won’t work directly in brick. You need specific fasteners designed for masonry.
Masonry Anchors
These are the most common solution. Masonry anchors expand or grip inside the drilled hole, creating a solid base for your screw.
- Plastic Expansion Anchors: These are affordable and easy to use. You drill a hole, insert the plastic anchor, and then drive a screw into it. The screw forces the plastic to expand, gripping the brick. They work well for lighter cameras.
- Wedge Anchors: These are stronger metal anchors. You drill a hole slightly larger than the anchor, insert it, and then tighten a nut. This pulls the anchor body up, expanding a wedge at the bottom to secure it firmly. They are good for heavier equipment.
- Sleeve Anchors: Similar to wedge anchors, these use a metal sleeve that expands. They offer good holding power and are suitable for medium to heavy loads.
Masonry Screws
Some screws are designed specifically for brick and concrete. These screws have special threads that cut into the material as you drive them. They often require a pre-drilled hole, but sometimes they can be self-tapping into softer masonry.
Toggle Bolts
For hollow spaces within brick (like in some older constructions or decorative brickwork), toggle bolts can be effective. You drill a larger hole, insert the bolt with its folded wings, and then the wings open up behind the brick, providing a strong grip.
Pro Tip: Always check the weight rating of the anchor or screw. Make sure it can support much more than the actual weight of your camera and any accessories.

Credit: www.reddit.com
Tools You’ll Need
Having the right tools makes the job much easier and safer.
- Hammer Drill: This is essential for drilling into brick. A regular drill might struggle or overheat. A hammer drill has a pounding action that breaks up the hard material.
- Masonry Drill Bits: Use carbide-tipped drill bits specifically made for masonry. Make sure the diameter matches the anchor you plan to use.
- Measuring Tape and Pencil: For accurate placement.
- Level: To ensure your camera is mounted straight.
- Safety Glasses: Always wear these when drilling masonry. Flying debris is a real hazard.
- Dust Mask: Drilling brick creates a lot of fine dust.
- Screwdriver or Wrench: Depending on the type of hardware you choose.
- Vacuum Cleaner or Brush: To clean out the drilled hole.
Step-by-step Mounting Guide
Here’s a breakdown of how to mount your camera securely.
1. Choose The Mounting Location
Decide exactly where you want to place your camera. Consider the camera’s field of view and power source. Look for a spot with solid brick, avoiding cracks or loose mortar.
2. Mark The Drill Holes
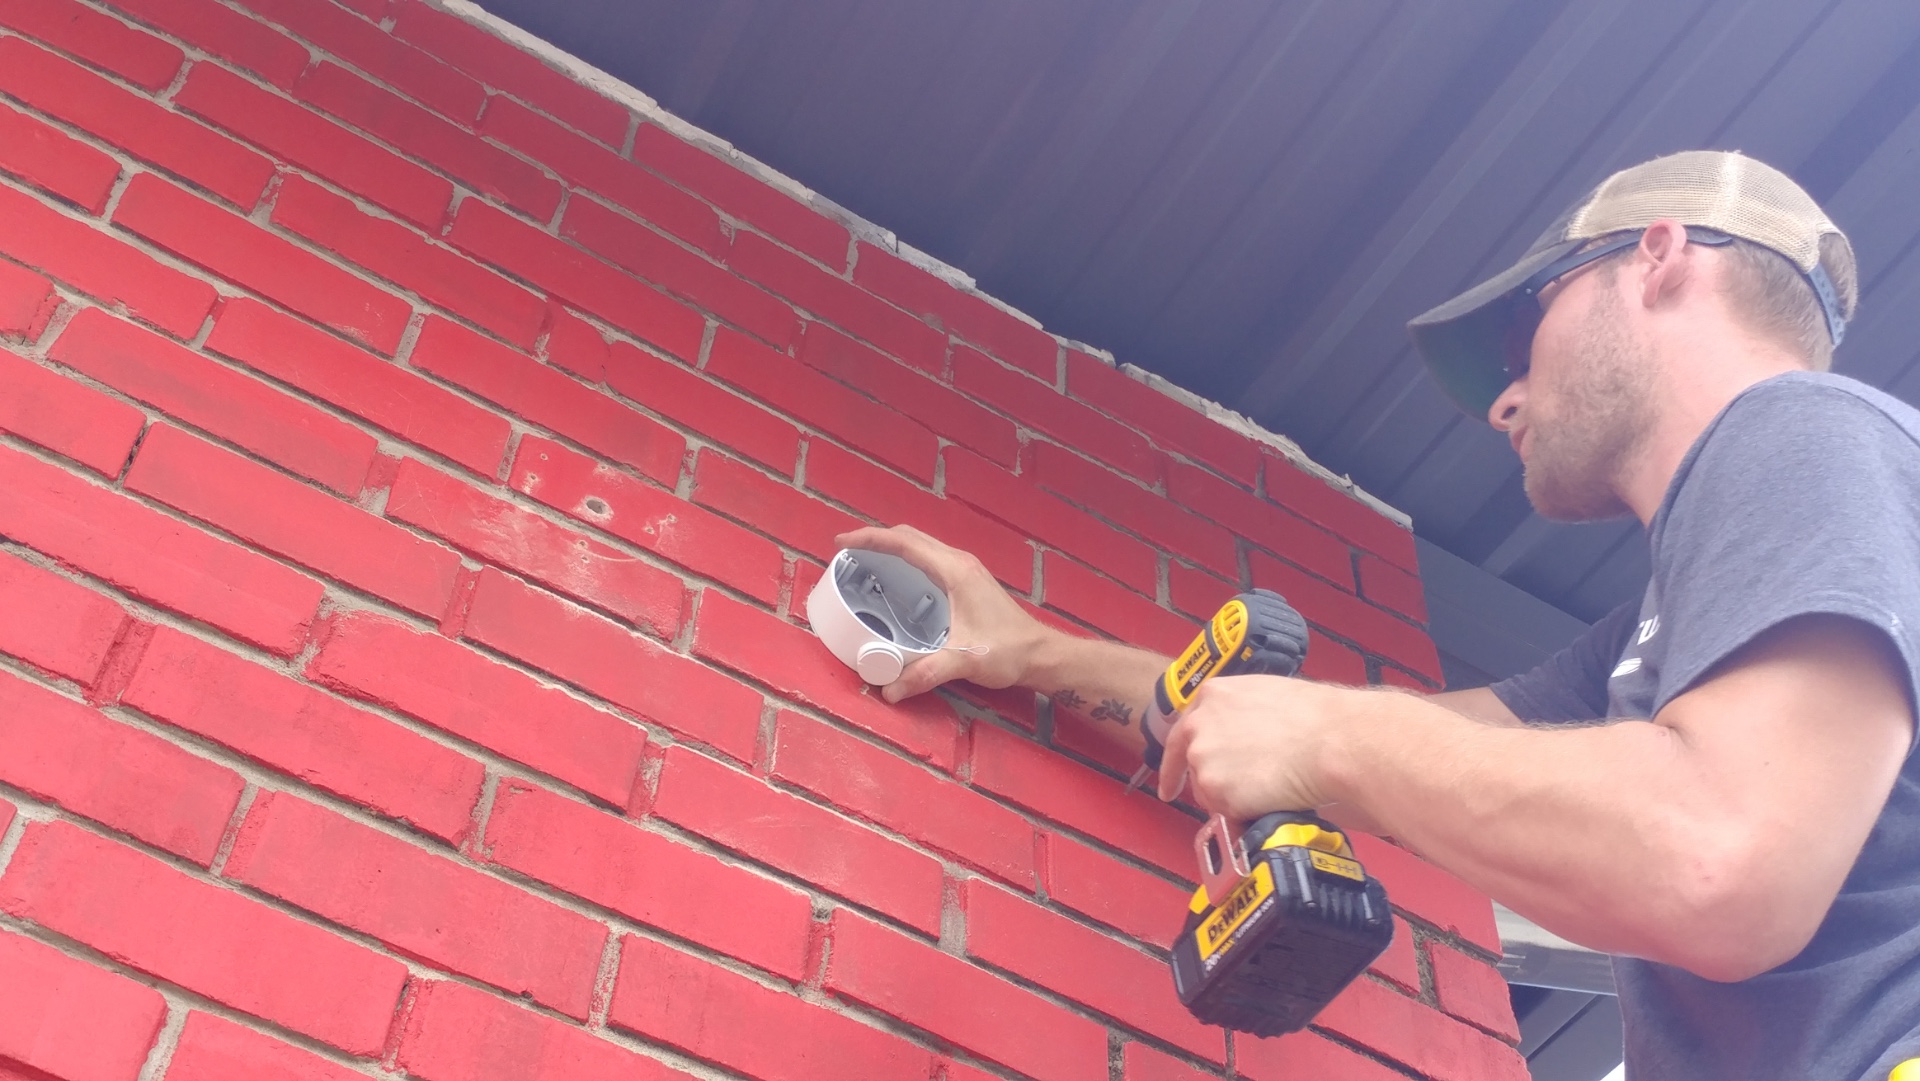
Hold the camera mount or bracket in place. Use a level to make sure it’s straight. Mark the screw hole positions with a pencil. Double-check your measurements.
3. Drill The Holes
- Put on your safety glasses and dust mask.
- Select the correct masonry drill bit for your anchors.
- Set your hammer drill to the “hammer” or “rotary hammer” setting.
- Start drilling at the marked spots. Apply steady, firm pressure. Let the drill do the work.
- Drill to the depth recommended for your anchors.
4. Clean The Holes
Use a vacuum cleaner or a brush to remove all the dust from the drilled holes. This is crucial for the anchor to grip properly. If there’s dust, the anchor won’t seat fully or hold securely.
5. Insert The Anchors
Gently tap the plastic expansion anchors or sleeve anchors into the holes with a hammer until they are flush with the brick surface. For wedge anchors, you typically insert them without hammering.
6. Attach The Mount
- Align the camera mount’s screw holes with the anchors.
- Insert the appropriate screws.
- Use a screwdriver or wrench to tighten the screws. If using expansion anchors, the anchor will expand as you tighten the screw. For wedge or sleeve anchors, you tighten a nut or screw head that pulls the anchor mechanism tight.
7. Mount The Camera
Once the bracket is securely fastened to the wall, you can attach your camera according to its specific instructions.
Common Mistakes To Avoid
People often run into trouble when mounting on brick. Here are some common pitfalls:
- Using the Wrong Drill Bit: A regular drill bit will likely dull quickly or won’t penetrate the brick effectively. Always use a carbide-tipped masonry bit.
- Drilling Too Deep or Not Deep Enough: Follow the anchor manufacturer’s instructions carefully for hole depth. Too shallow, and the anchor won’t hold; too deep, and it might not have enough material to grip.
- Not Cleaning the Hole: This is a very common mistake. A hole full of dust offers no grip for the anchor.
- Over-tightening: While you want a snug fit, over-tightening can strip the anchor or even crack the brick. Tighten until the mount is firm and doesn’t move.
- Ignoring the Brick’s Condition: Mounting on crumbling brick or weak mortar is asking for trouble. Always assess the wall’s integrity first.
Alternative Mounting Options
If drilling directly into brick seems too difficult or you want a less permanent solution, consider these alternatives.
Mounting On Siding Next To Brick
If your brick wall is next to a section of siding, you might be able to mount the camera there. Ensure the siding is strong enough, and use appropriate anchors for wood or vinyl. This avoids drilling into the brick altogether.
Using Existing Structures
Check if there are any existing sturdy structures near the brick wall, like a fence post, eaves, or a sturdy outdoor light fixture. Mounting on these might be easier and require less specialized hardware.
Adhesive Mounts (limited Use)
For very lightweight cameras or temporary installations, some heavy-duty outdoor adhesive mounts exist. However, these are generally not recommended for brick due to the rough surface and environmental factors like temperature changes and moisture, which can weaken the adhesive over time. They are best suited for smooth, clean surfaces.

Credit: www.youtube.com
When To Call A Professional
If you’re unsure about the condition of your brick wall, if you have a very heavy camera, or if you simply don’t feel comfortable drilling into masonry, it’s always best to hire a professional installer. They have the right tools, experience, and knowledge to mount your camera safely and securely without damaging your property.
Frequently Asked Questions
Credit: www.getscw.com