Table of Contents
Removing A Dash Cam Mount From Your Windshield: A Step-by-step Guide
Dash cams have become essential tools for drivers, offering peace of mind and valuable evidence in case of accidents. However, sometimes you need to remove the dash cam mount from your windshield. This could be due to upgrading your dash cam, selling your car, or simply wanting a cleaner look.
The sticky residue left behind can be frustrating, but with the right approach, you can remove it without damaging your windshield. This guide will walk you through the most effective methods.
Understanding The Adhesive
Most dash cam mounts use strong adhesive pads, often made of VHB (Very High Bond) tape or a similar industrial-strength adhesive. These are designed to withstand vibrations, temperature changes, and the weight of the camera. Removing them requires breaking down the adhesive’s bond without scratching or fogging the glass.
Patience is key; rushing the process can lead to stubborn residue or even cracks.

Credit: www.youtube.com
Preparation Is Key
Before you start, gather your supplies. Having everything ready will make the process smoother. You’ll likely need:
- Rubbing alcohol (isopropyl alcohol): This is a great solvent for many adhesives.
- Glass cleaner: For the final clean-up.
- Microfiber cloths: Soft cloths that won’t scratch glass.
- A plastic scraper or old credit card: For gently lifting the mount. Avoid metal blades that can scratch.
- Optional: Goo Gone or a similar adhesive remover: For tougher residue.
- Optional: Hair dryer or heat gun (on low setting): To warm the adhesive.
Ensure your windshield is clean and dry. This will help you see the area you’re working on and prevent grit from scratching the glass during removal.
Method 1: Using Heat And Gentle Prying
This is often the safest and most effective starting point for removing the dash cam mount.
Warming The Adhesive
Start by gently warming the area around the mount with a hairdryer on a medium setting. Move the dryer back and forth to avoid overheating one spot. This softens the adhesive, making it more pliable. A heat gun can also be used, but set it to the lowest setting and keep it moving constantly to prevent glass damage.
Gentle Prying
Once the adhesive is warm, try to gently lift an edge of the mount using a plastic scraper or an old credit card. Slide it carefully under the edge of the mount. Apply steady, gentle pressure, working your way around the mount. The goal is to peel the adhesive away from the glass rather than yanking the mount off.
Slow And Steady Wins The Race
If the mount starts to come off, continue applying heat as you go. This keeps the adhesive soft and reduces the chance of it breaking into small pieces. If it feels like you’re using too much force, stop, apply more heat, and try again.
Method 2: Using Rubbing Alcohol
If heat alone doesn’t fully detach the mount or if you’re left with residue, rubbing alcohol is your next best friend.
Applying The Alcohol
After removing the mount as much as possible, soak a microfiber cloth with rubbing alcohol. Place the soaked cloth directly onto the remaining adhesive residue on the windshield. Let it sit for a few minutes. The alcohol works by dissolving the adhesive, breaking down its sticky properties.
Scraping Away Residue
After the alcohol has had time to work, use your plastic scraper or credit card to gently scrape away the softened residue. You may need to reapply alcohol and repeat the scraping process several times, especially for older or tougher adhesive.
Work in small sections.
Method 3: Using Adhesive Removers
For very stubborn residue that alcohol can’t tackle, specialized adhesive removers like Goo Gone can be effective.
Application And Waiting Time
Follow the product instructions carefully. Typically, you’ll apply the remover to the residue and let it sit for a specified amount of time. These products are designed to break down strong adhesives without damaging glass.
Cleaning Up
After the waiting period, use your plastic scraper to lift the loosened residue. You might need to wipe away dissolved goo with a clean microfiber cloth. Be sure to thoroughly clean the area with glass cleaner afterward to remove any oily residue from the remover.
Cleaning The Windshield
Once all the mount and residue are gone, it’s time for a thorough cleaning.
Final Wash
Spray your windshield generously with glass cleaner. Use a clean microfiber cloth to wipe the glass until it’s sparkling clean and streak-free. Check the area where the mount was for any lingering traces of adhesive or cleaner.
Dealing With Stubborn Residue
Sometimes, despite your best efforts, a faint outline or sticky spot remains. This is where patience and persistence pay off.
Multiple Applications
Don’t be afraid to repeat the alcohol or adhesive remover steps. Multiple applications, even for short periods, can break down even the most stubborn residue.
The Importance Of The Right Tool
Always use a plastic scraper or an old credit card. Metal blades, like razor blades, can easily scratch your windshield, creating permanent damage that is much worse than a bit of sticky residue.
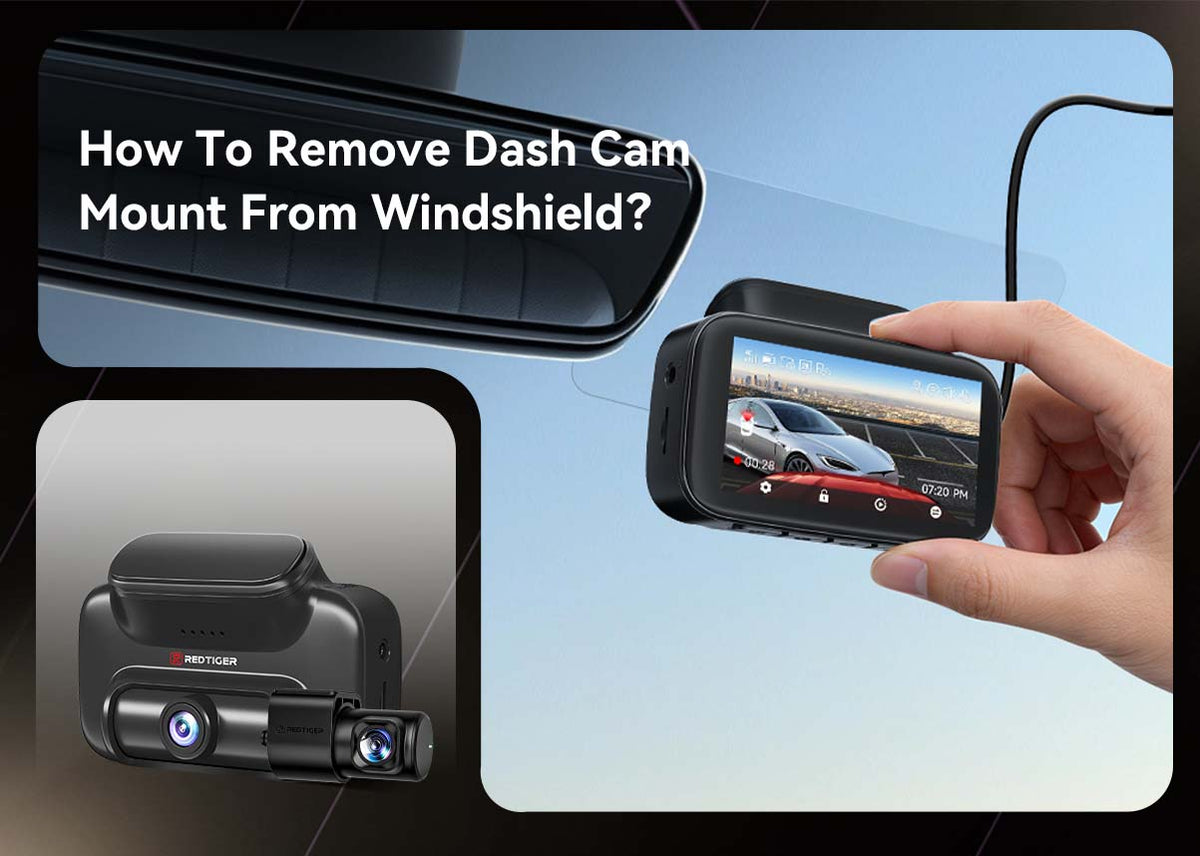
Credit: redtigercam.com
Non-obvious Tips For Dash Cam Mount Removal
Here are a couple of insights that often get overlooked:
- Consider the Temperature: On very cold days, the adhesive is harder and more brittle, making it prone to breaking into tiny, difficult-to-remove pieces. Warming the glass is even more crucial in cold weather. Conversely, on very hot days, the adhesive can become excessively soft and gooey, making it messy to remove. A slightly warm, but not hot, day is ideal.
- Windshield Film/Tint: If your windshield has an aftermarket tint or a protective film, be extra cautious. Some films can be damaged by strong solvents or excessive scraping. Always test any cleaning solution in an inconspicuous area first. For tinted windows, it’s often best to stick to mild soap and water and very gentle scraping, or consult a professional tint installer.
Comparison Of Removal Methods
Here’s a quick look at the common methods and their effectiveness:
| Method | Pros | Cons | Best For |
|---|---|---|---|
| **Heat** | Non-chemical, safe for glass | May not remove all residue | Initial removal of the mount |
| **Rubbing Alcohol** | Dissolves many adhesives, safe | May require multiple applications | Moderate residue |
| **Adhesive Remover** | Powerful on tough residue | Can be oily, requires thorough cleaning | Very stubborn or old adhesive |
| **Ice/Cold Spray** | Makes adhesive brittle, easier break | Can be harsh on glass if not careful | Small, hard bits of residue (use with care) |

Credit: www.youtube.com
Common Mistakes To Avoid
- Using metal scrapers: This is the fastest way to scratch your windshield.
- Using excessive force: Patience is more effective than brute strength.
- Using harsh chemicals not designed for glass: Some cleaners can damage window tint or coatings.
- Not cleaning thoroughly afterward: Leaving behind cleaner residue can attract dirt.
Frequently Asked Questions
Why Is My Dash Cam Mount So Hard To Remove?
Dash cam mounts use industrial-strength adhesives designed to withstand extreme temperatures and vibrations. These adhesives bond strongly to glass, making them difficult to remove without the proper techniques and solvents.
Can I Use A Razor Blade To Remove The Mount?
It is strongly advised against using a razor blade. While it might seem effective, a razor blade can easily scratch your windshield, causing permanent damage. Always opt for plastic scrapers or credit cards.
How Long Should I Let The Solvent Sit?
The time can vary depending on the product and the type of adhesive. For rubbing alcohol, 5-10 minutes is usually sufficient. For commercial adhesive removers, follow the product’s specific instructions, which might range from a few minutes to an hour.
What If I Accidentally Scratch My Windshield?
Minor scratches might be buffed out with specialized glass polishing compounds, but deeper