Table of Contents
Smart Ways To Mount Your Baby Camera For Peace Of Mind
Keeping an eye on your little one is a top priority for any parent. A baby monitor camera offers a window into their world, providing reassurance when you’re not in the room. But where you place the camera is just as important as having one.
The right mounting position ensures a clear view, covers the most important areas, and keeps the device safely out of reach.
Many parents wonder about the best ways to secure their baby camera. Some think of simple shelf placements, while others consider more permanent solutions. The goal is always safety and effectiveness. Let’s explore some smart baby camera mounting ideas that give you the best view and peace of mind.
Choosing The Right Spot: Key Considerations
Before you grab your tools, think about what makes a good camera location. You want a spot that offers a wide, unobstructed view of the crib and the surrounding play area. It should also be out of your baby’s reach once they become mobile. Safety is paramount, so avoid placing the camera where it could be pulled down or tampered with.
Consider the camera’s field of view. Some cameras offer a 130-degree view, while others have a wider 170 degrees or even 360-degree pan-and-tilt capability. This will influence how many angles you need to cover and where the camera is best positioned. Also, think about power sources. Most cameras need to be plugged in, so proximity to an outlet is essential unless you opt for a battery-powered model.
Credit: babyishhub.com
Top Mounting Methods For Your Baby Camera
There are several effective ways to mount your baby camera, each with its pros and cons. The best method for you will depend on your nursery’s layout, your DIY comfort level, and the type of camera you have.
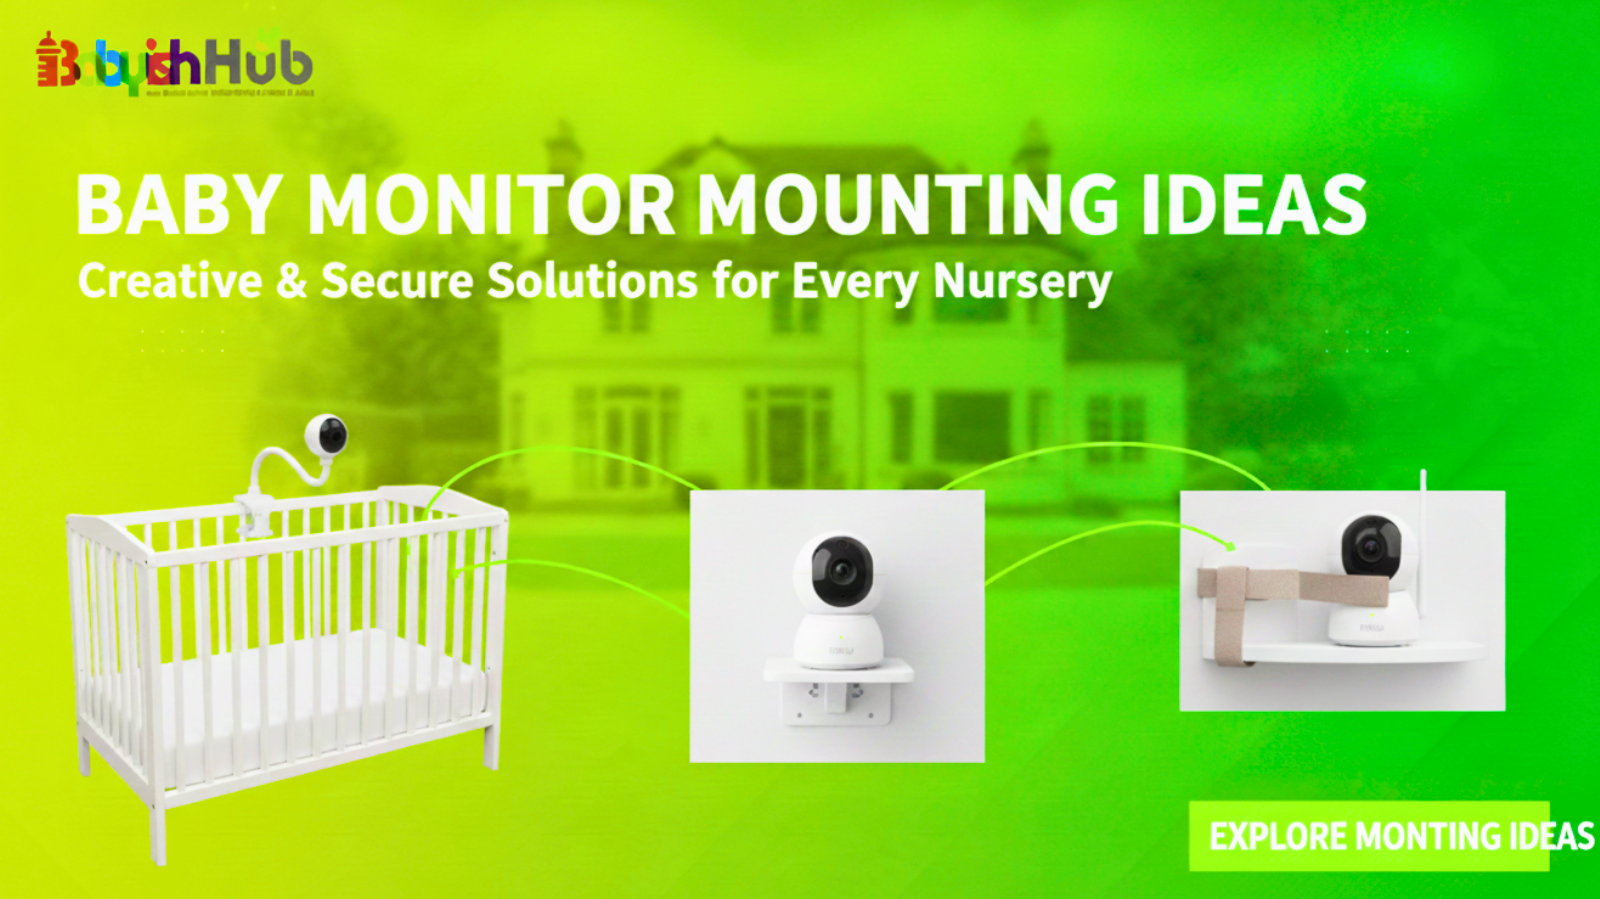
1. The Shelf Mount: Simple And Stable
This is often the easiest and quickest method. If you have a sturdy shelf near the crib, you can simply place the camera on it.
- Pros: No tools required, easy to adjust, readily available.
- Cons: May not offer the best angle, could be within reach if the shelf is low, potential for vibrations from the shelf.
Pro Tip: Ensure the shelf is securely attached to the wall and not wobbly. Place the camera towards the back of the shelf, away from the edge, to minimize the risk of it being knocked off.
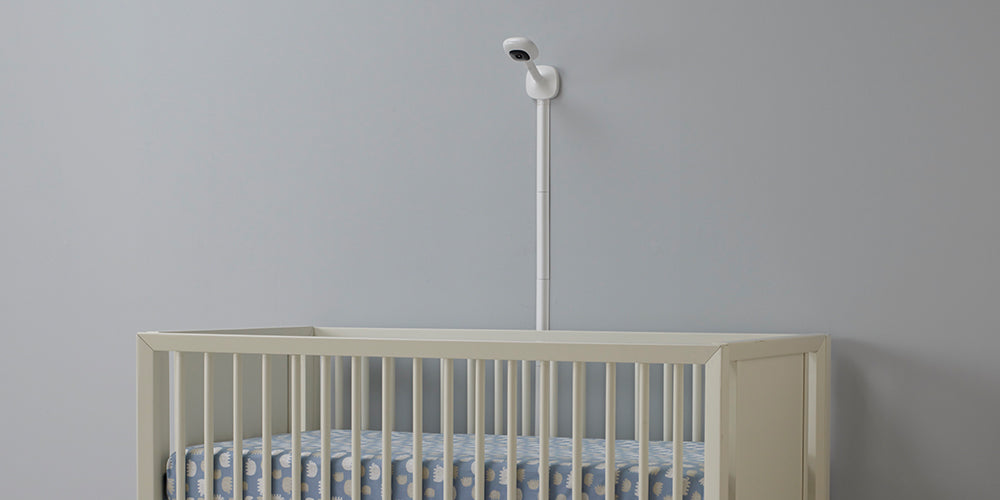
2. The Wall Mount: Secure And Versatile
Many baby cameras come with a dedicated wall mount bracket. This is a popular choice because it allows for optimal positioning and keeps the camera safely secured.
- Pros: Provides a stable, elevated view; keeps the camera out of reach; often allows for adjustable angles.
- Cons: Requires drilling holes, might need careful placement to avoid wires.
How to Wall Mount:
- Positioning: Hold the camera or mount against the wall at your desired height and angle. Look for a spot that gives you a clear view of the entire crib area.
- Marking: Use a pencil to mark the screw holes.
- Drilling: Drill pilot holes (if needed, depending on your wall type and screws).
- Securing: Insert wall anchors if necessary, then screw the mount firmly into place.
- Attaching Camera: Snap or screw the camera onto the mount.
Example: When I first set up my camera, I placed it on a dresser. My son quickly learned to stand and could reach it. Moving it to a wall mount above his crib, about 6 feet high, solved this problem instantly.
3. The Crib Mount: Convenient But Use With Caution
Some cameras come with specialized mounts designed to clip directly onto the crib rails. This can be a very convenient option for immediate setup.
- Pros: Excellent vantage point directly over the crib, easy to install without tools.
- Cons: Can be within reach as the baby grows, potential for baby to interact with the camera or cords, some argue it might disturb the baby’s sleep environment.
Warning: Always ensure the crib mount is firmly attached and the camera’s cord is secured safely away from the baby’s reach. Check it regularly for looseness. Some experts recommend against mounting anything inside the crib itself once the baby can pull themselves up.
4. The Ceiling Mount: The Ultimate View (requires More Effort)
For a truly comprehensive view, a ceiling mount is an excellent, albeit more involved, option. This usually involves a specialized mount or a small shelf installed on the ceiling.
- Pros: Provides the best panoramic view, keeps the camera completely out of reach, ideal for rooms with limited wall space.
- Cons: Requires more complex installation, may need professional help, potential for wires to be visible if not managed well.
Installation Tip: Use a stud finder to locate ceiling joists for a secure mount. If mounting directly into drywall, use appropriate heavy-duty anchors. Ensure the camera’s power cord is neatly managed along the ceiling or wall to avoid any tripping hazards.
5. The Tripod Or Flexible Mount: Temporary And Adaptable
Flexible mounts or small tripods can be useful, especially if you move the camera between rooms or need a temporary solution.
- Pros: Highly adaptable, no permanent installation needed, can be repositioned easily.
- Cons: May not be as secure as a permanent mount, can be knocked over, cord management is still important.
Use Case: A flexible gooseneck mount can wrap around a bookshelf or a crib rail (again, with caution). This is great for traveling or for checking in on a baby in a different room temporarily.
Advanced Mounting Considerations
Beyond the basic placement, a few extra details can make a big difference.
Cable Management: Safety First
Loose cables are a significant safety hazard. Babies can pull on them, potentially dislodging the camera or even strangling themselves.
- Use cord covers: These plastic channels hide wires along walls or baseboards.
- Secure with zip ties or clips: Bundle excess cord and attach it to furniture legs or the wall.
- Drill small holes: If wall-mounting, you can drill a small hole behind the camera to feed the cord through, minimizing visible wires.
Camera Angle And Field Of View
The optimal angle depends on your room. Generally, you want to see the crib, the changing area, and any toys the baby might play with. A camera with pan and tilt features allows you to adjust the view remotely, which is incredibly helpful.
A study by JAMA Pediatrics highlights the importance of sleep environment safety, reinforcing why secure and out-of-reach mounting is crucial.
Lighting And Glare
Positioning the camera to avoid direct sunlight or harsh lamps can improve image quality. You want to see your baby clearly, not a silhouette or a washed-out image. Try to position the camera so that light sources are behind it, illuminating the baby rather than shining directly into the lens.
Credit: www.nanit.com
Comparing Mounting Solutions
Here’s a quick look at how different mounting methods stack up against each other based on key factors:
| Mounting Method | Ease of Installation | Security Level | View Coverage | Cost (Approx.) |
|---|---|---|---|---|
| Shelf Mount | Very Easy | Moderate | Varies | $0 – $20 |
| Wall Mount | Moderate | High | Good | $10 – $30 |
| Crib Mount | Easy | Moderate | Excellent | $15 – $40 |
| Ceiling Mount | Difficult | Very High | Excellent | $30 – $100+ |