Table of Contents
Smart Placement: Essential Security Camera Mounting Ideas
Choosing the right security cameras is only half the battle. Where you mount them makes a huge difference in their effectiveness. Proper placement ensures you capture the right views, avoid blind spots, and even deter potential intruders. It’s about more than just screwing a camera to a wall; it’s a strategic decision.
Think about what you need to see. Are you worried about package theft from your porch? Do you need to monitor a wide area of your backyard? Or are you focused on covering entry points like doors and windows? Your goals will dictate the best mounting locations and types of cameras.
Key Considerations Before Mounting
Before you grab your drill, take a moment to plan. Several factors will influence your mounting decisions.
Camera Type And Field Of View
Different cameras offer different perspectives. Bullet cameras are often mounted on walls or eaves, pointing outwards. Dome cameras are more discreet and can be mounted on ceilings or walls, offering a wider angle. PTZ (Pan-Tilt-Zoom) cameras need clear lines of sight to rotate and zoom effectively. Always check the camera’s field of view (FOV) to understand how much it can see from a specific spot. A camera with a narrow FOV needs careful positioning to cover a key area.
Power And Connectivity
Consider how your camera will get power and connect to your network. Wired cameras require access to a power outlet and an Ethernet cable run, which can limit mounting options. Wireless cameras rely on Wi-Fi and battery power or a nearby power source. Make sure your Wi-Fi signal is strong enough at the intended mounting spot for wireless cameras.
Environmental Factors
Protecting your camera from the weather is crucial, especially for outdoor units. Mount cameras under eaves or overhangs to shield them from direct rain, snow, and harsh sunlight. Extreme temperatures can also affect performance, so check the camera’s operating temperature range.
For indoor cameras, consider preventing direct sunlight from hitting the lens, which can cause glare and wash out the image.
Height And Accessibility
Mounting cameras too low makes them easy targets for vandals or tampering. Aim for a height of at least 8 feet (2.4 meters). This height offers a good balance between a clear view and protection. However, ensure you can still access the camera for maintenance, cleaning, or adjustments without needing a ladder every time.
Credit: forums.wyze.com
Strategic Mounting Locations For Home Security
Where you place your cameras can significantly improve your home’s security. Here are some common and effective mounting ideas.
Front Door And Porch
This is a primary entry point and often the first place people look for security. Mounting a camera above the front door provides a clear view of anyone approaching. Consider a camera with night vision and two-way audio to interact with visitors or delivery personnel. Placing it slightly off-center can help avoid glare from porch lights.
Back Door And Patio Areas
Similar to the front door, back doors and patio entrances are common targets. Mount cameras to cover these areas effectively. If you have a large backyard, a camera positioned to overlook the patio doors can also capture activity in a wider area.
Driveway And Garage
Monitoring your driveway is essential for protecting vehicles and deterring break-ins. A camera mounted on the garage exterior or a pole can cover the entire driveway. Ensure the camera has a good wide-angle lens to capture as much of the area as possible.
Windows
While less common for primary cameras, small, discreet cameras can be mounted near vulnerable windows, especially those on the ground floor or less visible sides of the house.
Eaves And Soffits
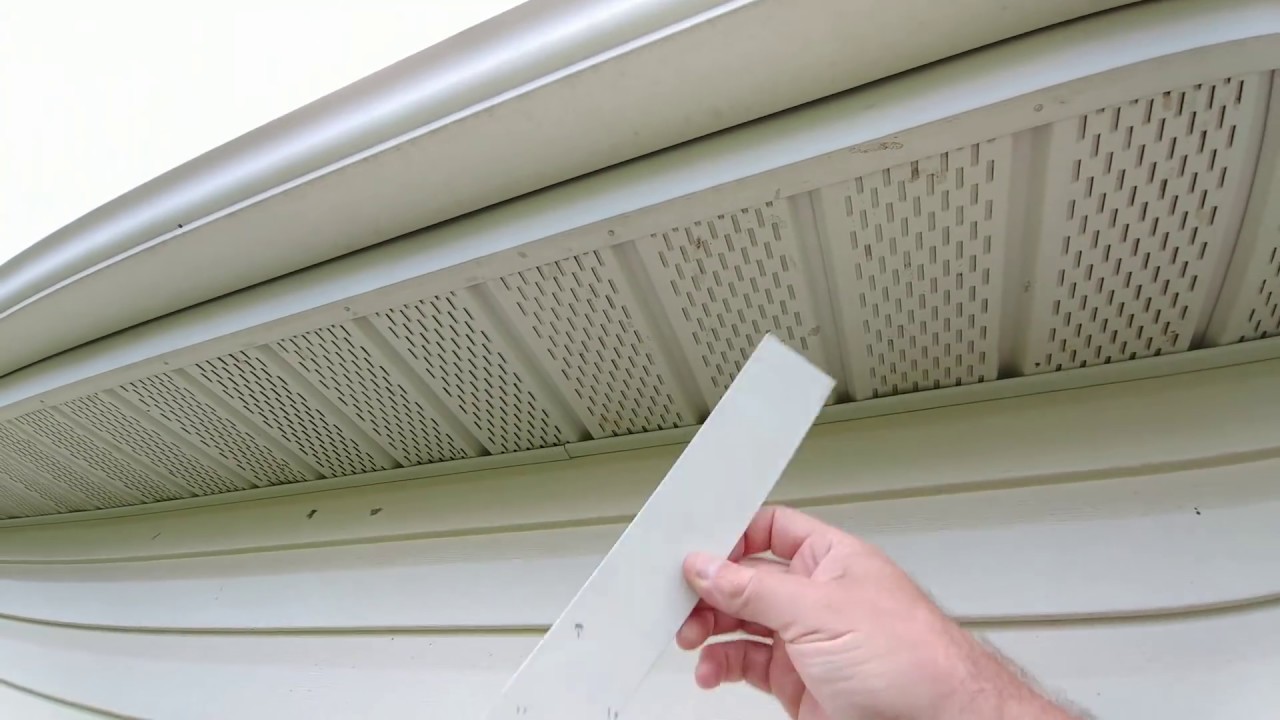
The underside of your roof eaves offers excellent protection from the elements. Mounting cameras here keeps them out of direct weather and often provides a high vantage point. This is a popular choice for both bullet and dome cameras.
Corners Of The House
Mounting cameras in the corners of your house allows them to cover two sides of the building simultaneously, maximizing their reach. This is particularly effective for cameras with a wide field of view.
Advanced Mounting Techniques And Ideas
Beyond the basics, some techniques can enhance your camera system’s performance and discretion.
Using Existing Structures
Leverage existing structures like light posts, fences, or sheds for mounting. This can save you the trouble of drilling into your house and may offer better angles or wider coverage. Ensure the structure is stable and the camera is secure.
Pole Mounting
For areas with no existing structures or when you need a higher vantage point, pole mounting is a great option. You can buy specialized camera mounting poles or adapt existing ones. This is ideal for covering large yards or open spaces.
Discreet Mounting
Sometimes, you want cameras to be less obvious. Consider mounting cameras under eaves, behind decorative elements, or using cameras designed to blend in with their surroundings, like “hidden” cameras that mimic common household objects. However, be aware of local laws regarding camera placement and privacy.
Multi-camera Systems
For comprehensive coverage, you’ll likely need multiple cameras. Plan how they will work together. A common strategy is to cover all entry points with close-range cameras and use wider-angle cameras for overall area monitoring.
Here’s a look at how different camera types might be best suited for various mounting locations:
| Camera Type | Ideal Mounting Location | Primary Use Case | Key Advantage |
|---|---|---|---|
| Bullet Camera | Walls, Eaves, Poles | Deterrence, Wide Area Monitoring | Visible deterrent, directional focus |
| Dome Camera | Ceilings, Walls, Overhangs | Discreet Surveillance, Indoor/Outdoor | Less obvious, wider angle |
| PTZ Camera | High Vantage Points (Pole, Tall Wall) | Active Tracking, Large Area Coverage | Manual/automatic control, zoom capability |
| Doorbell Camera | Front Door Frame | Monitoring package deliveries, visitor identification | Integrates with doorbell, two-way audio |

Credit: santacocktailclub.com
Common Mistakes To Avoid
Even with good intentions, some mistakes can render your camera placement ineffective.
Blind Spots
The most common mistake is leaving blind spots, areas that your cameras cannot see. Walk around your property and imagine potential entry points or activities. Ensure your camera angles cover these areas.
Glare And Obstructions
Direct sunlight hitting the lens can create glare, making footage unusable. Similarly, trees, bushes, or other objects can obstruct the view. Regularly check your cameras for new obstructions as plants grow or weather changes.
Too Low Or Too High
Mounting cameras too low makes them vulnerable to tampering or vandalism. Mounting them too high, especially without a clear downward angle, can make facial recognition difficult. Aim for that 8-foot sweet spot.
Forgetting Weather Protection
Outdoor cameras need protection. Mounting them in exposed locations without any overhang can drastically shorten their lifespan and lead to frequent failures.
Neglecting Power/connectivity
Don’t assume a spot is good without checking power and signal. Running wires can be difficult, and poor Wi-Fi means unreliable footage for wireless cameras.
Installation Tips For A Secure Setup
Once you’ve chosen your spots, the installation itself is key.
Use The Right Hardware
Always use weather-resistant screws and mounting hardware suitable for the surface you are drilling into. For brick or concrete, you’ll need masonry anchors.
Secure Wiring
If you have wired cameras, neatly secure all cables using cable clips or conduit. This not only looks professional but also prevents tripping hazards and protects wires from damage.
Test Before Finalizing
Before permanently fixing a camera, test its view and connection. Adjust the angle and position as needed. Make sure you can see exactly what you intend to monitor.