Mounting cameras on your house is a smart way to boost security and keep an eye on your property. But doing it the right way is key. A poorly mounted camera might not capture what you need, or worse, it could fall and cause damage. This guide will show you the best ways to mount cameras, ensuring they are secure, effective, and hidden enough to deter unwanted attention.
Table of Contents
Choosing The Right Camera Mount
The best way to mount cameras on your house depends on the camera type and where you want to place it. Most security cameras come with mounting hardware, but understanding the options helps you get the most out of your system.
Dome Cameras
Dome cameras are popular because their shape makes it hard to tell which way they are pointing. This adds a layer of deterrence. They are often mounted on ceilings or under eaves.
- Under Eaves: This is a common and effective spot. Mounting a dome camera under an eave protects it from direct weather like rain and snow. It also offers a good vantage point for covering entryways or driveways.
- Walls: Dome cameras can also be mounted directly on walls using a specific bracket. This is useful if you don’t have eaves or need to cover a specific angle.
Bullet Cameras
Bullet cameras are more visible and often designed to look intimidating, acting as a deterrent. They are typically mounted on walls or poles.
- Wall Mounts: These are the most frequent choice. Mount them high enough to capture a wide area but still accessible for maintenance. Aim for locations that cover doors, windows, and the perimeter of your property.
- Pole Mounts: If you have a detached garage or a large property, mounting bullet cameras on poles can provide a clear, unobstructed view. Special pole mounting brackets are available for this purpose.
Turret Cameras
Turret cameras, also known as eyeball cameras, have a ball-and-socket design that allows for easy adjustment. They can be mounted on ceilings, walls, or under eaves.
- Adjustability: Their main advantage is the ability to tilt and pan easily after installation. This makes them versatile for tricky angles or when you need to fine-tune the viewing area.
Strategic Placement For Maximum Coverage
Where you place your cameras is just as important as the type of camera and mount you use. Think about the vulnerable points of your home and the areas you want to monitor most.
Entry Points
Doors and windows are the most common entry points for burglars. Mount cameras to cover all main entrances, including:
- Front door
- Back door
- Patio doors
- Ground-floor windows
Aim to place cameras so they capture faces clearly, if possible. Avoid pointing them directly at bright lights, like the sun, which can wash out the image.
Driveways And Garages
Monitoring your driveway and garage is crucial for deterring car theft and break-ins.
- Place cameras to cover the entrance to your driveway and the garage door itself.
- Consider a camera with a wide-angle lens to cover a larger area.
Yard And Perimeter
If you have a large yard, consider cameras that can monitor the perimeter. This helps detect anyone trying to approach your house unseen.
- Cameras mounted high on corners of the house can provide a good overview.
- Look for cameras with good night vision capabilities if you want to monitor your yard after dark.
Non-obvious Spots
Think about less obvious areas that could still be targets.
- Side gates: If you have a gate leading to your backyard, it’s a potential entry point.
- Sheds or outbuildings: If you store valuable items in a shed, a camera there is a good idea.
Credit: www.visafs.mx
Mounting Techniques And Best Practices
Once you know where to put your cameras, the mounting technique itself matters for security and longevity.
Height And Accessibility
Mount cameras high enough to be out of easy reach, typically 8-10 feet off the ground. This makes them harder to tamper with or remove. However, make sure they are still accessible for cleaning or adjustments without needing a very tall ladder every time.
Weather Protection
Even cameras designed for outdoor use benefit from extra protection.
- Under eaves offers natural shelter.
- If mounting on an exposed wall, consider using a weatherproof housing or a mounting bracket that directs water away from the camera body and cables.
- Ensure all cable connections are sealed properly with waterproof tape or silicone sealant to prevent moisture damage.
Securing The Mount
A camera that can be easily knocked or twisted off its mount isn’t very secure.
- Use the correct screws for your house’s siding material. For brick or stucco, you’ll need masonry screws and anchors. For wood, standard wood screws are usually sufficient.
- Drill pilot holes to make installation easier and prevent wood from splitting.
- Ensure the mount is firmly attached to a solid surface. Avoid mounting on loose siding or gutters.
Cable Management
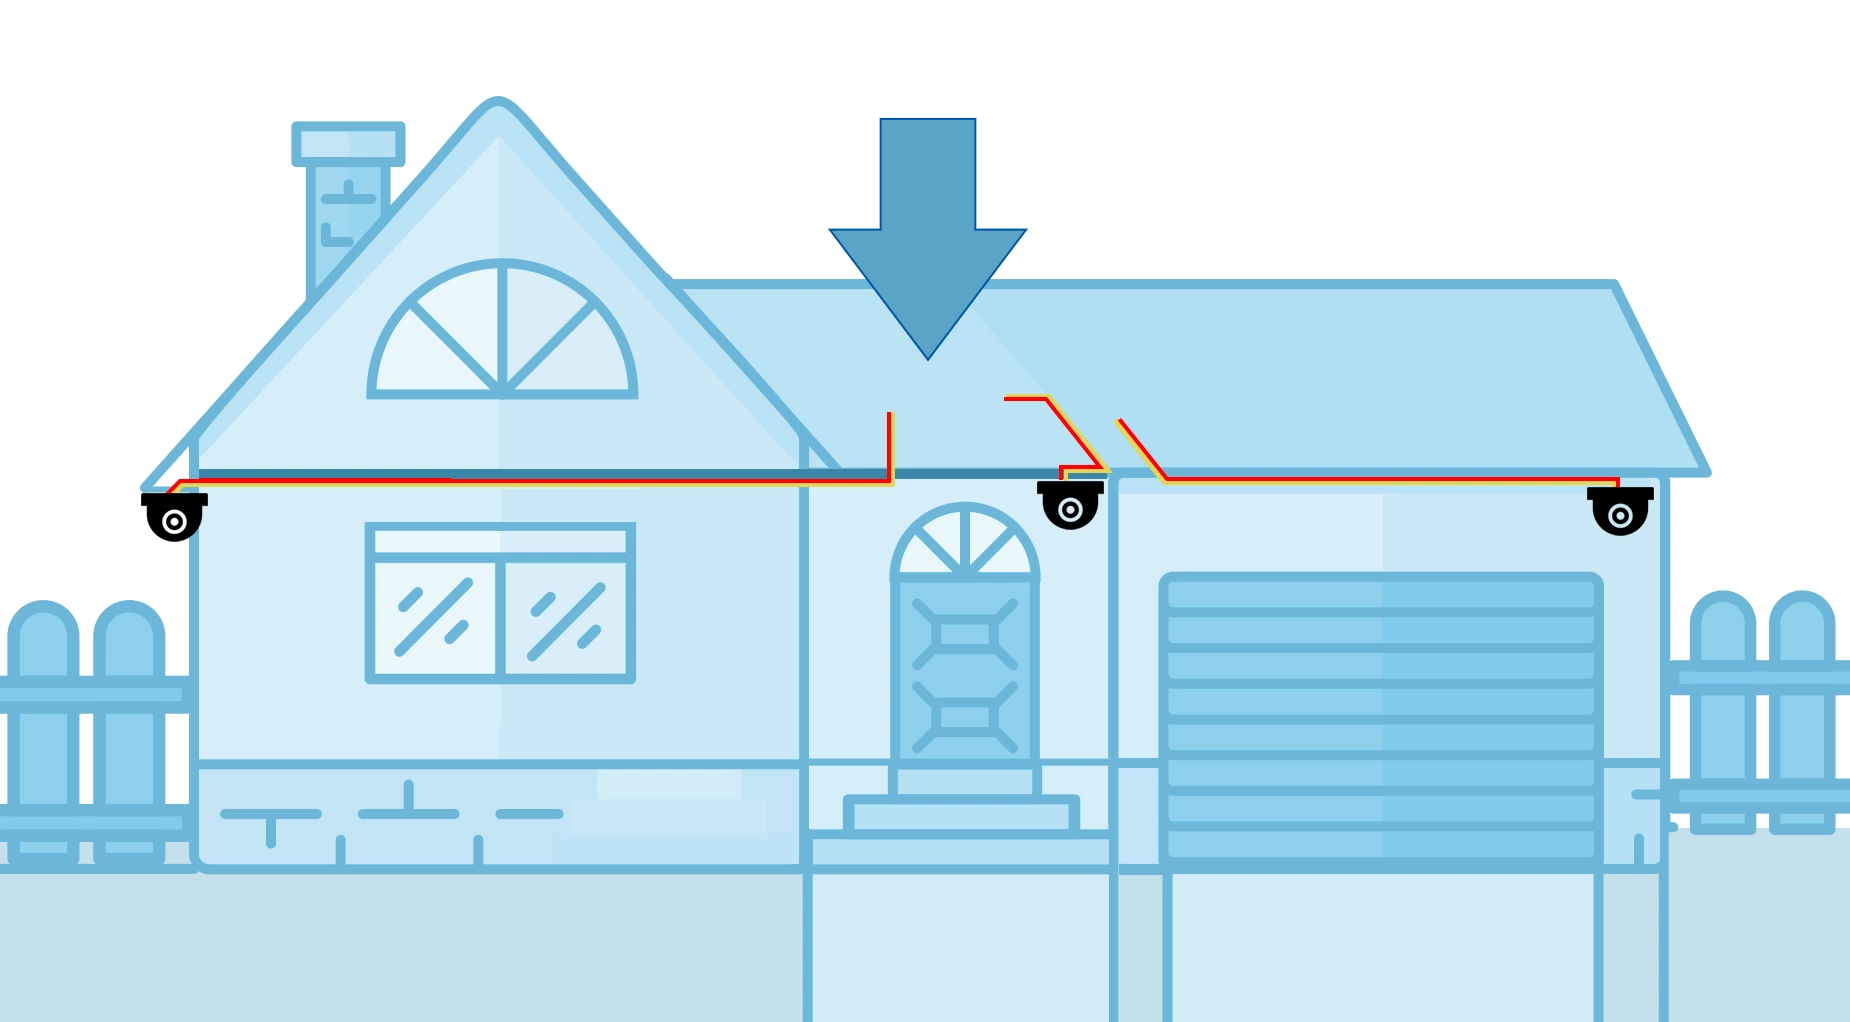
Visible cables can be an eyesore and a potential target for vandals.
- Run cables through walls or use conduit to protect them and make them less noticeable.
- If running cables along the exterior, use cable clips that match your house color to blend in.
- Ensure all outdoor connections are waterproof.
Common Mounting Mistakes To Avoid
Even with good intentions, people often make mistakes when mounting security cameras. Being aware of these can save you a lot of hassle.
Mistake 1: Poor Viewing Angles
- Problem: Mounting a camera too high or too low, or pointing it at an awkward angle, means it misses crucial details. For example, a camera pointed too high won’t capture faces.
- Solution: Test the camera’s view *before* fully tightening the mount. Adjust until you have the best possible angle covering your desired area. Imagine you are the person trying to break in, where would you try to enter, and would the camera see you?
Mistake 2: Ignoring Weather
- Problem: Assuming an “outdoor” camera can withstand all weather without extra thought. Rain, snow, extreme heat, or cold can damage electronics if not properly protected.
- Solution: Always consider the local climate. Use mounts that offer shade, seal connections thoroughly, and choose cameras rated for the temperature extremes in your area.
Mistake 3: Insecure Installation
- Problem: Using the wrong screws, mounting on weak surfaces, or not tightening the mount properly. This can lead to cameras falling, being easily stolen, or having their view constantly shifted.
- Solution: Invest in the right hardware for your wall type. Ensure the mount is attached to a structural element if possible, not just the surface material. Check the mount periodically to ensure it remains secure.
Mistake 4: Visible And Accessible Wires
- Problem: Leaving power and data cables exposed makes them easy for intruders to cut, disabling the camera. It also looks messy.
- Solution: Plan your cable runs carefully. Use conduit, run wires through walls, or use paintable raceways to conceal them. This adds a layer of security and improves the aesthetic.

Credit: ecodena.com