Travel photography often brings exciting challenges. You want to capture every moment, but carrying heavy gear can slow you down. Two common tools for steady shots are the monopod and tripod. Each has strengths and weaknesses. Choosing the right one depends on your needs, travel style, and what you plan to shoot. In my experience, picking between them is not just about weight or price, it’s about how they fit your routine and the places you visit.
Table of Contents
What Is A Monopod?
A monopod is a single-legged support for cameras. It offers quick setup and mobility. Photographers use it when they need stability but can’t wait for a tripod. For example, sports or wildlife shooters often use monopods because they can follow action easily.
Monopods are light and compact. Most models weigh under 1. 5 pounds and fold to about 20 inches. This makes them easy to pack in a carry-on or backpack. Some can even double as walking sticks.
Monopod Pros
- Fast to set up: You can deploy a monopod in seconds.
- Lightweight: Ideal for long walks or hikes.
- Flexible movement: Good for panning shots or tracking moving subjects.
- Compact size: Fits in small bags.
Monopod Cons
- Less stability: Not good for long exposures or night photography.
- Needs your support: You must hold it; it won’t stand alone.
- Limited for group photos: Hard to use for timer shots unless you lean it somewhere.
What Is A Tripod?
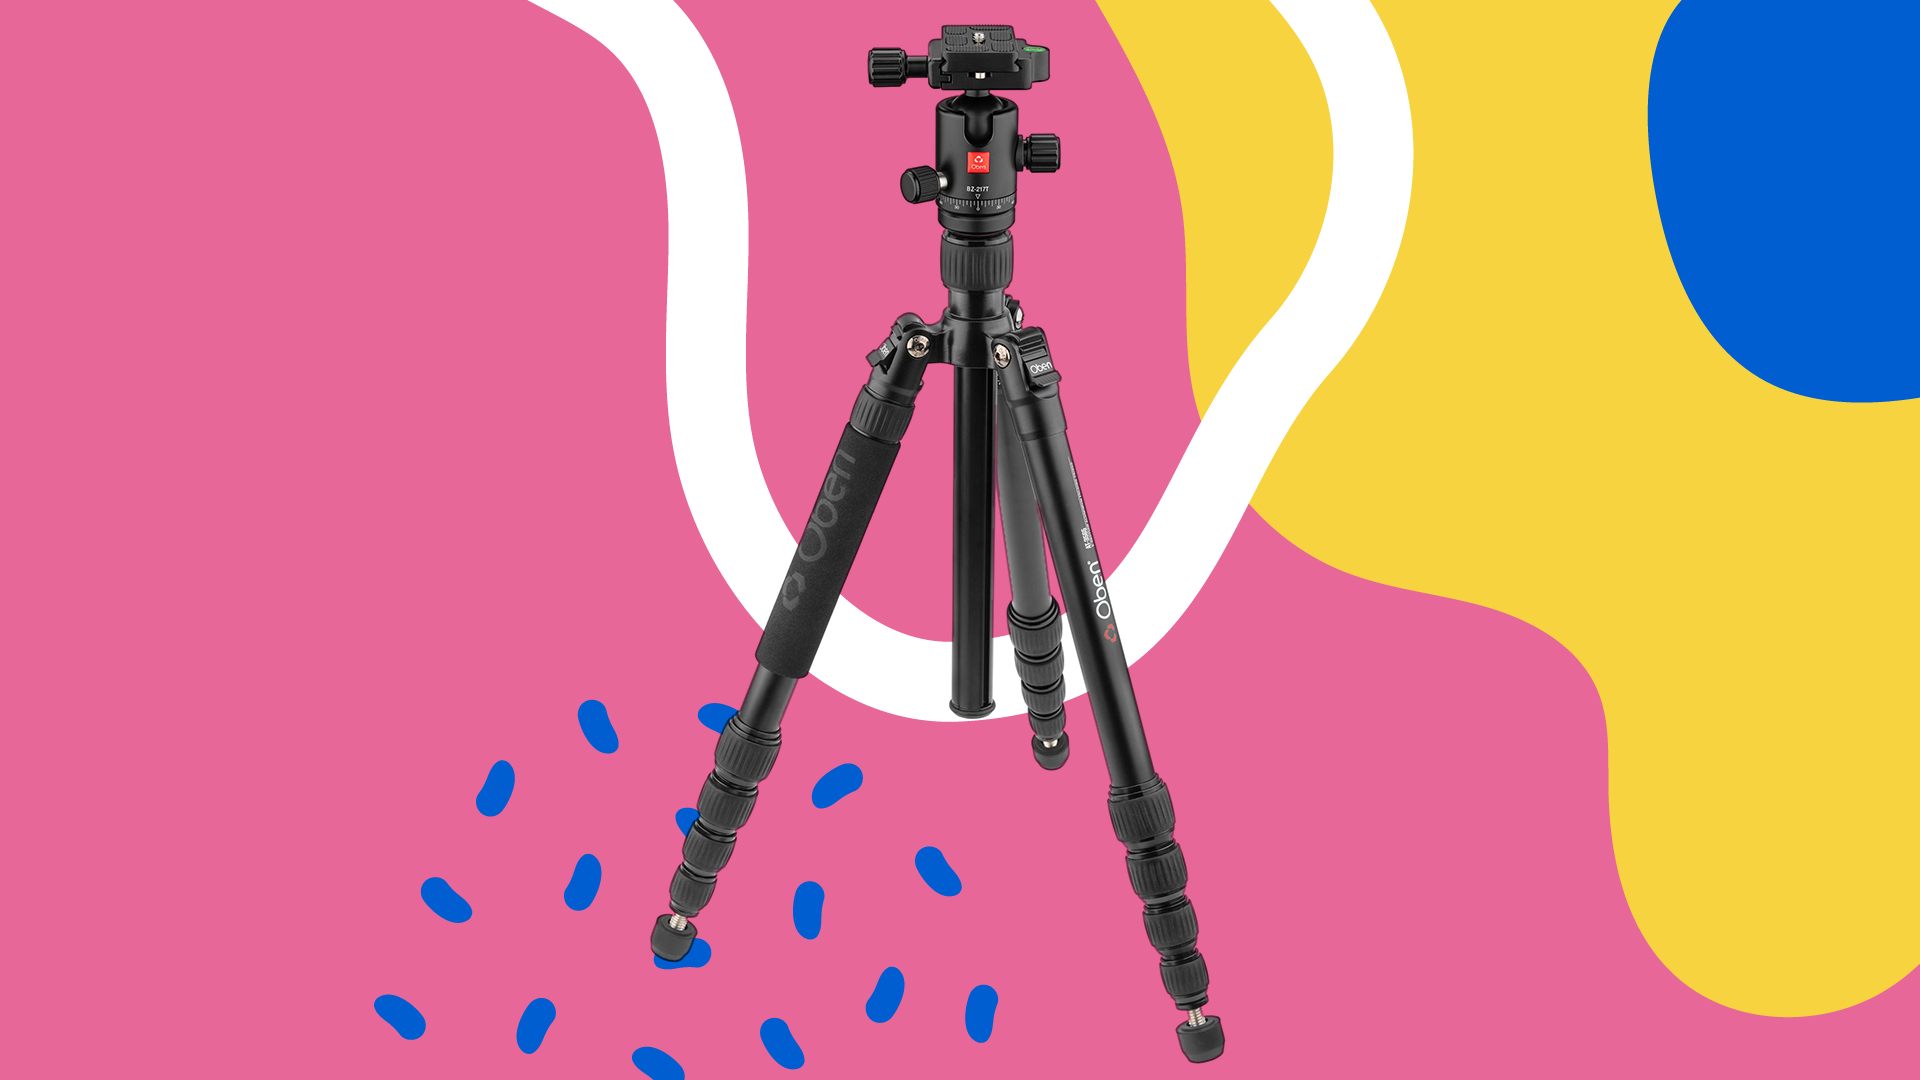
A tripod has three legs and provides maximum stability. It is the tool of choice for landscape, architecture, and night photography. Tripods let you take sharp photos with long exposure times and are perfect for group shots using a timer.
Modern travel tripods are lighter than old models, often weighing about 2-4 pounds. Many fold to under 16 inches. Some tripods can hold heavy cameras and lenses, making them suitable for professionals.
Tripod Pros
- Stable shots: Great for low-light or long exposure photography.
- Hands-free operation: You can step away from the camera.
- Versatile use: Supports video, time-lapse, and group photos.
- Adjustable height: Works for different angles.
Tripod Cons
- Heavier and bulkier: Takes up more space in your bag.
- Slower setup: Takes time to unfold and adjust.
- Not allowed everywhere: Some tourist sites ban tripods.
Monopod Vs Tripod: Key Differences
To help you see the differences clearly, here’s a comparison:
| Feature | Monopod | Tripod |
|---|---|---|
| Number of legs | 1 | 3 |
| Weight | Lighter (1-1.5 lbs) | Heavier (2-4 lbs) |
| Stability | Moderate | High |
| Setup speed | Fast | Slower |
| Best for | Action, travel | Landscape, night shots |
When Should You Choose A Monopod?
Monopods shine when you need to stay mobile. They are ideal for:
- Crowded places: You can move and shoot quickly.
- Sport events: Follow fast action without hassle.
- Wildlife photography: Track animals easily.
- Light travel: Save space and weight in your luggage.
Pro Tip: If you plan to hike for hours or visit sites where tripods are banned, a monopod is your best friend.
When Should You Choose A Tripod?
Tripods are better when stability is crucial. They are perfect for:
- Night photography: Prevent blurry shots from shaky hands.
- Long exposures: Capture waterfalls or city lights with sharp details.
- Self-portraits and group photos: Use a timer without rushing.
- Video filming: Keep the camera steady.
Example: When I visited Iceland, my tripod helped me get clear shots of the Northern Lights. Without it, long exposures would have been impossible.
Practical Travel Considerations
Travel brings unique challenges. Here are points many beginners overlook:
- Airport rules: Some airlines may count a tripod as a separate item. Check size limits before flying.
- Site restrictions: Museums and historical sites often ban tripods, but allow monopods.
- Weather: In windy conditions, a tripod can tip over unless you weigh it down. Monopods are easier to hold steady.
| Situation | Recommended Support | Reason |
|---|---|---|
| Busy city streets | Monopod | Quick setup, less space |
| Mountain landscape | Tripod | Stable for long exposures |
| Wildlife safari | Monopod | Easy to move, track animals |
| Night sky | Tripod | Needed for sharp photos |
Common Mistakes And How To Avoid Them
Many travelers make mistakes with camera supports:
- Buying the cheapest model: Cheap tripods break easily. Invest in quality for durability.
- Ignoring weight limits: Your camera may be too heavy for some monopods or tripods.
- Skipping practice: Try setting up at home before your trip. Practice helps you avoid wasting time on location.
Pro Tip: Always check the maximum load of your tripod or monopod. This keeps your camera safe and prevents damage.
Cost And Value
Monopods are often cheaper than tripods. Basic monopods start at $20, while reliable tripods can cost over $100. However, price is not the only factor. Consider build quality, weight, and compatibility with your camera.
| Type | Average Price Range | Best Use |
|---|---|---|
| Monopod | $20-$70 | Mobile, quick shots |
| Tripod | $50-$200 | Stable, long exposures |
Credit: www.bhphotovideo.com
Which Is Right For You?
Your choice depends on your style and needs. If you move a lot and shoot action or wildlife, a monopod offers the best balance. If you want sharp landscapes or plan night photography, a tripod is the right tool. Some photographers carry both for flexibility.
For more tips on travel photography gear, you can visit National Geographic Photo Tips.
Traveling with camera gear should feel easy, not stressful. Choose the support