Capturing the perfect outdoor photo often means dealing with harsh sunlight, reflections, or faded colors. Many photographers use a polarizer lens filter to solve these issues, but knowing when to use it can make the difference between an average shot and a stunning one. Here’s how to decide if a polarizer is the right tool for your situation.
Table of Contents
When A Polarizer Lens Filter Makes A Difference
A polarizer filter works by reducing glare and reflections from non-metallic surfaces like water or glass, and by deepening colors. But it isn’t needed for every photo. Here are the key moments when a polarizer truly helps:
- Bright Sunlight: When the sun is out, a polarizer can cut reflections and boost the sky’s blue color. It also helps to make clouds stand out.
- Water Photography: If you want to see through the surface of a lake or remove shiny spots from water, use a polarizer.
- Wet Surfaces: After rain, streets and leaves often reflect a lot of light. A polarizer reduces this, showing true colors and details.
- Through Glass: Shooting through windows? A polarizer can remove unwanted reflections and let your subject shine.
- Landscape Photography: Colors in forests, mountains, and fields look richer with a polarizer, especially greens and blues.
When Not To Use A Polarizer
Sometimes, a polarizer can actually hurt your image quality. Here’s when you should avoid it:
- Low Light: Polarizers reduce the amount of light reaching your camera. In dim conditions, this can make images darker or force you to use a slower shutter speed.
- Panoramas: The sky’s color can become uneven in wide shots, creating a patchy look.
- Rainbows: Polarizers can erase rainbows, since they work by blocking reflected light.
- Night Photography: You need as much light as possible at night, so skip the polarizer.

Credit: wavelength.focuscamera.com
Polarizer Vs. No Polarizer: What’s The Real Impact?
To see how a polarizer changes your photo, compare the main effects side by side:
| Feature | With Polarizer | Without Polarizer |
|---|---|---|
| Sky Color | Deep, rich blues | Faded, pale blues |
| Reflections | Reduced or removed | Visible and strong |
| Water Clarity | See through surface | Surface glare blocks view |
Practical Tips For Using A Polarizer
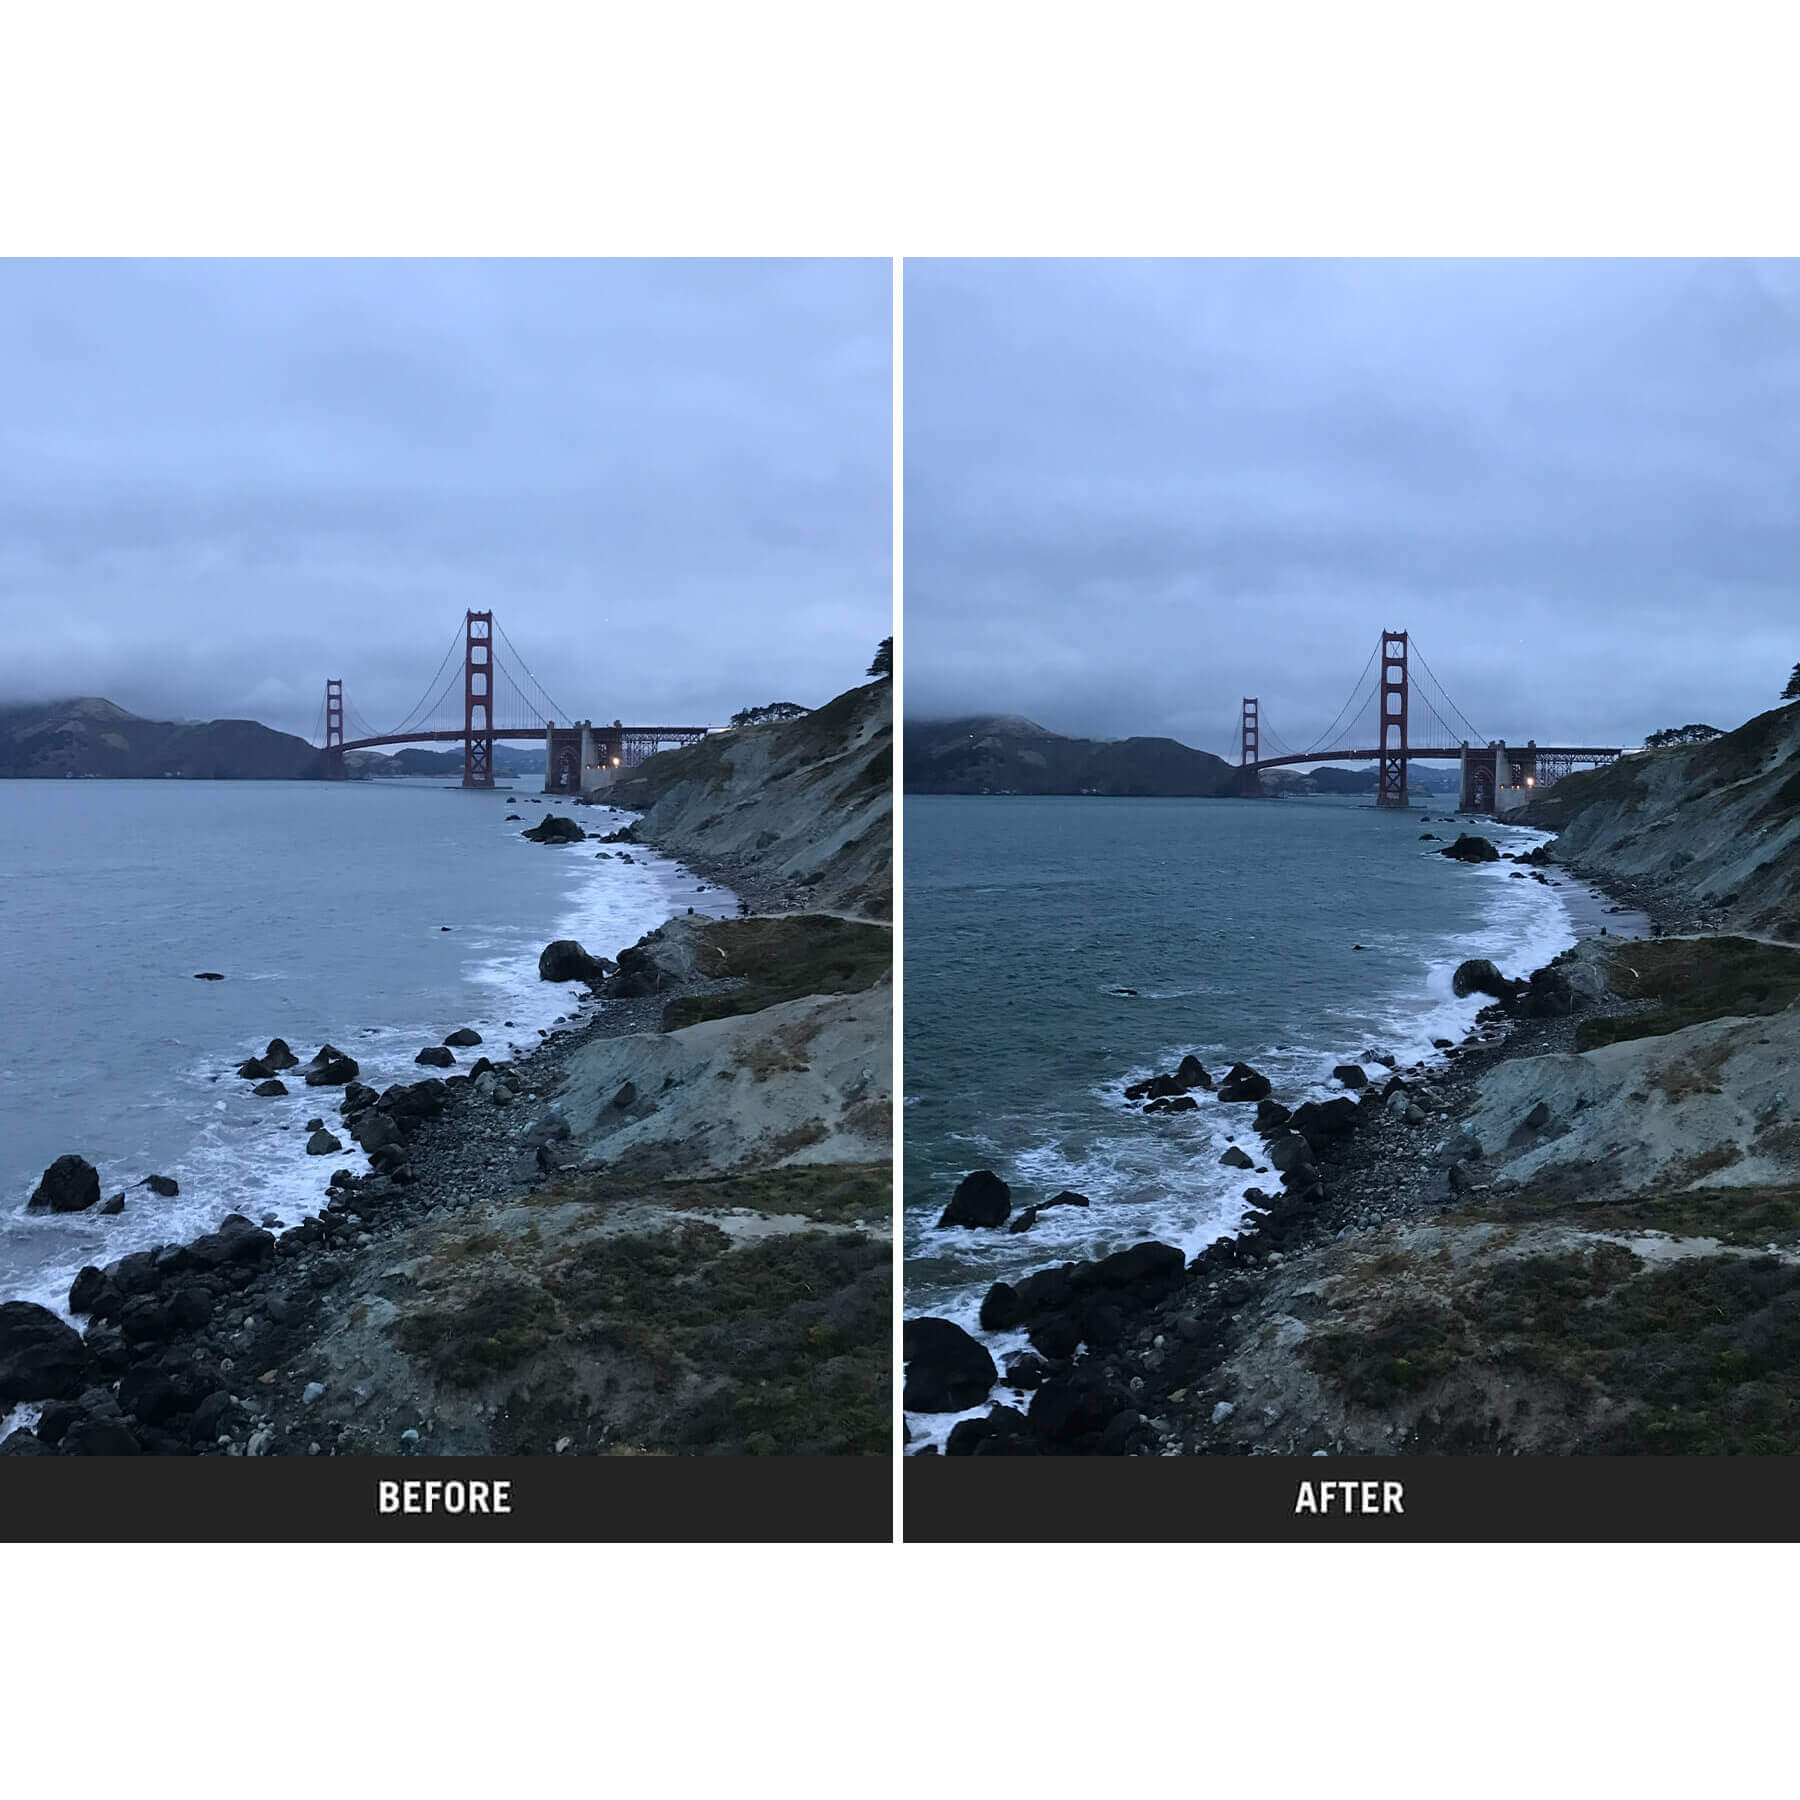
- Rotate the Filter: Turn the polarizer as you look through the viewfinder to see the effect change.
- Angle Matters: The strongest effect is when your camera is at a 90-degree angle to the sun.
- Don’t Overdo It: Too much polarization can make skies look unnatural or create banding.
Credit: www.sandmarc.com
Common Mistakes Beginners Make
Many new photographers forget that polarizers:
- Darken the Image: Adjust your exposure or ISO to compensate for the loss of light.
- Can’t Fix Everything: Not all reflections disappear, especially on metal or at the wrong angle.
- May Cause Vignetting: On wide-angle lenses, the edges might look darker if you use a thick polarizer.
Here’s how a polarizer compares with another popular filter:
| Filter Type | Main Use | Effect on Image |
|---|---|---|
| Polarizer | Reduce reflections, deepen colors | Clearer, more vivid photos |
| UV Filter | Protect lens, block UV | Minimal impact on image |
Using a polarizer at the right time can turn a dull photo into something eye-catching. Practice in different lighting, and always check your camera’s screen to see the live impact. For more on polarizer physics, visit the Wikipedia page.
Frequently Asked Questions
What Is The Main Purpose Of A Polarizer Lens Filter?
A polarizer reduces reflections and glare, making colors more vivid and skies bluer.
Can I Keep A Polarizer On My Lens All The Time?
No. It blocks some light, which can hurt image quality in low light or indoors.
Will A Polarizer Remove All Reflections?
It removes most from glass and water, but not from metal or at all angles.
Does A Polarizer Help In Foggy Weather?
Not much. It’s more useful in bright, sunny conditions.
How Do I Know If My Shot Needs A Polarizer?
If you see glare, faded colors, or unwanted reflections, try using one and compare the results.

Credit: www.shellcreekphoto.com