If you use Photoshop often, you may have seen the Camera Raw Filter option turn grey and unclickable. This can be confusing, especially if you want to edit your photo using the powerful Camera Raw tools. Understanding why this happens can save you time and frustration. Let’s break down the main reasons and how you can quickly fix the problem.
Table of Contents
Common Reasons Camera Raw Filter Is Greyed Out
Several issues can cause the Camera Raw Filter to be unavailable. Here are the most frequent ones:
- Image Mode: The filter only works in RGB and 8-bit/16-bit modes. If your photo is in CMYK, Lab, or 32-bit mode, the option will be greyed out.
- Smart Object Layer: If you are working on a Smart Object, some filters are not available until you rasterize the layer.
- No Pixel Layer Selected: The filter needs a pixel-based layer. Adjustment layers or empty layers will not work.
- Selections and Masks: Sometimes, having an active selection or mask can block the filter.
- Photoshop Version: Very old versions of Photoshop may not support Camera Raw as a filter.
Quick Solutions To Enable Camera Raw Filter
Fixing the issue often takes just a few clicks. Try these steps:
- Go to Image > Mode and check if your file is set to RGB Color, and 8 Bits/Channel or 16 Bits/Channel.
- Right-click the layer and choose Rasterize Layer if you are using a Smart Object.
- Select a layer that contains pixels, like your main photo layer.
- Deselect any active selections (press Ctrl+D or Cmd+D).
- Update Photoshop if you are using an old version.
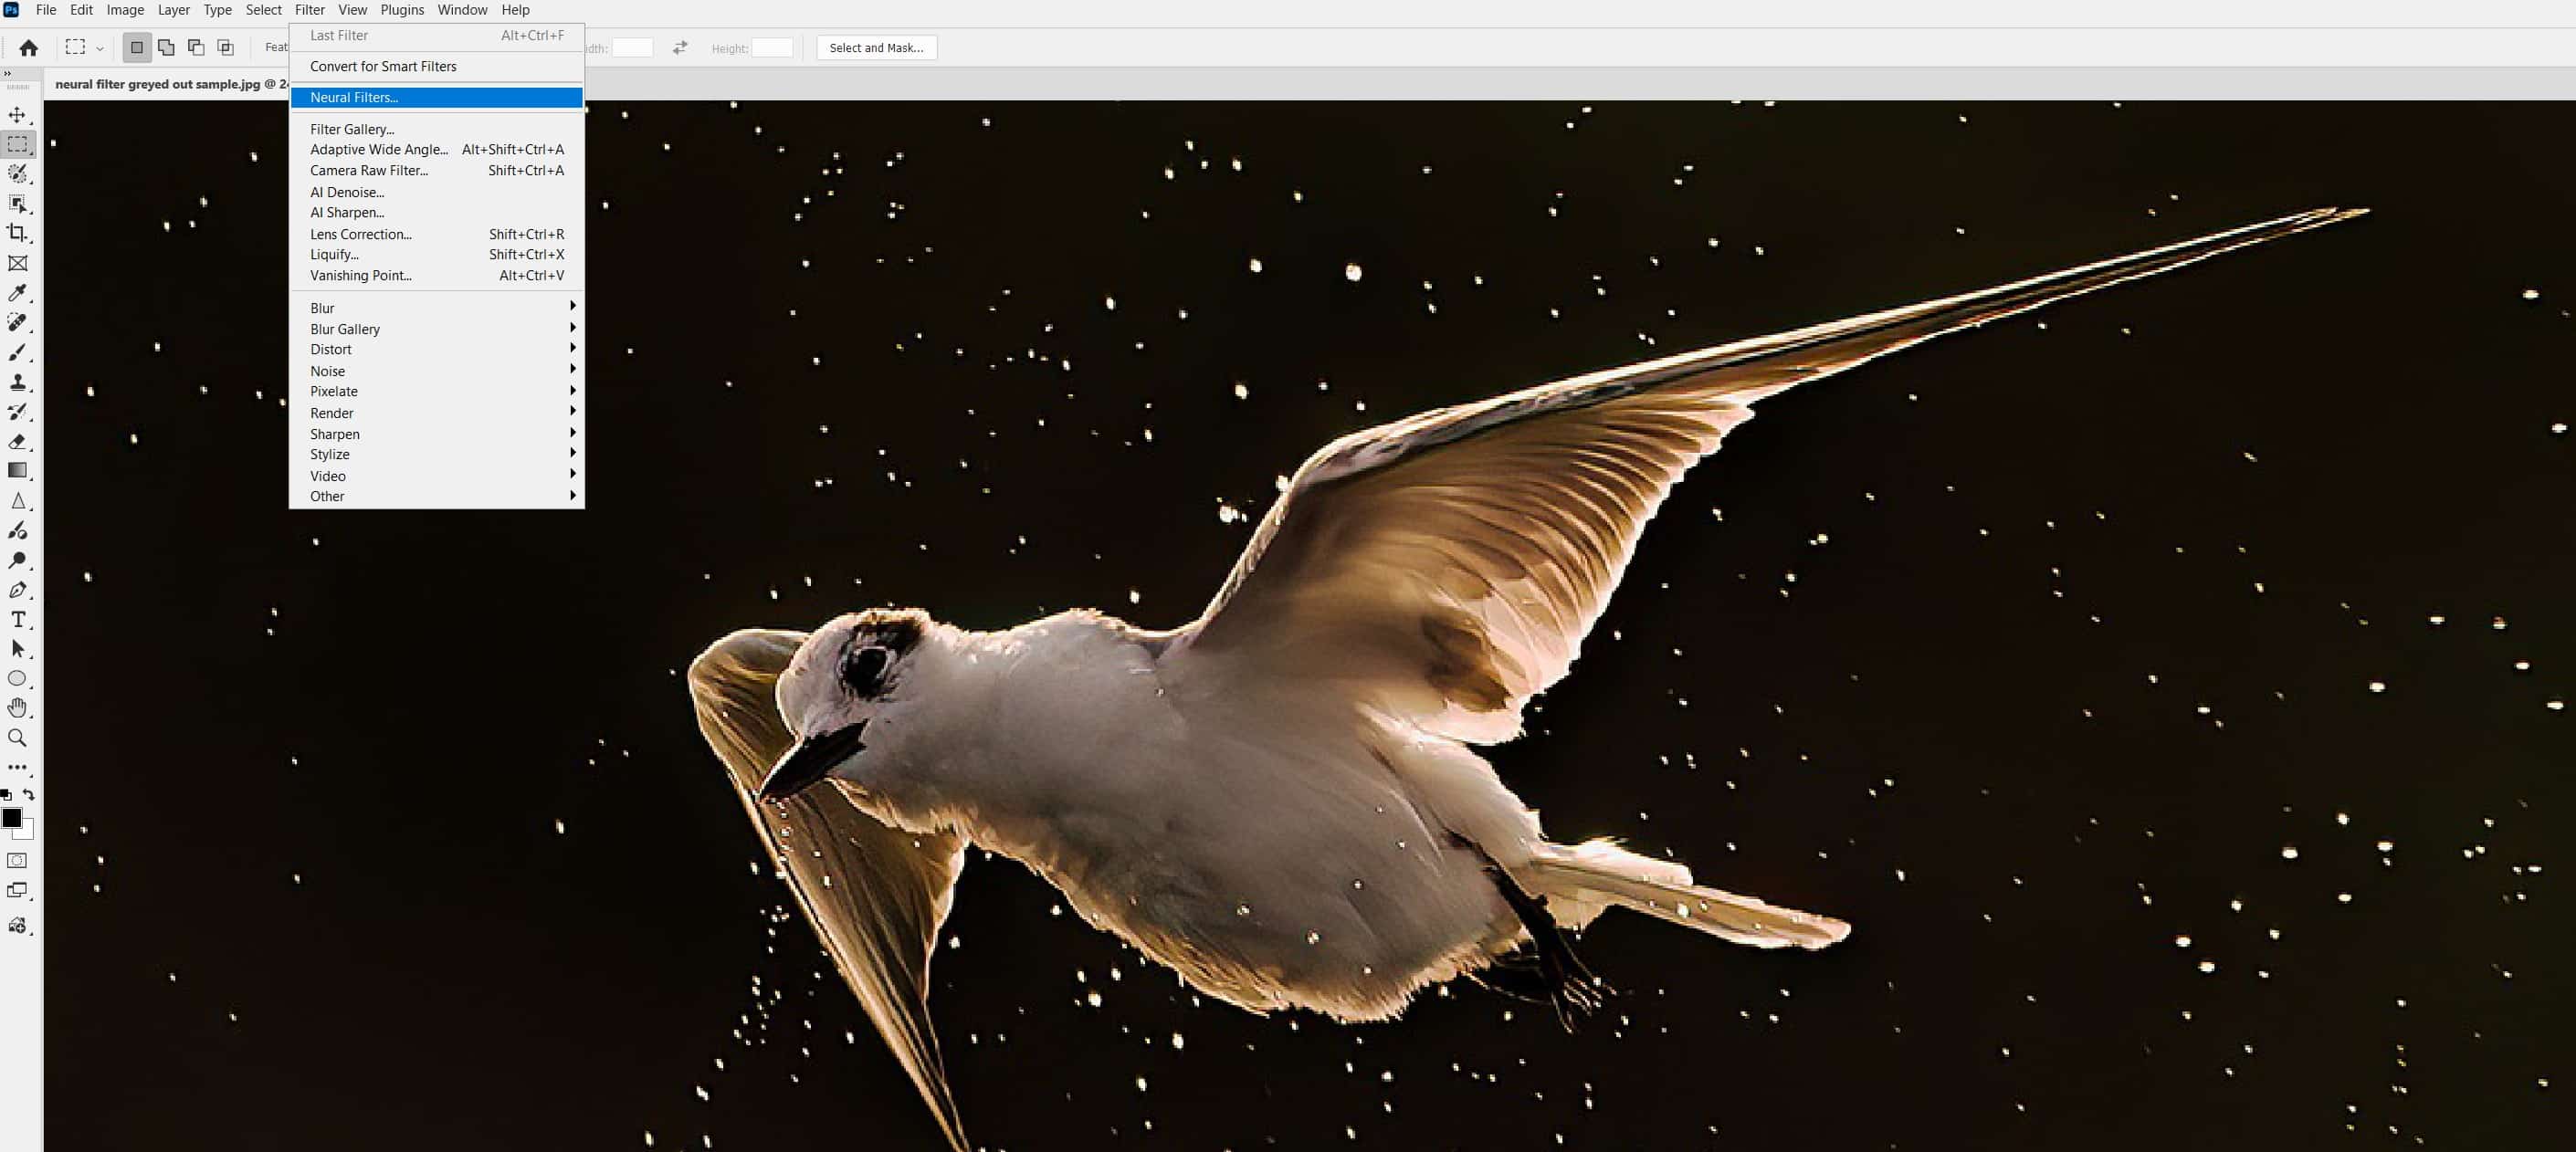
Credit: www.psdvault.com
Example: Changing Image Mode
Many users get stuck because their image is in the wrong mode. Here’s how to change it:
- Click Image in the top menu.
- Hover over Mode.
- Select RGB Color.
- Choose 8 Bits/Channel or 16 Bits/Channel.
Now the Camera Raw Filter should be available.
When Camera Raw Filter Is Not Needed
Sometimes, your workflow might be better without using the Camera Raw Filter directly. For example, if you open a RAW file, Photoshop will launch Camera Raw automatically before entering the main workspace. In these cases, you don’t need to use the filter menu at all.

Credit: www.youtube.com
Comparison: Supported Vs. Unsupported Modes
To make it clearer, here’s a look at which modes let you use the Camera Raw Filter:
| Mode | 8-bit | 16-bit | 32-bit |
|---|---|---|---|
| RGB | ✔️ | ✔️ | ❌ |
| CMYK | ❌ | ❌ | ❌ |
| Lab | ❌ | ❌ | ❌ |
Smart Object Vs. Raster Layer
Understanding layer types helps too:
| Layer Type | Camera Raw Filter Usable? |
|---|---|
| Smart Object | ❌ (unless rasterized) |
| Raster Layer | ✔️ |

Credit: www.youtube.com
Practical Tips
- Always double-check your image mode before editing.
- Convert Smart Objects to raster layers if you need filter access.
- Use shortcuts to quickly deselect (Ctrl+D/Cmd+D).
- Make sure you’re working with the latest Photoshop version. If not, update via the Adobe Creative Cloud app or visit Adobe’s official update page.
Frequently Asked Questions
Why Is The Camera Raw Filter Not Available For 32-bit Images?
Photoshop only supports Camera Raw Filter on 8-bit and 16-bit images in RGB mode. For 32-bit images, you must convert to 16-bit or 8-bit.
Can I Use Camera Raw Filter On Adjustment Layers?
No, only pixel-based layers (like a photo layer) support Camera Raw Filter.
What Happens If I Rasterize A Smart Object?
Rasterizing changes the Smart Object to a normal pixel layer. You lose the ability to edit the original content non-destructively.
How Do I Check If My Layer Supports Camera Raw?
Right-click your layer. If “Rasterize Layer” is available, you’re likely on a Smart Object. Pixel layers will show the filter option.
Does Updating Photoshop Fix This Issue?
Updating can help if your version is too old or missing features, but often the problem is with image or layer settings. Always check those first.