Removing a Ring camera mounting plate can feel tricky if you’ve never done it before. Maybe you’re moving, upgrading your device, or just need to change its position. The good news is, most Ring camera plates come off with basic tools and careful steps. Let’s walk through how to do this safely, without damaging your wall or device.
Table of Contents
What You’ll Need
Before starting, gather these items:
- Small Phillips screwdriver
- Flathead screwdriver (optional for prying)
- Ladder (if camera is mounted high)
- Plastic putty knife (to protect walls)
- Cleaning supplies (for wall marks)
Having the right tools helps avoid slips and stripped screws.
Step-by-step Removal Process
1. Turn Off Power Or Battery:
Safety first. If your camera is wired, turn off power at the breaker. For battery models, remove the battery.
2. Detach The Camera:
Most Ring devices twist off or unscrew from the mounting plate. Hold the camera, twist counterclockwise, or unscrew as directed in the manual. Set the camera aside.
3. Locate And Remove Screws:
Look for screws holding the plate to the wall. Often, there are 2–4 screws.
| Model | Number of Screws | Mounting Surface |
|---|---|---|
| Ring Video Doorbell | 4 | Wood/Brick |
| Ring Spotlight Cam | 3 | Wood |
| Ring Stick Up Cam | 2 | Drywall |
Use the correct screwdriver and keep pressure firm to avoid stripping.
4. Gently Pry The Plate Off:
If the plate sticks, insert a plastic putty knife or flathead screwdriver under the edge. Wiggle gently to loosen. Avoid metal tools on painted walls to prevent scratches.
5. Clean The Area:
After removal, you may see dust or marks.
| Wall Surface | Common Marks | Cleaning Method |
|---|---|---|
| Painted Drywall | Scuff | Magic Eraser |
| Brick | Dust | Damp Cloth |
| Wood | Dents | Wood Filler |
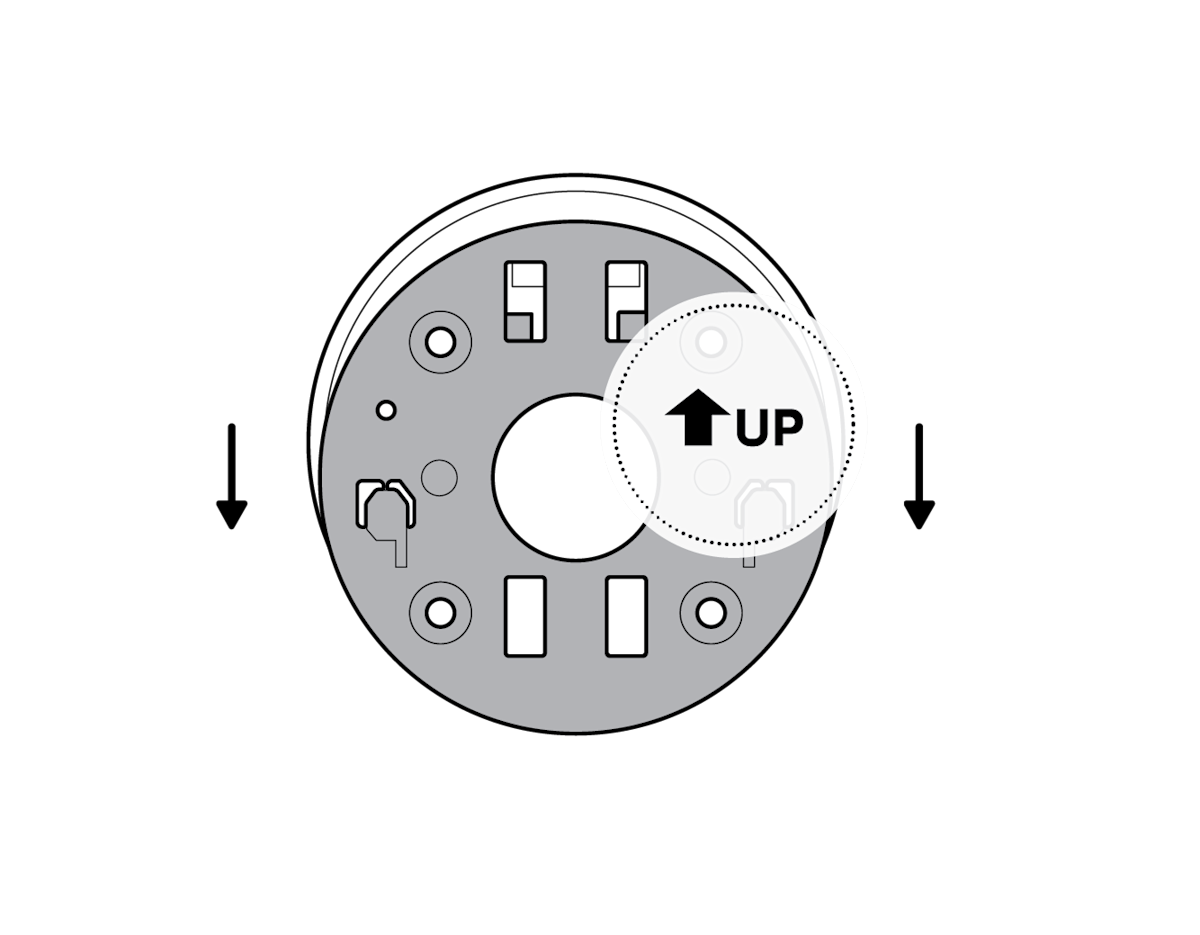
Credit: ring.com
Extra Tips And Common Mistakes
- Don’t rush—forcing the plate can damage drywall or brick.
- Check for hidden wires before prying, especially with wired models.
- Use a magnet to collect screws so you don’t lose them.
- Beginners often forget to note the exact position for remounting. Take a picture before removal.
If you run into unique mounting hardware, check the official Ring support site for model-specific guides.
Removing your Ring camera mounting plate is simple with the right prep. Take your time, use gentle force, and handle all components carefully. This way, you’ll keep both your camera and wall in top shape for the next installation.
Frequently Asked Questions
How Do I Know If My Ring Camera Is Wired Or Battery Powered?
Check the back of your camera—battery models have a release tab, while wired models have connected wires.
What If The Screws Are Stripped?
Try a rubber band between the screwdriver and screw for extra grip, or use a screw extractor tool.
Can I Reuse The Mounting Plate?
Yes, if it’s not damaged. Save all screws and hardware for future use.
What Should I Do If There Are Large Holes Left?
Patch with spackle for drywall, or use matching filler for wood or brick.
Is It Safe To Remove The Plate Myself?
Yes, but always turn off power for wired units and use caution with tools. If unsure, ask a professional.

Credit: www.youtube.com