Making a cheap tripod is simple. You can create one with basic materials.
A little creativity helps too. Tripods are essential for stable photography and video shooting. But buying a high-quality one can be costly. Luckily, you can make a tripod without spending much. Homemade tripods are practical and fun to build. You can use items like PVC pipes, cardboard, or even old broomsticks.
This DIY approach is perfect for hobbyists, students, or anyone on a tight budget. Plus, crafting your own tripod lets you customize it to your specific needs. So, if you’re ready to learn how to make a cheap tripod, read on. Discover how you can achieve great results with minimal expense.
Table of Contents
Introduction To Diy Tripods
Making your own tripod can be very cost-effective. It allows you to use materials you already have. You also get to customize it to fit your needs. Creating something yourself can be a fun learning experience. You gain skills you can use for other projects. This also lets you express creativity. It feels good to make something with your own hands. You will have a strong sense of achievement.
- Three sturdy wooden sticks or metal rods
- Strong adhesive or glue
- Rubber bands for extra hold
- Bolts and nuts for tightening
- A base for stability
Choosing The Right Materials
Finding cheap materials is key. PVC pipes are a great choice. They are light and strong. Wooden dowels work well too. They are cheap and easy to find. Rubber bands can hold parts together. Old camera parts might be useful too. Screws and nuts keep things tight. Glue can help stick parts.
Tools make the job easy. A screwdriver helps tighten screws. Glue is needed to stick parts. A saw can cut pipes. Sandpaper smooths rough edges. Pliers hold small parts. A drill can make holes. Measuring tape helps measure lengths. Marker for marking places to cut. Clamp holds parts while working. Keep tools handy for easy assembly.
Building The Tripod Base
Crafting a sturdy tripod base doesn’t have to be costly. Use materials like PVC pipes or wood for a budget-friendly build. Ensure stability by securing joints tightly, providing a reliable foundation for your DIY tripod project.
Creating A Stable Foundation
A strong base keeps the tripod steady. Use thick wooden sticks or metal rods. They should be the same length. Arrange them in a triangle shape. This shape is the strongest. Secure the ends with strong tape or glue. Check if it stands firm. The base must not wobble.
Ensuring Durability
Choose durable materials for long use. Metal lasts longer than wood. Add a protective layer like paint or varnish. This keeps it safe from rust or damage. Re-tighten the joints often. This keeps it strong and safe. A durable tripod serves you for a long time.
Credit: www.thisoldhouse.com
Assembling The Legs
Adjustable Leg Designs make tripod setup easy. These designs help adjust the tripod’s height. Kids can learn this quickly. Parents love adjustable legs. They are safe and simple. No tools are needed. You can use them anywhere. They fit inside a bag. Light to carry. Perfect for travel.
Securing the Structure is key for a stable tripod. Ensure each leg is tight. Check regularly. This keeps the tripod firm. Avoid loose parts. They can cause falls. Use rubber grips on feet. This stops slipping. Always test before using. Safety first!
Crafting The Tripod Head
Use a flat piece of wood for the tripod head. Drill a hole in the middle. This hole fits a bolt. The bolt holds the camera. Secure the bolt with a nut. Make sure the nut is tight. Test the camera on the tripod. It should not wobble.
Attach a rubber washer under the bolt. This washer helps the camera move. Apply some lubricant to the washer. This makes movement smooth. Check the movement by turning the camera. It should glide without effort. Adjust the bolt if needed. Proper movement is very important.
Adding Extra Features
A phone holder is very handy. You can make one with a rubber band. Wrap the band around the top of the tripod. Make sure it is tight. It should hold your phone snugly. Use a soft cloth to protect your phone. This will stop scratches. Test the holder before use. This is to ensure your phone is safe.
A level indicator helps keep the camera straight. You can use a bubble level. Stick it to the top of the tripod. Check the level before each use. This keeps your pictures straight. A small bubble level is easy to find. It is cheap too. This small tool makes a big difference.
Testing And Adjustments
Stability Testing is important for your tripod. First, set your tripod up. Check if it stands straight. Gently push it to see if it wobbles. A good tripod should stay firm. If it moves, you need to fix it. Make sure the legs are tight. Sometimes, the ground is uneven. Use a level tool to check. Adjust the legs to make it stable.
For Making Necessary Adjustments, look at the tripod’s locks. They keep the legs in place. Tighten them if they are loose. Check the top where you attach the camera. It should not tilt. If it does, adjust the head. Sometimes, adding a small weight can help. Hang a bag from the center pole. This makes it more stable. Always test again after changes. This ensures the tripod is safe to use.
Tips For Maintenance
Regular cleaning helps keep the tripod in good shape. Use a soft cloth to wipe it down. Make sure it’s dry before storing it. Dust and dirt can cause damage over time. Store in a cool, dry place. Avoid damp areas to prevent rust. Fold the tripod neatly after use. This saves space and keeps it ready for next time.
Check for loose screws or parts. Tighten them gently with a screwdriver. If a leg is wobbly, adjust the joints. Small cracks can be fixed with super glue. Let the glue dry completely. If a rubber foot is missing, replace it. This keeps the tripod stable. Regular checks help spot problems early.
Conclusion And Final Thoughts
Making a tripod on your own can be fun. It saves money too. The journey teaches a lot. You learn to use tools and materials. Creativity comes alive during the process. Each step brings a sense of achievement. Simple items become useful tools.
The DIY process is great for learning. It helps in understanding how things work. Mistakes happen, but they teach new lessons. Trying new ideas can lead to success. The experience builds confidence.
Budget creators have a chance to shine. Making things at home is rewarding. It shows creativity and skill. Exploring new methods can be exciting. Every project brings new challenges. Solving them is satisfying.
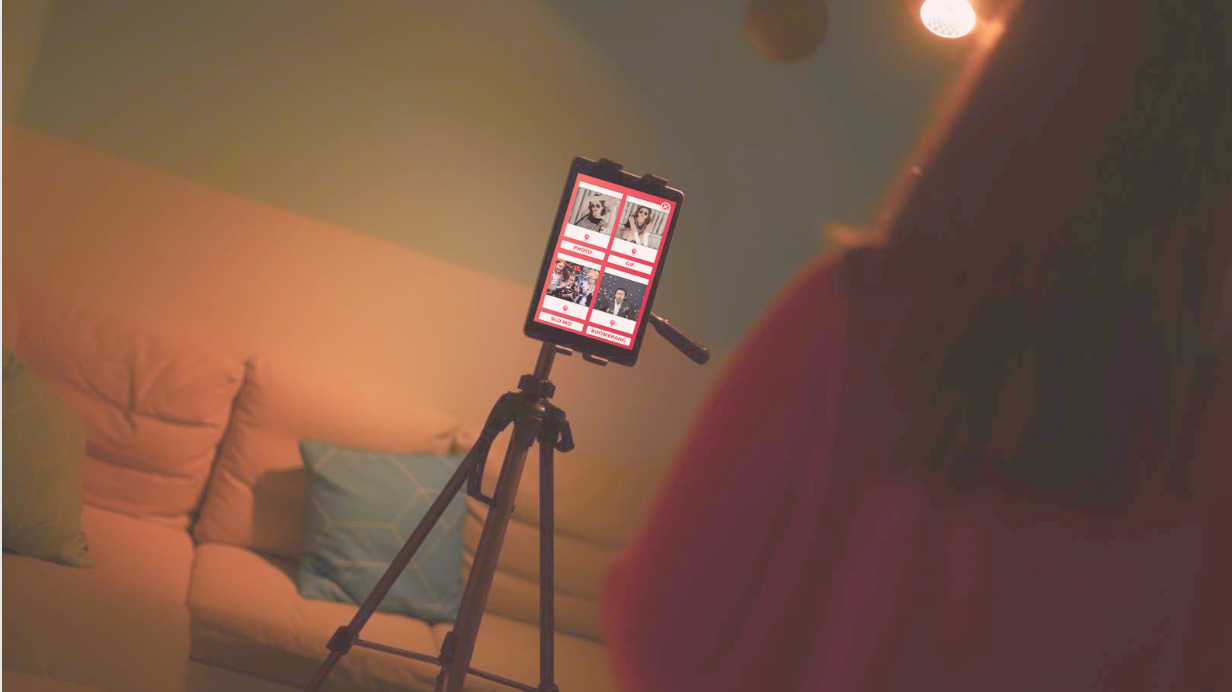
Credit: www.eventer.cc

Credit: www.youtube.com
Frequently Asked Questions
How To Make A Diy Tripod?
To make a DIY tripod, gather three sturdy sticks and bind them at the top using strong tape or rope. Spread the legs evenly for stability. Attach a phone holder or camera mount to the top. Ensure the tripod stands securely before using.
What Is A Good Substitute For A Tripod?
Use a sturdy table, a stack of books, or a monopod as a tripod substitute. These options provide stability. Ensure your camera or smartphone remains secure and steady for clear shots. Choose lightweight and portable solutions for outdoor photography.
What To Do If I Don’t Have A Tripod?
Use stable surfaces like tables or chairs for support. Lean against walls for steadiness. Employ books or bags for elevation. Hold the camera close to your body for better control. Consider using smartphone apps with stabilization features.
How To Prop Up A Camera Without A Tripod?
Use a sturdy surface like a table or shelf. Stabilize the camera with books or a bean bag. Angle adjustment can be achieved with small objects like erasers or coins. For outdoor shoots, use rocks or a backpack. Ensure the camera is secure to prevent falls.
Conclusion
Building a cheap tripod is simple and rewarding. You save money and learn new skills. Start with basic materials. Use pipes or sturdy sticks. Secure joints tightly. Your DIY tripod can hold cameras well. Perfect for casual photography and videos.
Adjust height for different angles. Lightweight and portable. Ideal for outdoor shoots. Enjoy capturing beautiful moments. Share your creations with friends. Feel proud of your handiwork. You’ve crafted something useful. No need for expensive gear. With creativity and effort, your tripod serves you well.
Now, explore photography with confidence and joy.