Using a camera stabilizer can change the way your videos look, making them much smoother and more professional. Whether you’re filming travel videos, weddings, or short films, a stabilizer helps reduce shaky movements. But many beginners find stabilizers confusing at first.
With a few simple steps, you can start capturing steady shots and improve your video quality.
Table of Contents
Understanding Camera Stabilizers
A camera stabilizer is a device that keeps your camera steady while you move. There are different types, like handheld gimbals, Steadicams, and simple counterweight rigs. Each type has its own strengths and weaknesses.
Here’s a quick comparison:
| Type | Best For | Price Range |
|---|---|---|
| Gimbal | Vlogging, Action Shots | $$-$$$ |
| Steadicam | Professional Films | $$$ |
| Counterweight Rig | Budget Projects | $-$$ |
Setting Up Your Stabilizer
Proper setup is the first step to getting good results.
- Attach your camera: Make sure the camera is securely fastened. Loose screws can cause unwanted movement.
- Balance the stabilizer: Adjust the arms and weights until the camera stays level when you let go. Some stabilizers have fine-tuning knobs for easier balancing.
- Check the battery (for gimbals): Charge your stabilizer before filming. Running out of power mid-shoot is a common mistake.
A good setup means less work during shooting and editing.

Credit: www.youtube.com
Using A Camera Stabilizer Effectively
Once your stabilizer is ready, focus on your movements.
- Hold with two hands when possible. This gives you better control and reduces shake.
- Walk softly. Bend your knees and move smoothly, like you’re gliding. Fast or jerky steps can still transfer to the camera, even with a stabilizer.
- Practice panning and tilting. Use your waist and arms to move the stabilizer, not your wrists. This keeps motions fluid.
Here’s a simple performance difference:
| Technique | Stability | Learning Curve |
|---|---|---|
| One-Handed | Medium | Easy |
| Two-Handed | High | Moderate |
A non-obvious tip: don’t overcorrect. If you try to fight the stabilizer’s movement too much, you’ll create new shakes. Trust the device and let it do its job.
Practical Tips For Better Shots
- Test before filming: Do a quick walk and playback the footage. Adjust as needed.
- Use the right lens: Lighter, wide lenses are easier to balance and more forgiving.
- Be aware of wind: Wind can affect even the best stabilizer. Shield your setup or wait for calmer conditions.
Beginners often miss the importance of practicing with weight. Adding accessories (like a microphone) after balancing will throw off your setup—always add all gear first.
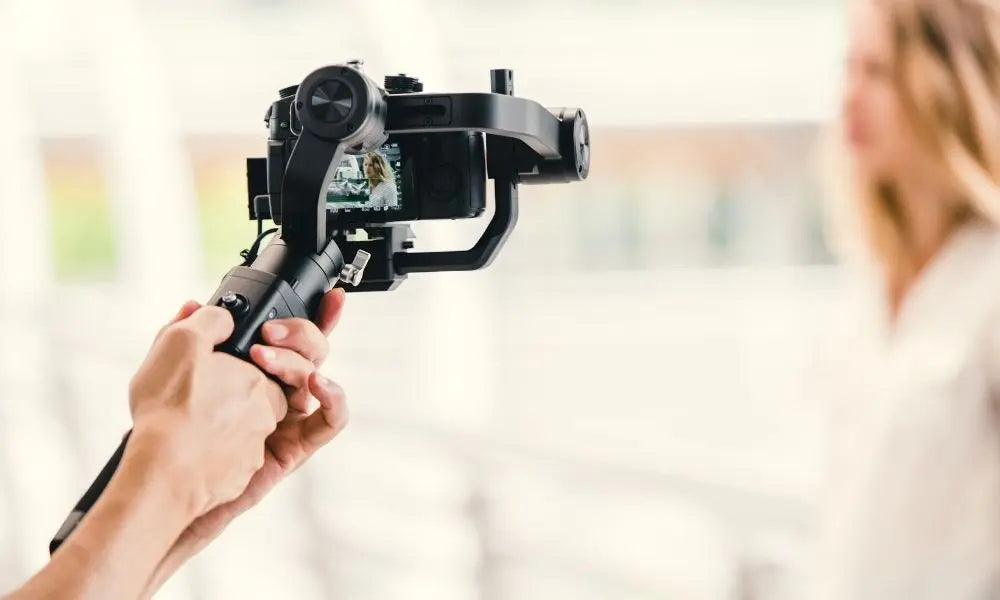
Credit: glidegear.net
Frequently Asked Questions
How Long Does It Take To Learn A Camera Stabilizer?
Most people need a few hours to get basic shots. Full control can take days of practice.
Can I Use A Stabilizer With A Smartphone?
Yes, many stabilizers support smartphones with a special clamp or mount.
Do I Need Image Stabilization In My Lens With A Stabilizer?
It helps, but it’s not required. The stabilizer does most of the work.
How Do I Travel With A Stabilizer?
Detach the camera and pack the stabilizer in a padded case. Some models fold for easy travel.
Where Can I Learn More About Stabilizer Techniques?
Check out the Wikipedia page on camera stabilizers for more details.
A camera stabilizer is a simple tool, but mastering it can set your videos apart. With the right setup, practice, and care, you’ll soon shoot smooth, eye-catching footage every time.