Mounting a Ring Stick Up Camera outside your home is a smart way to boost security and keep an eye on your property. Many homeowners choose this camera because it’s weather-resistant, wireless, and easy to set up. But mounting it correctly is important for the best performance. With a few simple steps and smart tips, you can install your Ring camera safely and effectively, even if you have never done this before.
Table of Contents
Choosing The Right Location
Where you place your camera affects how well it works. Pick a spot that covers your main entry points, like front or back doors. The camera should be at least 7 to 9 feet high for a wide view, but not too high or you’ll miss faces and details.
Consider these factors:
- Avoid pointing at direct sunlight, which can cause glare.
- Keep the camera near your Wi-Fi router for a strong signal.
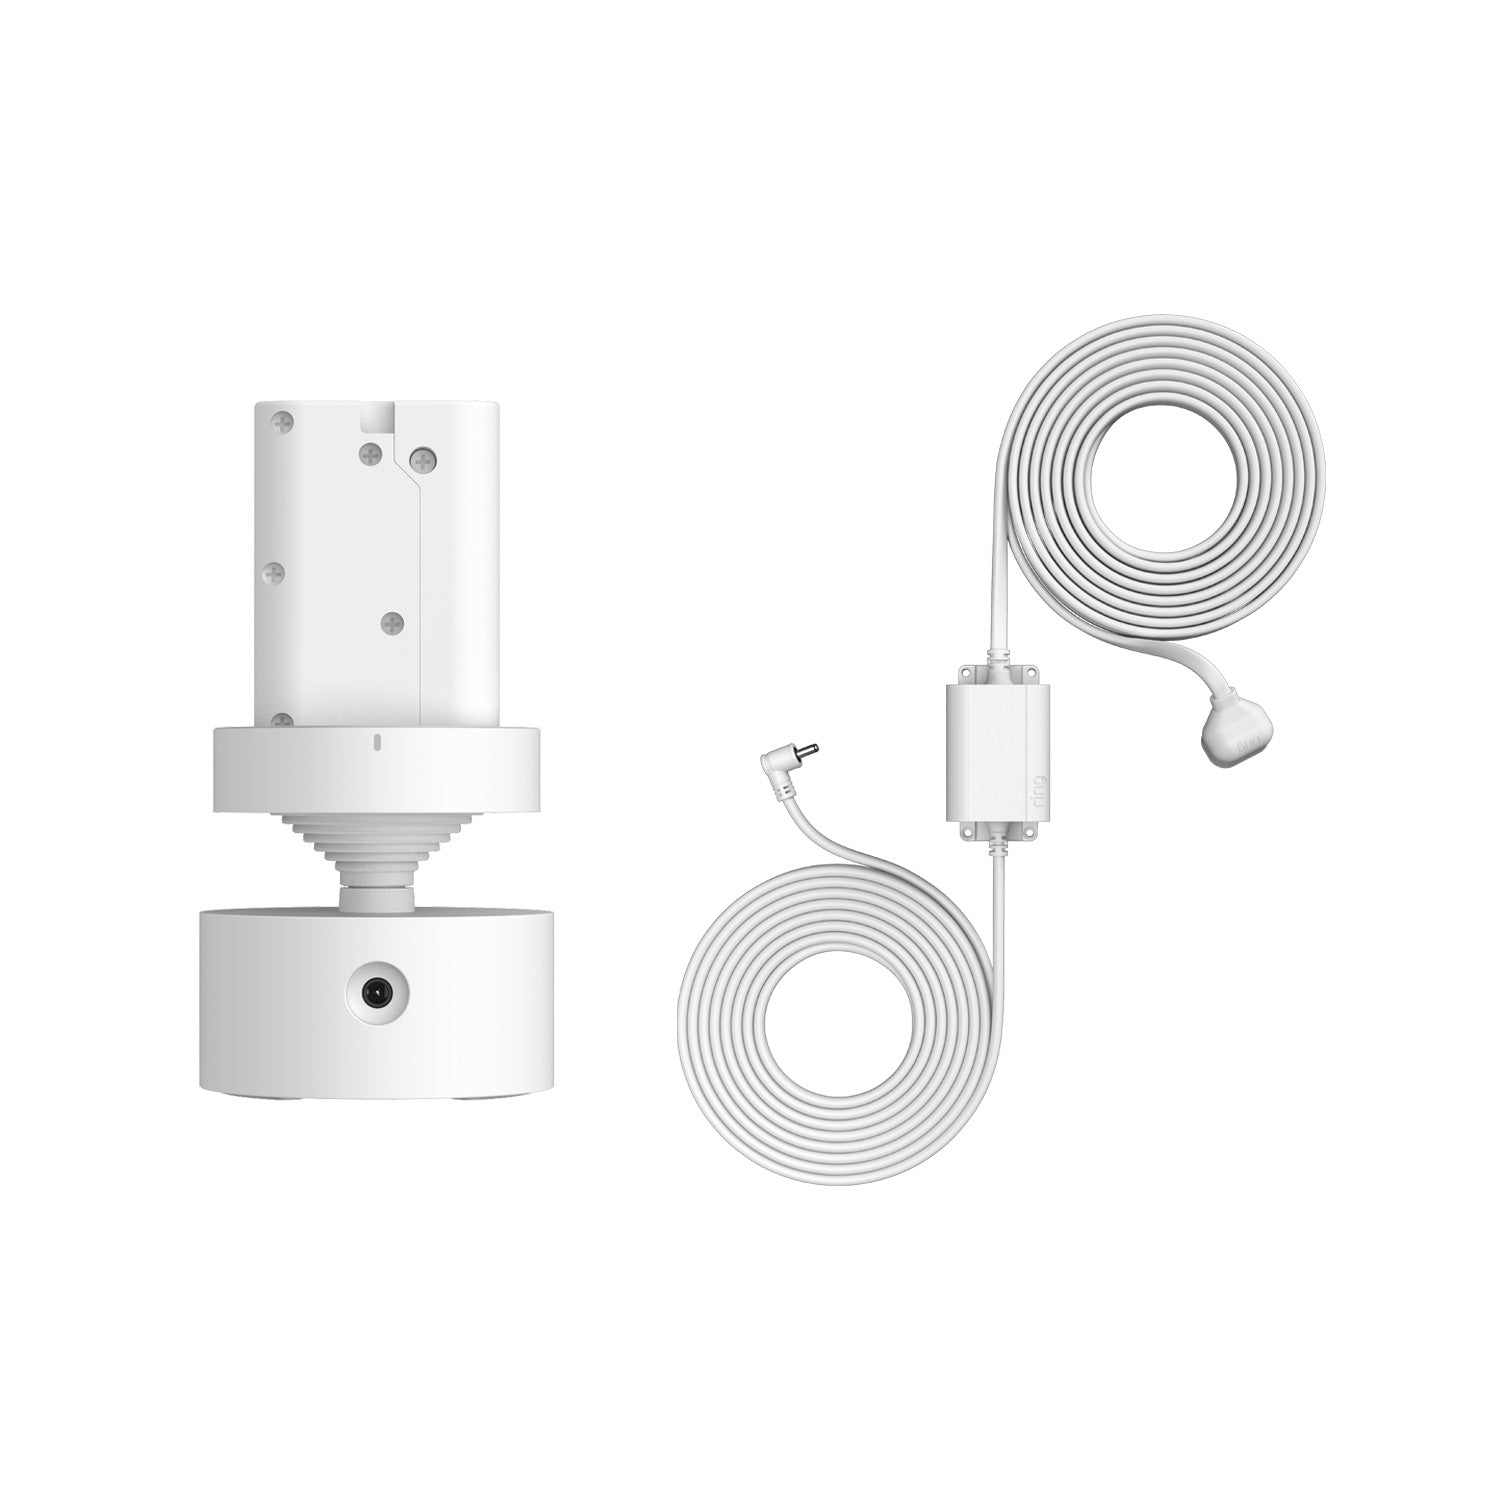
- Make sure it’s within reach of a power source if you’re not using battery mode.
What You Need For Mounting
Before you start, gather these items:
- Ring Stick Up Camera (with mounting bracket)
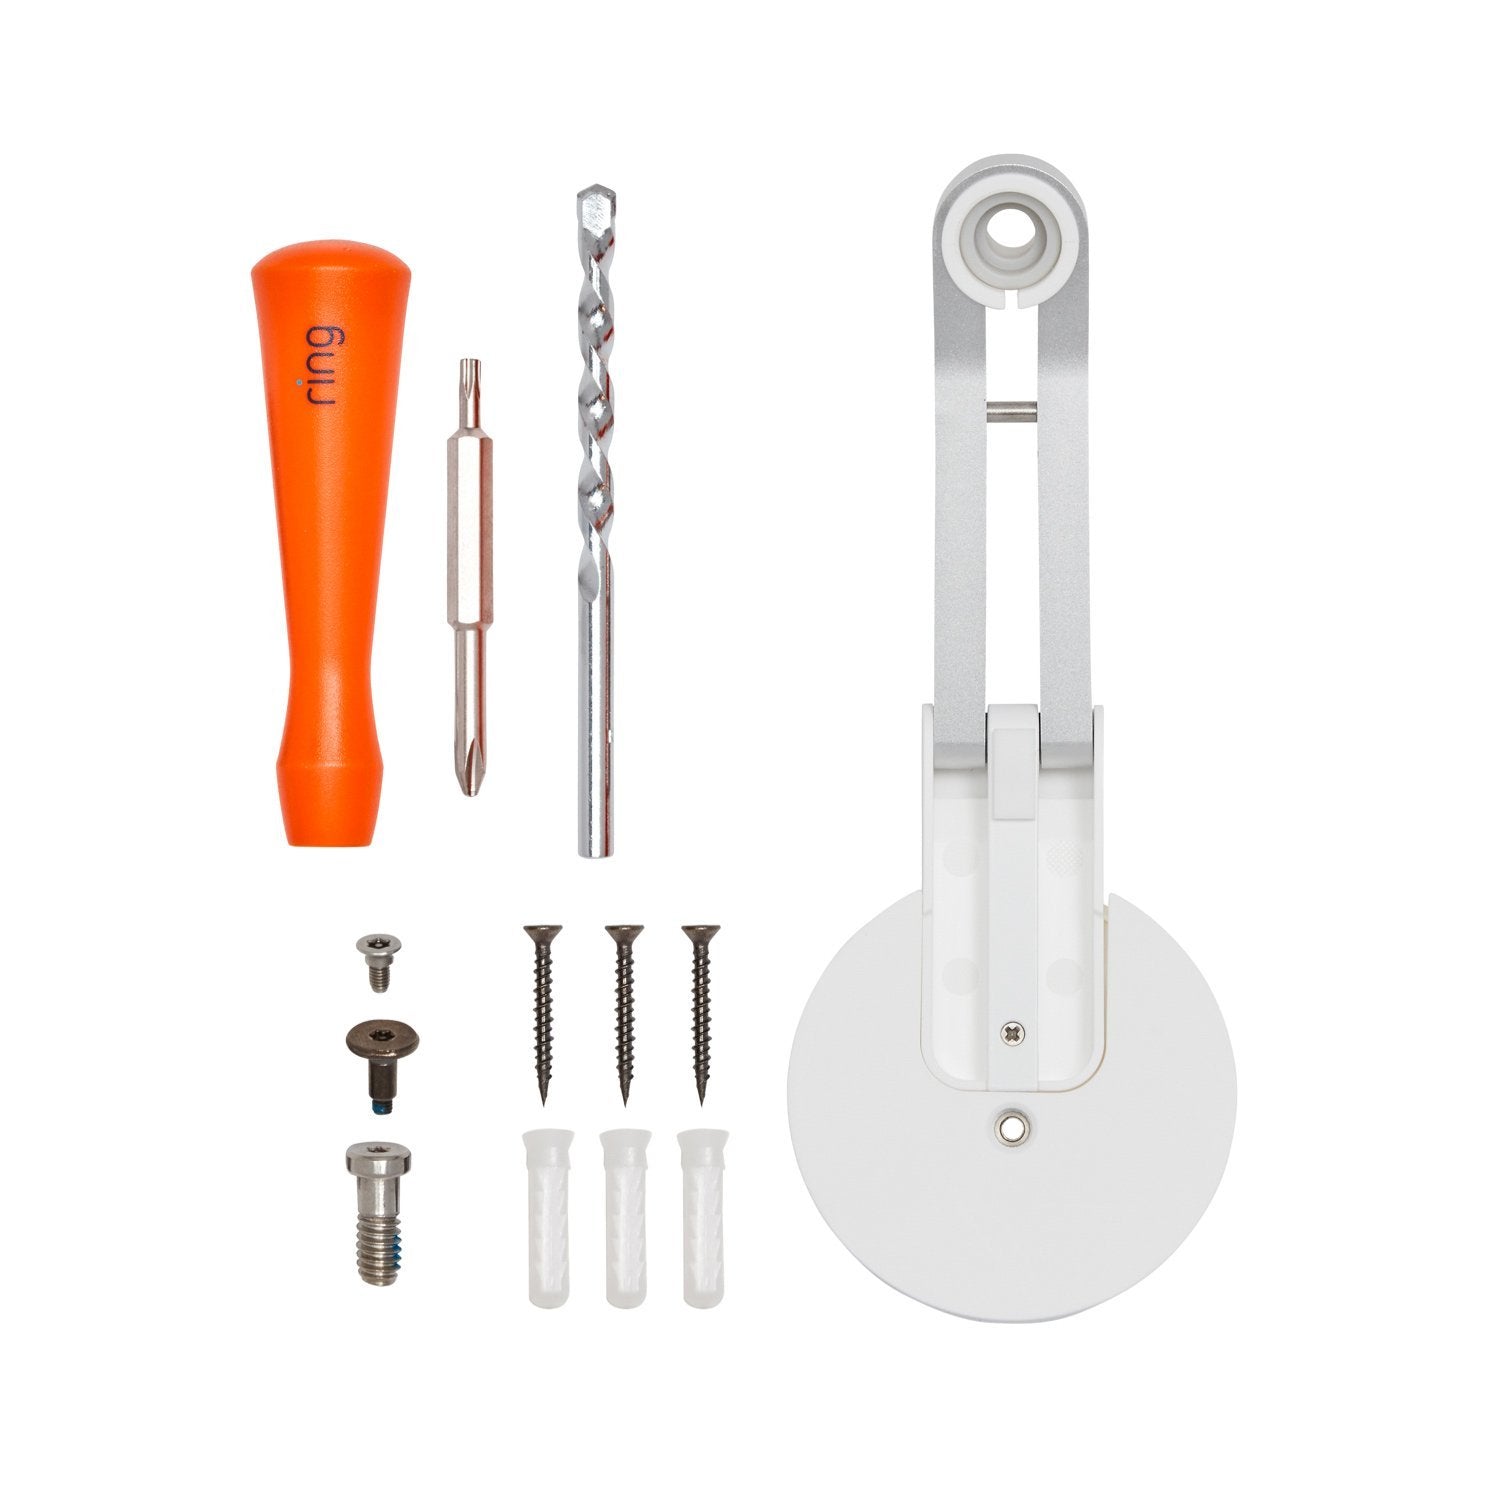
- Screws and wall anchors (included)
- Drill and suitable drill bits
- Screwdriver
- Level (optional, but useful)
If mounting on brick, stone, or concrete, use the included wall anchors. For wood or siding, screws alone are enough.
Credit: ring.com
Step-by-step Mounting Instructions
Follow these easy steps for a secure installation:
- Hold the mounting bracket against the wall where you want your camera.
- Mark the screw holes using a pencil.
- Drill holes at the marked spots. For hard surfaces, insert wall anchors.
- Attach the bracket with screws.
- Snap or screw the camera onto the bracket.
- Adjust the camera angle for the best view.
Make sure the camera is angled slightly downward. This helps catch faces instead of just the tops of heads.
Comparison: Battery Vs. Plug-in Mounting
Here’s a quick look at the differences between battery and plug-in setups:
| Feature | Battery Powered | Plug-In |
|---|---|---|
| Installation | Wireless, flexible | Needs outlet nearby |
| Maintenance | Recharge battery every few months | No battery changes needed |
| Placement | Anywhere within Wi-Fi range | Limited by cord length |

Credit: www.youtube.com
Weatherproofing Tips
Outdoor cameras face rain, sun, and wind. Protect your Ring camera with these tips:
- Use a weatherproof silicone cover for extra protection.
- Seal around screws with silicone caulk to prevent leaks.
- Check the camera’s IP rating. The Ring Stick Up Camera is IPX5 rated, meaning it can handle light rain but not direct jet spray.
Common Mounting Surfaces
Different surfaces need different mounting methods:
| Surface Type | Best Method |
|---|---|
| Wood/Siding | Screws only |
| Brick/Concrete | Wall anchors + screws |
| Metal | Self-tapping screws |
Credit: ring.com
Final Thoughts
Mounting your Ring Stick Up Camera outside is not hard, but planning and the right tools make a big difference. Remember to check your camera’s view and Wi-Fi strength before drilling. With careful setup, your camera will provide reliable security for years. For more details, you can visit the official Ring Support.
Frequently Asked Questions
How High Should I Mount My Ring Stick Up Camera?
Mount it 7 to 9 feet above the ground for the best facial recognition and motion detection.
Does The Ring Stick Up Camera Work In Rain?
Yes, it’s weather-resistant (IPX5), but avoid placing it where water can directly spray into the lens or ports.
Can I Install It Without Drilling?
You can use strong adhesive mounts for smooth surfaces, but drilling is more secure, especially outdoors.
Will Wi-fi Signal Affect Video Quality?
A weak signal can cause video delays. Try to mount the camera within 30 feet of your router for best results.
How Often Do I Need To Recharge The Battery?
With normal use, every 2–6 months depending on activity and settings. Plug-in models do not need recharging.