Mounting a Ring Outdoor Camera Plus is a smart way to improve your home’s security. The process is simple, but you need to follow each step carefully for the best results. This guide gives clear instructions, helpful tips, and practical advice to make sure your camera is installed safely and works perfectly.
Table of Contents
Preparing For Installation
Before mounting your camera, gather all the parts and tools. You will need:
- Ring Outdoor Camera Plus
- Mounting bracket
- Screws and anchors (included)
- Screwdriver
- Drill (for hard surfaces)
- Smartphone with Ring app
Check your Wi-Fi strength at the chosen location. The camera needs a strong signal for live streaming and alerts. Use the Ring app to test Wi-Fi before mounting. If the signal is weak, consider moving your router or using a Wi-Fi extender.
Comparing Mounting Surfaces
Choosing the right surface is important. Here’s a quick comparison:
| Surface | Difficulty | Durability |
|---|---|---|
| Wood | Easy | High |
| Brick | Moderate | Very High |
| Vinyl | Easy | Medium |
Wood and vinyl are easy to drill, while brick needs a masonry bit. Always use anchors for brick or concrete.
Step-by-step Mounting Guide
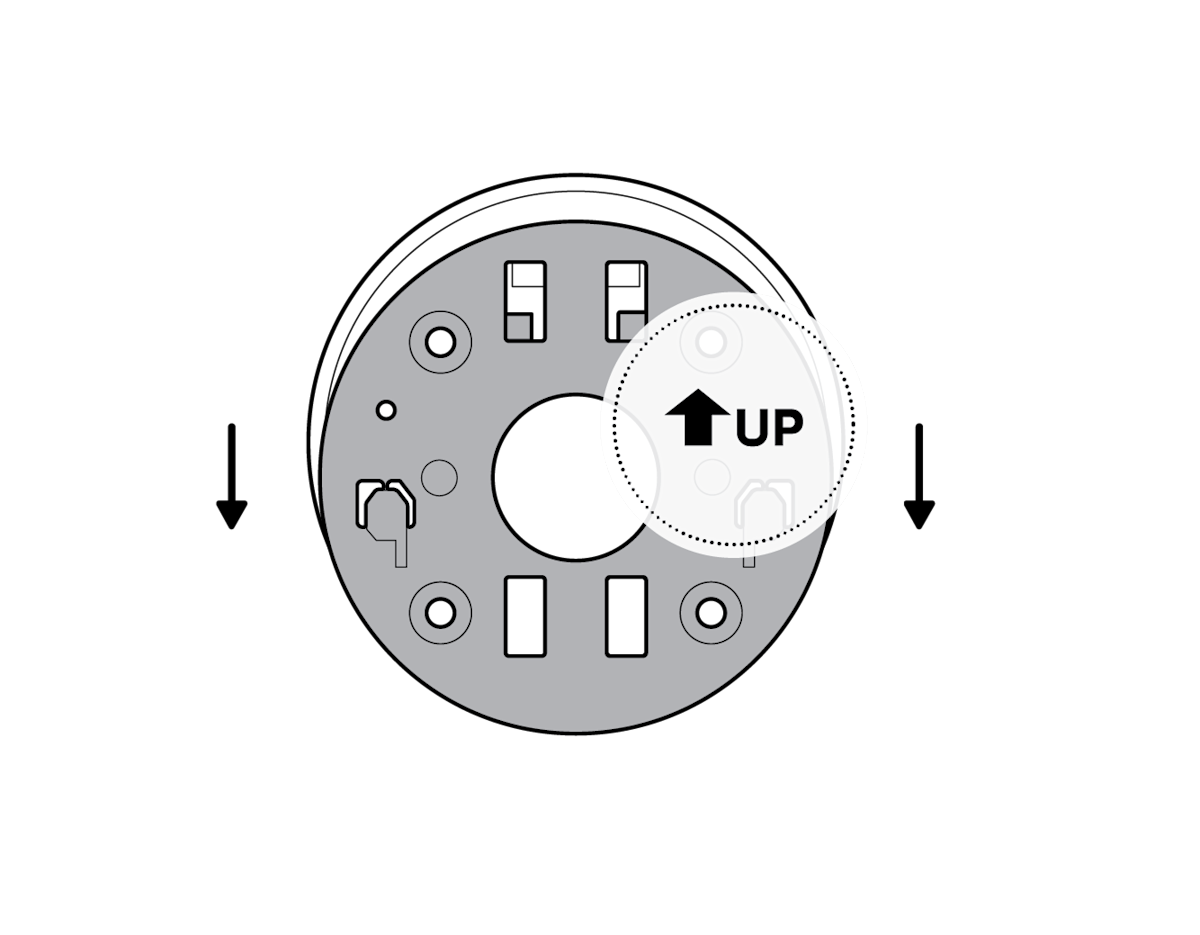
- Pick the spot: Choose a place with a clear view, out of reach, and near a power source if your camera is not battery-powered.
- Mark holes: Hold the bracket against the wall and mark screw holes with a pencil.
- Drill holes: Use a drill for hard surfaces. Insert anchors if needed.
- Attach bracket: Screw the bracket tightly.
- Mount camera: Slide or snap the camera onto the bracket as shown in the manual.
- Adjust angle: Point the camera to cover entryways or important areas.
- Connect and test: Use the Ring app to connect the camera and check the live feed.
Mounting Height And Field Of View
Proper height improves security. The ideal mounting height is 8–10 feet. This gives a wide view and keeps the camera safe from tampering. Avoid direct sunlight and heavy rain for better image quality.
| Height | Field of View | Tamper Risk |
|---|---|---|
| 6 ft | Medium | High |
| 8 ft | Wide | Low |
| 10 ft | Wide | Lowest |
Credit: ring.com
Common Mistakes To Avoid
- Don’t mount in areas with poor Wi-Fi.
- Avoid pointing at glass or reflective surfaces.
- Don’t ignore weather protection; use covers if needed.
- Don’t skip testing the camera after installation.
Many beginners forget to check the camera’s motion detection after mounting. Adjust the sensitivity in the Ring app to avoid too many alerts.
Frequently Asked Questions
How Long Does Installation Take?
Usually, 20–30 minutes. Brick or concrete may take longer.
Can I Install Without Drilling?
For some surfaces, adhesive mounts work, but screws are safer for outdoor use.
What If My Wi-fi Is Weak?
Try moving your router closer or use a Wi-Fi extender. For more details, check Ring Support.
Is The Camera Weatherproof?
Yes, the Ring Outdoor Camera Plus is rated IP66 for rain and dust.
How Do I Change The Camera Angle After Installation?
Loosen the mount and adjust the camera as needed. Tighten again to secure.
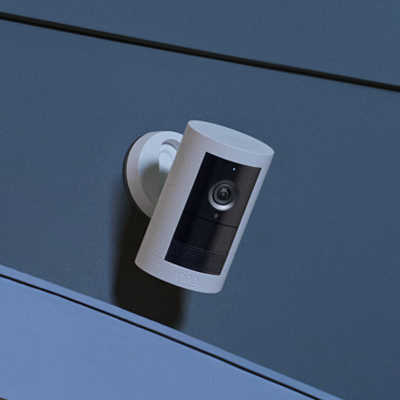
Mounting your Ring Outdoor Camera Plus correctly makes your home safer and gives you peace of mind. Follow these steps, avoid common mistakes, and enjoy reliable security day and night.
Credit: ring.com