To fix a tripod sprinkler, identify the problem first. You might need to adjust the legs, clean the nozzle, or replace a broken part.
Tripod sprinklers are a gardener’s friend, providing even water distribution over large areas. But like any tool, they can face issues. Maybe the water pressure is low, or the spray pattern is off. Understanding how to troubleshoot and fix these problems can save time and money.
This guide will help you diagnose common issues and offer practical solutions. With a little know-how, you can get your sprinkler back in top form. Whether it’s a minor adjustment or a part replacement, fixing your tripod sprinkler doesn’t have to be complicated. Let’s dive into the essentials to keep your garden thriving.
Table of Contents
Identifying Common Issues
A tripod sprinkler may have issues like water leakage or uneven spray. Check for loose connections and clogged nozzles. Adjust the height and angle for better coverage.
Leaking Sprinkler Head
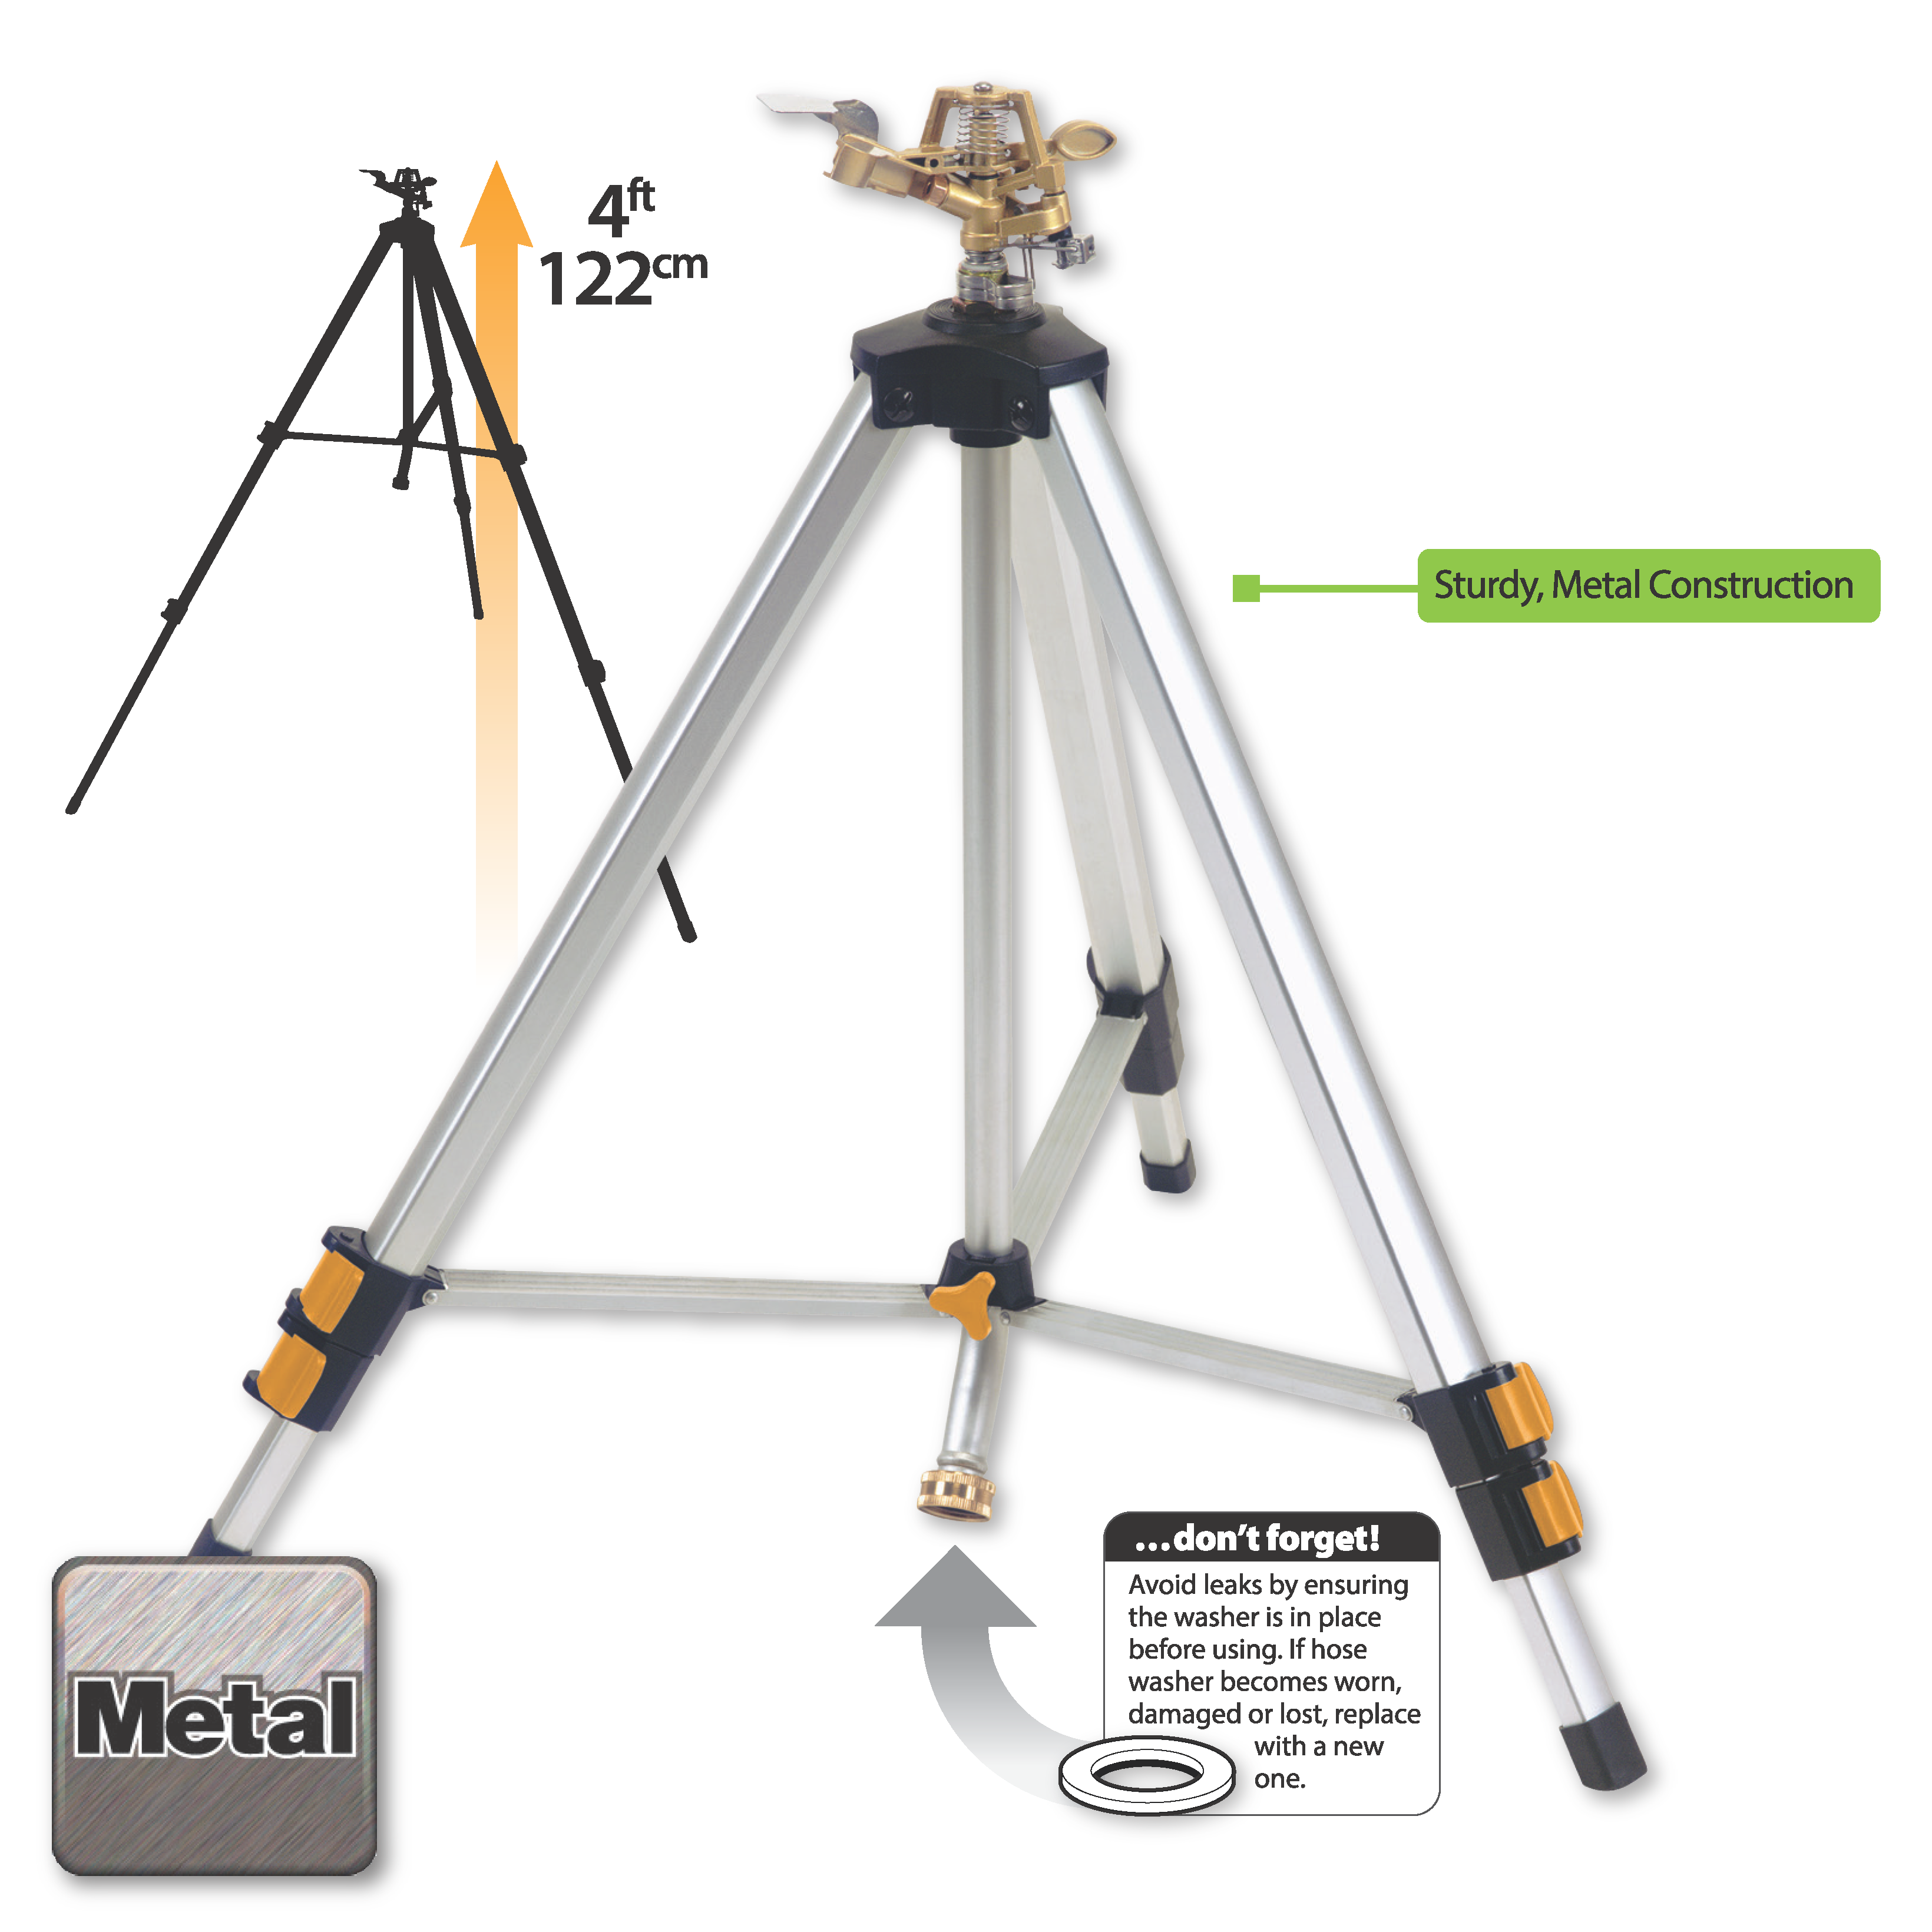
A leaking sprinkler head wastes water. Check if the head is tight. If it’s loose, twist it gently. Dirt can block the seal. Clean it with a soft brush. Seals can wear out. Replace old seals with new ones. A worn-out seal causes leaks. Be careful while fixing. Avoid breaking any parts.
Uneven Water Distribution

Credit: www.amazon.com
Gathering Necessary Tools
A basic repair kit helps in fixing small issues. You need a screwdriver, pliers, and wrenches. These tools help tighten and loosen parts. Always have replacement nozzles and seals. They fix leaks and improve water flow. Keep lubricant handy. It makes moving parts smooth and quiet.
Sometimes, you need specialized tools. A pipe cutter helps cut metal pieces. Use a pressure gauge for checking water pressure. A multimeter checks electric parts if any. Always have a measuring tape. It helps measure parts accurately. A level ensures your tripod stands straight. Right tools make repair easy and quick.
Inspecting The Sprinkler Head
Make sure water can flow through. Dirt and debris can block the sprinkler. Use a small brush to clean the holes. Water should spray evenly. If not, there might be a blockage. Rinse it well with clean water. This should clear out any obstruction.
Look for cracks or breaks on the head. Damaged parts can stop the water flow. Replace the head if you see any damage. Make sure all parts are tight and not loose. A loose part may cause leaks. Test the sprinkler after checking. Ensure it works smoothly without any issues.
Repairing Leaks
Old seals can cause leaks. O-rings might wear down. They break easily. Remove the broken parts. Get new ones from a store. Place the new seals carefully. They should fit snugly. Ensure they are tight. Check the connections. Proper seals stop leaks.
Small leaks need sealant. It works fast. Clean the leaking area first. Dirt stops sealant from working. Apply sealant on cracks or holes. Use a brush or spray. Wait for it to dry. Test for leaks after drying. Sealant should hold well. Repeat if necessary.
Adjusting Water Flow
To fix the water flow, first check the water pressure. If it’s too high, the sprinkler may not work well. Adjust the valve to control the pressure. Make sure the sprinkler head is not blocked. This can stop the water from flowing properly. Twist the head gently to see if it moves freely. If it does not, it might need cleaning.
Nozzles can get clogged with dirt. This stops water from flowing. Remove the nozzle carefully. Use a small brush to clean inside it. Make sure there is no dirt left. Rinse the nozzle with water. Attach it back to the sprinkler. Check if the water flows better.
The spray pattern needs to be set right. Turn the adjustment ring to change the spray. Make sure it covers the area you want to water. If it sprays too far, turn the ring the other way. Make small changes and test each time. This helps you get the best spray.
Credit: www.melnor.com
Securing Tripod Stability
Check each screw on the tripod. Loose screws can make the tripod wobble. Use a screwdriver to tighten them. Twist until snug. Don’t over-tighten. Over-tightening can break the screw or leg. Test the tripod’s stability after. If still shaky, check for missing screws. Replace any missing screws promptly.
Spread the legs wide apart. Wide legs give better balance. Adjust each leg carefully. Make sure each leg is firm on the ground. Uneven ground can cause imbalance. Use a level surface for best results. If one leg is shorter, extend it. Check the locks on each leg. Locked legs stay in place. Unlock and reposition if needed.
Testing The Sprinkler
Turn on the water gently. Watch the sprinkler head. See if it spins smoothly. Adjust the water pressure if needed. Check for any leaks. Leaks can cause water loss. They might affect coverage. Ensure the sprinkler sprays evenly. Move it to different spots. Observe the flow. Is it consistent? This step helps find issues early.
Stand back and watch the sprinkler. Look for dry areas. They need more water. Adjust the sprinkler angle. Make sure all plants get water. Check the spray pattern. It should be uniform. Coverage matters for healthy plants. Move the sprinkler if needed. Test different settings. Ensure every spot gets water. This helps in keeping the garden fresh.
Preventive Maintenance Tips
Keeping your tripod sprinkler clean is essential. Dirt can block the water flow. Use a soft brush to remove any debris. Check the nozzles for clogs. Clean them gently with water. Avoid harsh chemicals. They might damage the plastic parts. Inspect the base for rust or cracks. A clean sprinkler works better. It lasts longer too.
Examine your sprinkler in spring. Winter can cause wear and tear. Tighten any loose screws. Look for leaks around joints. Replace any worn-out washers. Test the sprinkler before each season. Ensure it rotates smoothly. Adjust the spray pattern if needed. Regular checks keep your garden healthy. They save water too.
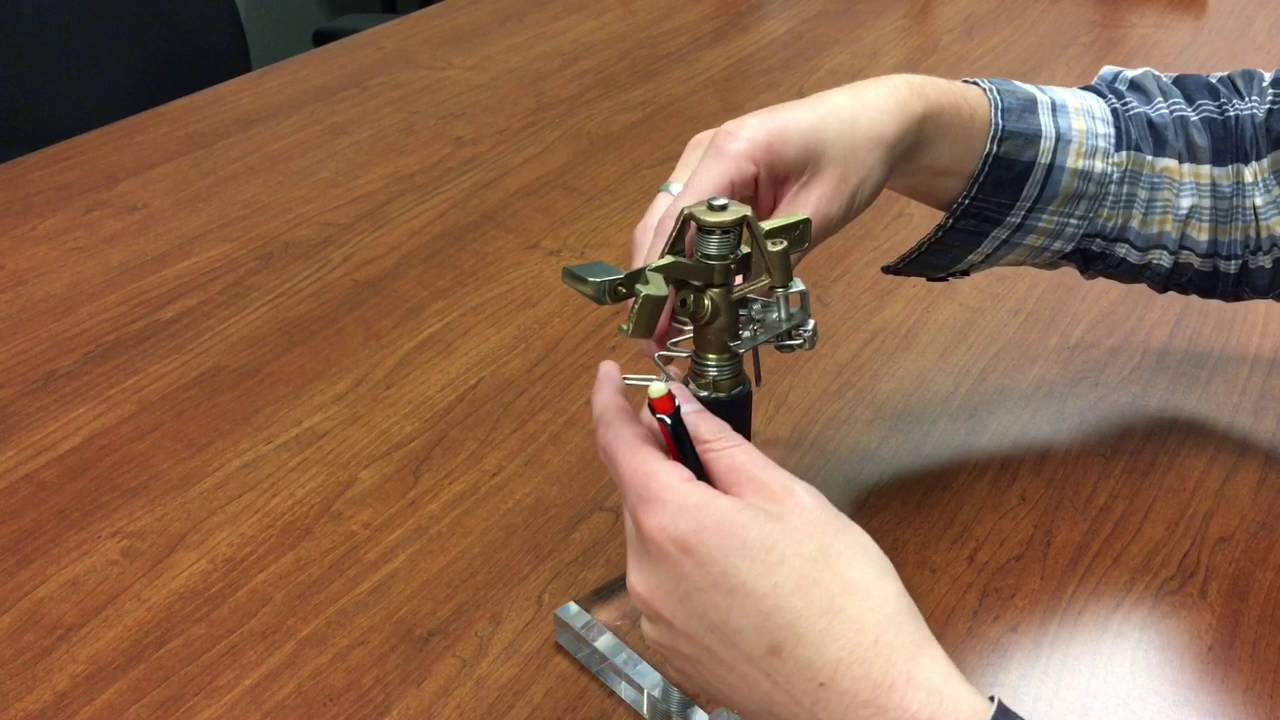
Credit: www.youtube.com
Frequently Asked Questions
Why Does My Tripod Sprinkler Get Stuck?
Your tripod sprinkler may get stuck due to debris or dirt blocking the moving parts. Regular cleaning and lubrication can help ensure smooth operation. If the problem persists, check for damaged or worn-out components that might need replacement. Proper maintenance enhances performance and prevents future issues.
Why Is My Rotating Sprinkler Not Rotating?
A clogged nozzle or debris might block rotation. Check for dirt buildup and clean the sprinkler head. Ensure water pressure is adequate and inspect gears for damage. Lubricate moving parts if needed. Regular maintenance can prevent issues and maintain optimal performance.
How To Fix An Oscillating Sprinkler That Won’t Oscillate?
First, check for blockages in the sprinkler head. Clean any debris. Ensure the water pressure is sufficient. Lubricate the moving parts. Inspect for damaged components and replace if needed.
How To Fix Sticky Pop-up Sprinklers?
To fix sticky pop-up sprinklers, clean debris around the sprinkler head. Lubricate with silicone spray for smooth operation. Adjust the spray head alignment if misaligned. Check for clogs and clear them using a small wire. Ensure proper water pressure to prevent future sticking.
Regular maintenance helps prevent issues.
Conclusion
Fixing a tripod sprinkler is simple with the right steps. Start by checking the hose connection. Tighten if it’s loose. Inspect the sprinkler head for blockages. Clean it to improve water flow. Adjust the legs for stability. Ensure each section locks securely.
Test the sprinkler to see if it rotates properly. Regular maintenance helps prevent future issues. Keep the sprinkler clean and dry when not in use. With these tips, your tripod sprinkler will work effectively. Enjoy a well-watered garden without hassle.
Follow these guidelines to keep your sprinkler in top shape.