Drawing a tripod may seem simple, but capturing its structure accurately needs careful observation and planning. A tripod is more than just three legs and a platform—it has angles, symmetry, and sometimes extra features. Whether you’re sketching for photography, engineering, or art, learning to draw a tripod well will help you improve your technical skills and attention to detail.
Table of Contents
Understanding Tripod Structure
The basic tripod has three legs connected to a central hub and a platform or mount at the top. The legs are often adjustable, and the angles can change based on the tripod’s height and stability. It’s important to observe how the legs spread apart and connect to the main body.
Here’s a simple comparison of tripod parts:
| Part | Function |
|---|---|
| Legs | Support and stability |
| Central Hub | Connects legs |
| Mount | Holds device (camera, telescope) |
Step-by-step Guide To Drawing A Tripod
1. Draw The Central Hub
Start with a small circle or oval in the middle of your paper. This is the main connector.
2. Sketch The Three Legs
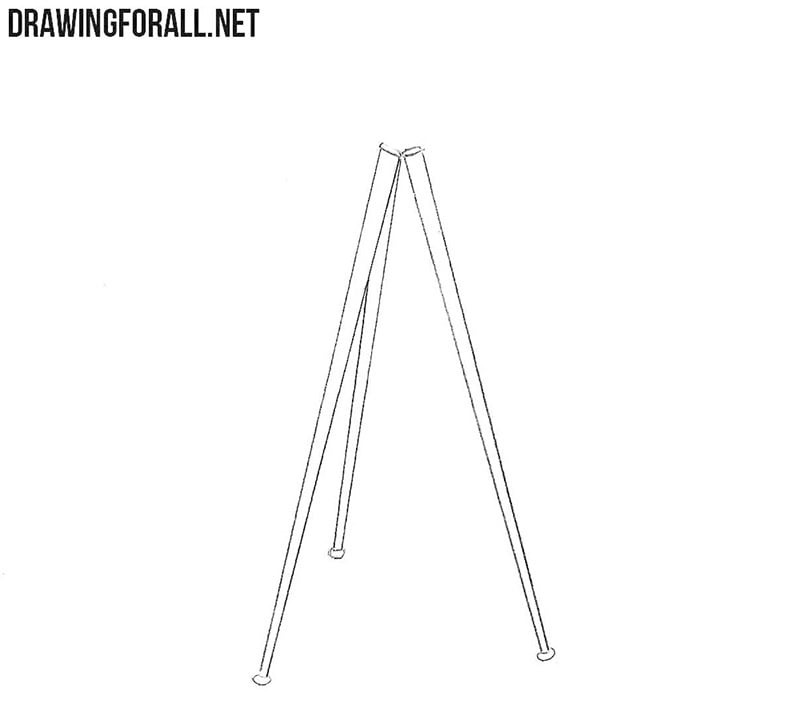
Draw straight lines extending from the hub. Space them evenly, forming a triangle. Make sure the legs are the same length.
3. Add Thickness To The Legs
Use parallel lines to give the legs some width. Real tripods often have telescoping sections, so you can add lines or segments.
4. Draw The Mount/platform
At the top, sketch a rectangle or circle for the device holder. It should be centered above the hub.
5. Add Details And Shadows
Show joints, clamps, or rubber feet. Shade the sides to give depth.
Common Mistakes
- Making legs uneven in length or angle
- Placing the hub off-center
- Ignoring the telescoping parts

Credit: www.youtube.com
Enhancing Realism
To make your tripod drawing more realistic, focus on perspective and proportion. If the tripod is standing upright, you will see some foreshortening. Try to angle the legs so they look like they are coming toward and away from you.
Here’s a quick comparison of tripod types:
| Type | Main Use | Leg Shape |
|---|---|---|
| Camera Tripod | Photography | Round, telescopic |
| Surveyor Tripod | Engineering | Flat, rigid |
| Light Stand | Stage lighting | Thin, adjustable |
Practical Tips
- Use a ruler for straight legs.
- Start lightly with pencil, then add details and ink.
- Study real tripods or photos for reference.
A non-obvious insight: Many beginners forget to show the joint mechanisms at the leg ends. These parts help the tripod stand securely. Also, drawing legs that overlap in perspective gives a more three-dimensional look.
For more technical details, check Wikipedia.
Credit: www.drawingforall.net
Frequently Asked Questions
What Tools Do I Need To Draw A Tripod?
Use a pencil, eraser, ruler, and fine-tip pen for outlines and details.
How Do I Make The Tripod Look Three-dimensional?
Focus on perspective—draw legs at different angles, add shading, and overlap lines.
What Is The Hardest Part To Draw?
The central hub and getting all legs evenly spaced can be tricky.
How Can I Fix Mistakes?
Start with light pencil lines, so you can erase and adjust before inking.
Can I Draw A Tripod From Memory?
It’s possible, but using a real tripod or photo as reference helps accuracy.