Mounting a SimpliSafe Outdoor Camera is a smart way to improve your home security. With the right steps, you can have your camera up and running quickly—even if you have never installed a security device before. This guide explains the process clearly, with practical tips that many beginners miss.
Table of Contents
What You Need Before You Start
Before mounting, gather these items:
- SimpliSafe Outdoor Camera (charged or with fresh batteries)
- Mounting bracket and screws (included in the box)
- Drill or screwdriver
- Wi-Fi connection
- Smartphone with SimpliSafe app
It’s important to check your Wi-Fi signal strength where you plan to install the camera. A weak connection can cause delays or loss of footage. If the signal is weak, consider moving your router or using a Wi-Fi extender.
Choosing The Best Location
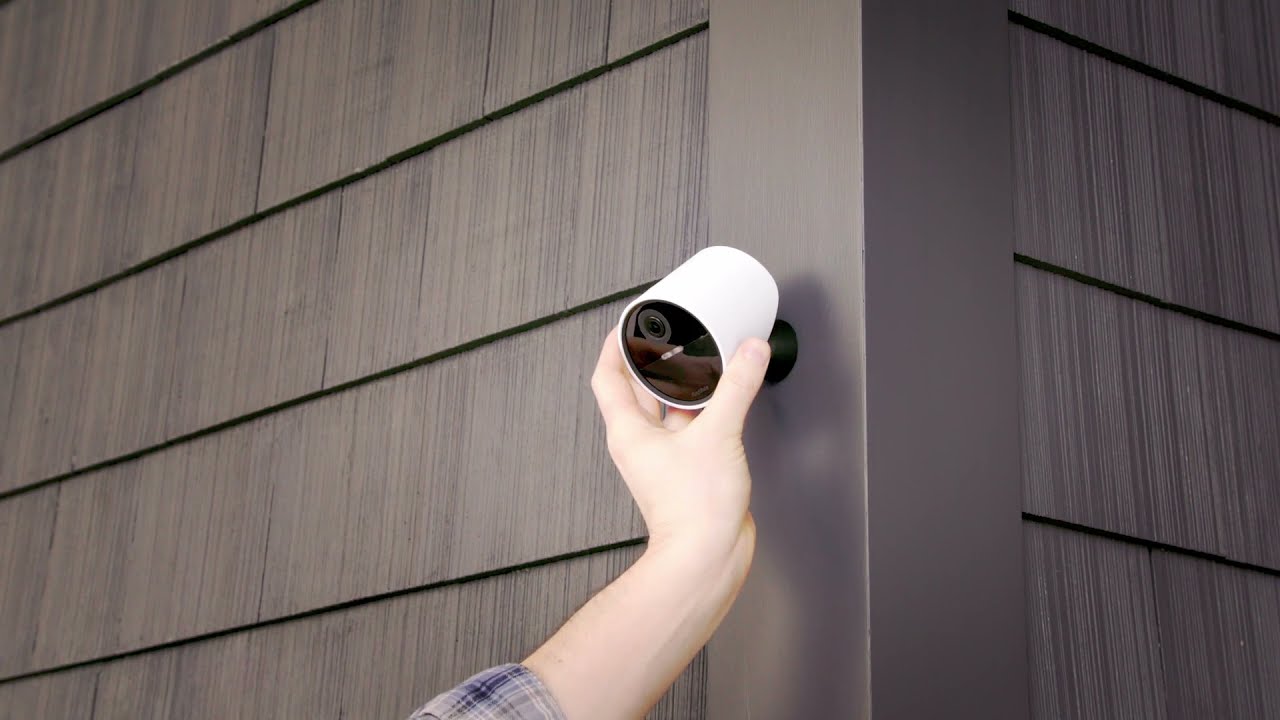
Your camera is only as good as its placement. Aim to cover entry points like the front door, garage, or backyard. Avoid direct sunlight or spots with heavy rain exposure. Height matters too: mount the camera 8-10 feet above the ground to capture clear faces but keep it out of easy reach.
Here’s a quick comparison of good vs. poor placement:
| Placement | Visibility | Protection |
|---|---|---|
| Above door | Wide view | Less tampering |
| Low fence | Limited | Easy to reach |
Credit: www.youtube.com
Step-by-step Mounting Guide
1. Connect To The Simplisafe App
Open the app and add your camera by following on-screen instructions. This ensures the camera is working before you mount it.
2. Mark The Spot
Hold the bracket where you want the camera. Mark the screw holes with a pencil.
3. Drill And Attach
Use a drill or screwdriver to fix the bracket securely. For brick or concrete, use the included wall anchors.
4. Mount The Camera
Slide or snap the camera onto the bracket. Make sure it clicks in place.
5. Adjust The Angle
Use the live video feed in the app to adjust the camera angle. Aim for a clear view of the area you want to monitor.
6. Test The Signal And Motion Detection
Walk in front of the camera to check motion alerts and video clarity. If there’s lag, adjust your Wi-Fi or camera position.
Typical Mounting Times
| Step | Average Time |
|---|---|
| Connecting to App | 5 minutes |
| Mounting Bracket | 10 minutes |
| Final Adjustments | 5 minutes |
Practical Tips For A Secure Installation
- Use security screws if your area is prone to theft.
- Avoid placing the camera near bright lights—they can cause glare on video.
- Clean the lens regularly for the best image quality.
Many first-time users forget to check their camera’s field of view with the app before finishing installation. Always double-check this—small angle changes can make a big difference.

Credit: www.amazon.com
Frequently Asked Questions
How Long Does The Simplisafe Outdoor Camera Battery Last?
The battery can last 3-6 months on a full charge, depending on usage and weather.
Can I Install The Camera Without Drilling?
Yes, some users use strong adhesive mounts for smooth surfaces, but screws give better security.
What Should I Do If The Camera Doesn’t Connect To Wi-fi?
Try moving your router closer, or use a Wi-Fi extender for a stronger signal.
Does The Simplisafe Outdoor Camera Work At Night?
Yes, it has infrared night vision for clear footage in the dark.
Where Can I Find More Installation Help?
Visit the official SimpliSafe Support for detailed guides and troubleshooting.
Mounting your SimpliSafe Outdoor Camera is quick and easy if you plan ahead. A good location and secure installation will help keep your home safer, day and night.