Assembling a tripod easel is straightforward. Follow these steps to set it up.
Tripod easels are popular among artists for their portability and ease of use. Whether you’re painting in your studio or outdoors, knowing how to assemble your easel quickly is essential. This guide will help you understand the basic components and steps needed to put your tripod easel together efficiently.
From adjusting the legs to securing the canvas holder, each part plays a role in creating a stable and reliable surface for your artwork. With a clear understanding of the process, you can focus more on your creative expression. Ready to get started? Let’s dive into the details and assemble your tripod easel with confidence.
Table of Contents
Gathering Materials
Start with a hammer and screwdriver. These are the most important tools. You will need wood glue and some nails. A measuring tape is useful for accuracy. Ensure you have all these before you start.
A tripod easel has three legs. Each leg must be of equal length. The easel needs a crossbar for stability. The top part holds the canvas. You need nuts and bolts to secure everything. Check if you have all parts ready.
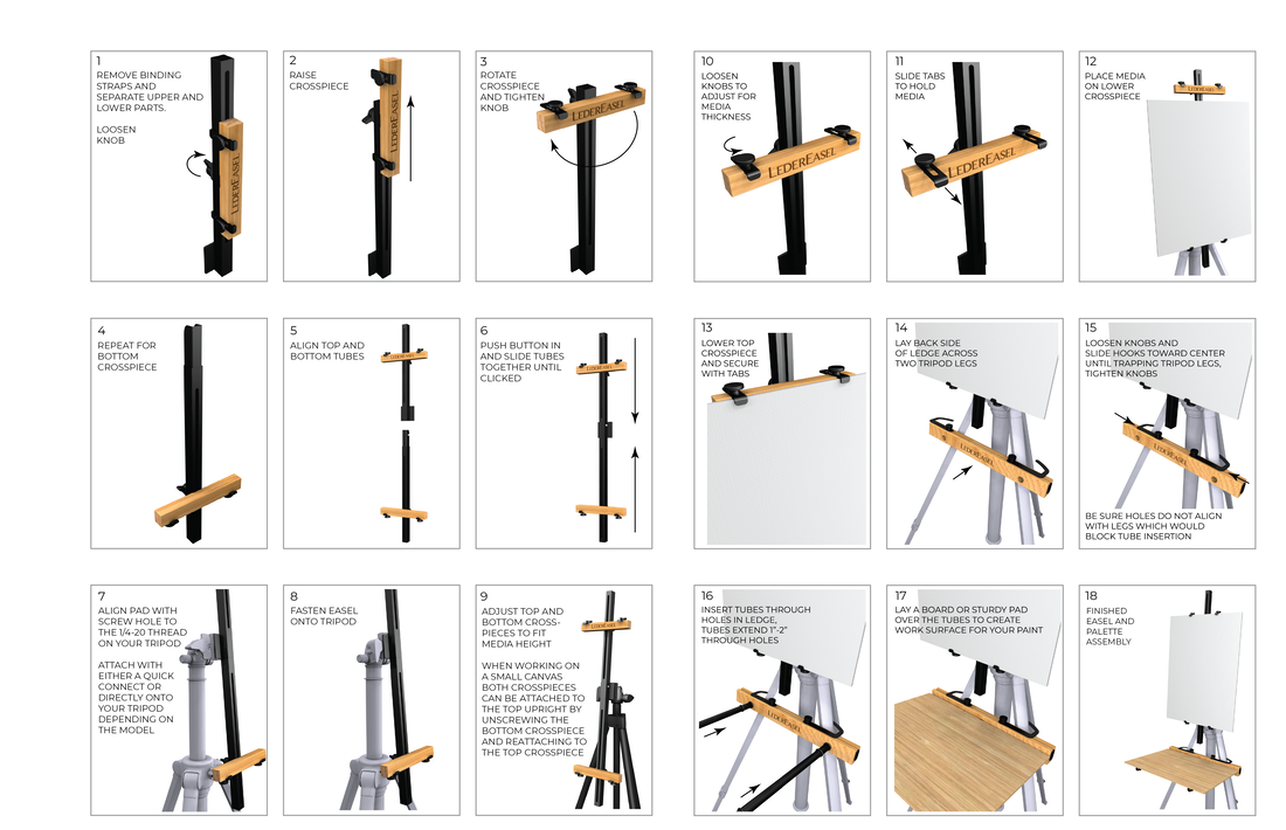
Credit: www.ledereasel.com
Setting Up The Base
Place the tripod easel on a flat surface. Spread the legs wide apart. Make sure they are stable. Each leg should be equally spaced. This helps the easel stand firm. Check the floor for any bumps. Adjust if needed. Ensure legs are straight and not bent.
Find the locks on each leg. Slide them into place. They should click when secure. Pull gently to test. If loose, tighten the locks. This prevents wobbling. Always check each lock twice. Safety is important. Ensure the locks hold the legs firmly. Your easel is now ready.
Attaching The Support Bar
First, find the middle of the easel. Place the support bar right there. Make sure it is straight. Align it with the holes on the sides. This helps keep everything steady. Check if the bar is level. Adjust it slightly if needed. A straight bar is very important. It helps the easel stand firm.
Use a screwdriver to tighten the screws. Make sure they are snug. Not too loose or too tight. Check each screw carefully. Tight screws keep the easel stable. Loose ones can make it wobble. Hold the easel while tightening. This helps keep it steady. Always double-check the screws. You want the easel to be strong.
Adjusting The Height
Find the knobs on each leg. Turn these knobs to loosen them. Pull the legs until they reach the desired length. Make sure all legs are the same length. Tighten the knobs to keep the legs in place.
Locate the locking mechanism near the top. Open it to free the central pole. Adjust the pole to your preferred height. Check if the easel is steady. Close the locking mechanism tightly. This keeps your easel from moving.
Mounting The Canvas
Setting up a tripod easel involves securing the legs and adjusting the height. Ensure the canvas holder is stable. Tighten all knobs to keep the easel firm during use.
Positioning The Canvas Holder
Set the canvas holder at the right height. Ensure it is not too high or low. The canvas should sit comfortably on the holder. Adjust the holder by sliding it up or down. Make sure it stays in place. A steady holder keeps your canvas safe.
Securing The Canvas
Place the canvas on the holder. Gently press it against the backboard. Use the clips to secure it. Make sure the clips hold the canvas tightly. A loose canvas can fall. Always check the clips before starting your work.
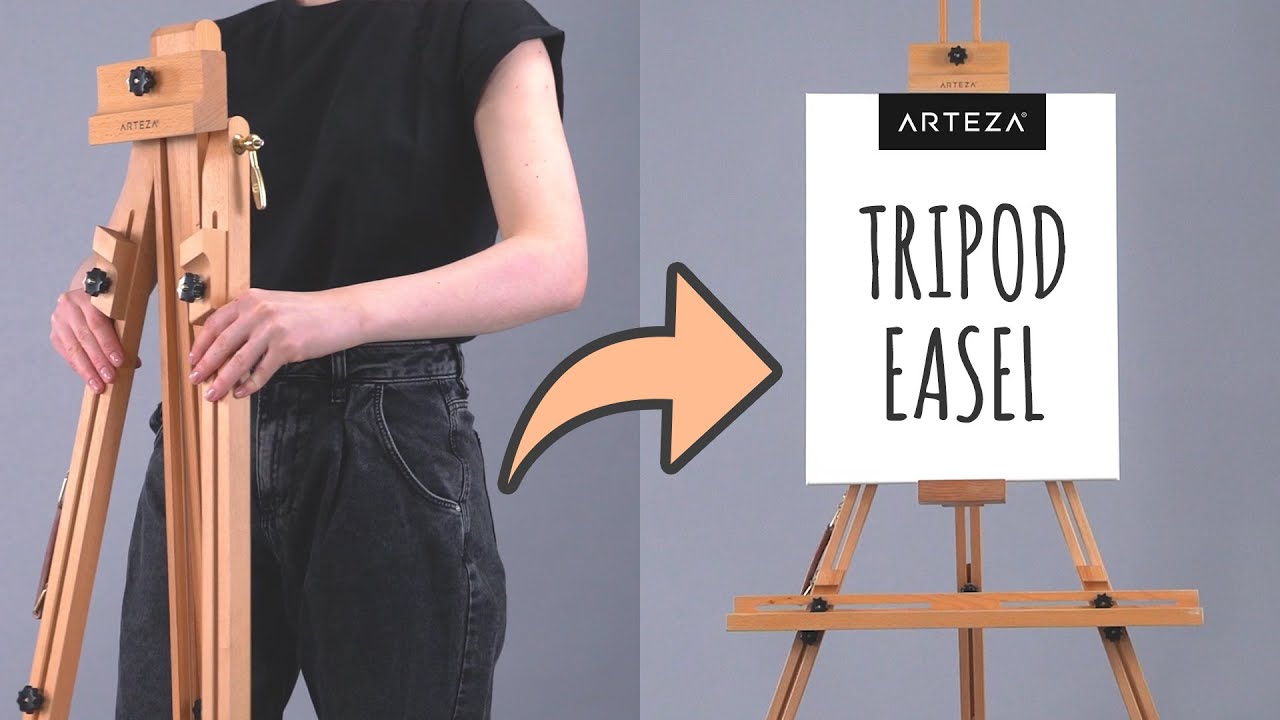
Credit: www.youtube.com
Stability Checks
Testing for wobble is important. Place the easel on a flat surface. Gently shake the easel. Feel if it moves or shakes. Check each leg carefully. Look for loose parts. Tighten screws if needed. Make sure all parts fit well.
If the easel wobbles, re-adjusting is necessary. Change the position of the legs. Try different angles. Sometimes, moving the legs closer helps. Ensure the middle support is firm. Check the canvas holder. It should be tight. Adjust any loose parts. Test again for wobble. Repeat until the easel stands firm.
Tips For Usage
Start by spreading the easel’s legs evenly for stability. Connect the crossbar securely to hold your canvas. Adjust the height using the sliding mechanism, ensuring it locks in place for firm support.
Optimal Placement
Place the easel on a flat surface. This makes it stable. Avoid putting it near doorways. People might bump into it. Keep it away from windy spots. Wind can knock it over. You can use it indoors or outdoors. Just make sure it’s secure.
Maintenance And Care
Clean the easel with a soft cloth. Dust can damage it over time. Check the screws often. Loose screws can make it wobbly. Store the easel in a dry place. Moisture can cause rust. If it’s wooden, polish it occasionally. This keeps it shiny and new. Regular care helps it last longer.
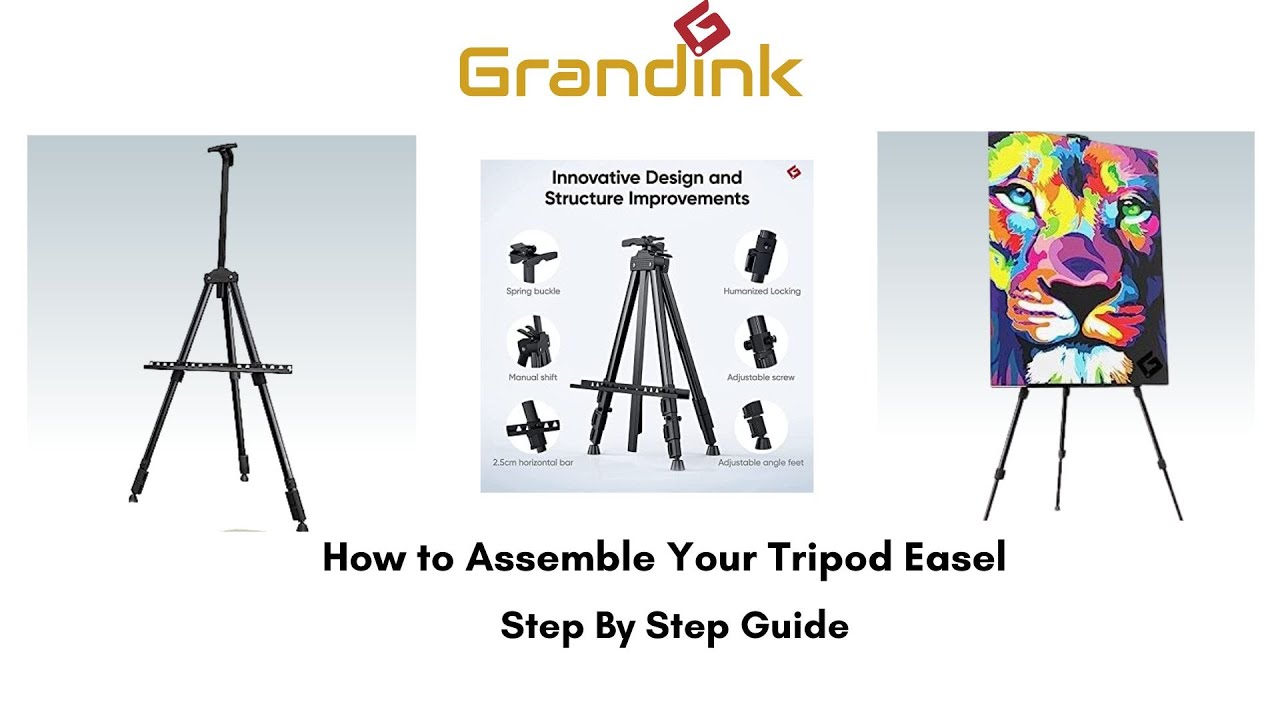
Credit: www.youtube.com
Frequently Asked Questions
How Do You Attach An Easel To A Tripod?
Secure the easel’s base to the tripod using a universal tripod mount. Ensure both are tightly connected for stability. Adjust the tripod’s height to suit your needs. Check the easel’s position and make sure it’s balanced. Use clamps if necessary for extra support.
How To Assemble Easel Board?
Begin by attaching the easel legs to the main board. Secure each leg with screws using a screwdriver. Adjust the legs to your desired height. Ensure the board is stable and level before use.
How Do You Set Up A Standing Easel?
Position the easel with legs fully extended and locked. Adjust the height by securing the center column. Ensure stability on the ground. Attach the canvas holder and adjust it according to the canvas size. Finally, tighten all knobs and screws for secure setup.
What Are The Parts Of An Easel?
An easel consists of a frame, legs, a shelf, and an adjustable clamp. The frame supports the canvas. The legs provide stability and height adjustment. The shelf holds art supplies. The adjustable clamp secures the canvas in place.
Conclusion
Assembling a tripod easel is simple with the right steps. Secure the legs firmly. Adjust the height to your needs. Lock the canvas holder in place. Check stability before use. Practice makes perfect. With these tips, you’re ready to start painting.
Remember, patience is key. Take your time to get it right. A well-assembled easel means more focus on your art. Enjoy creating without hassle. Share your masterpiece with friends and family. Your easel is now set for creativity. Happy painting!