If your camera footage looks shaky, you don’t need to reshoot. Premiere Pro has built-in tools that can help make your video smooth and professional. Whether you filmed with a handheld camera or a phone, adding a camera stabilizer effect is simple and effective. Let’s walk through the steps and learn how to avoid common mistakes.
Table of Contents
How To Add Camera Stabilizer In Premiere Pro
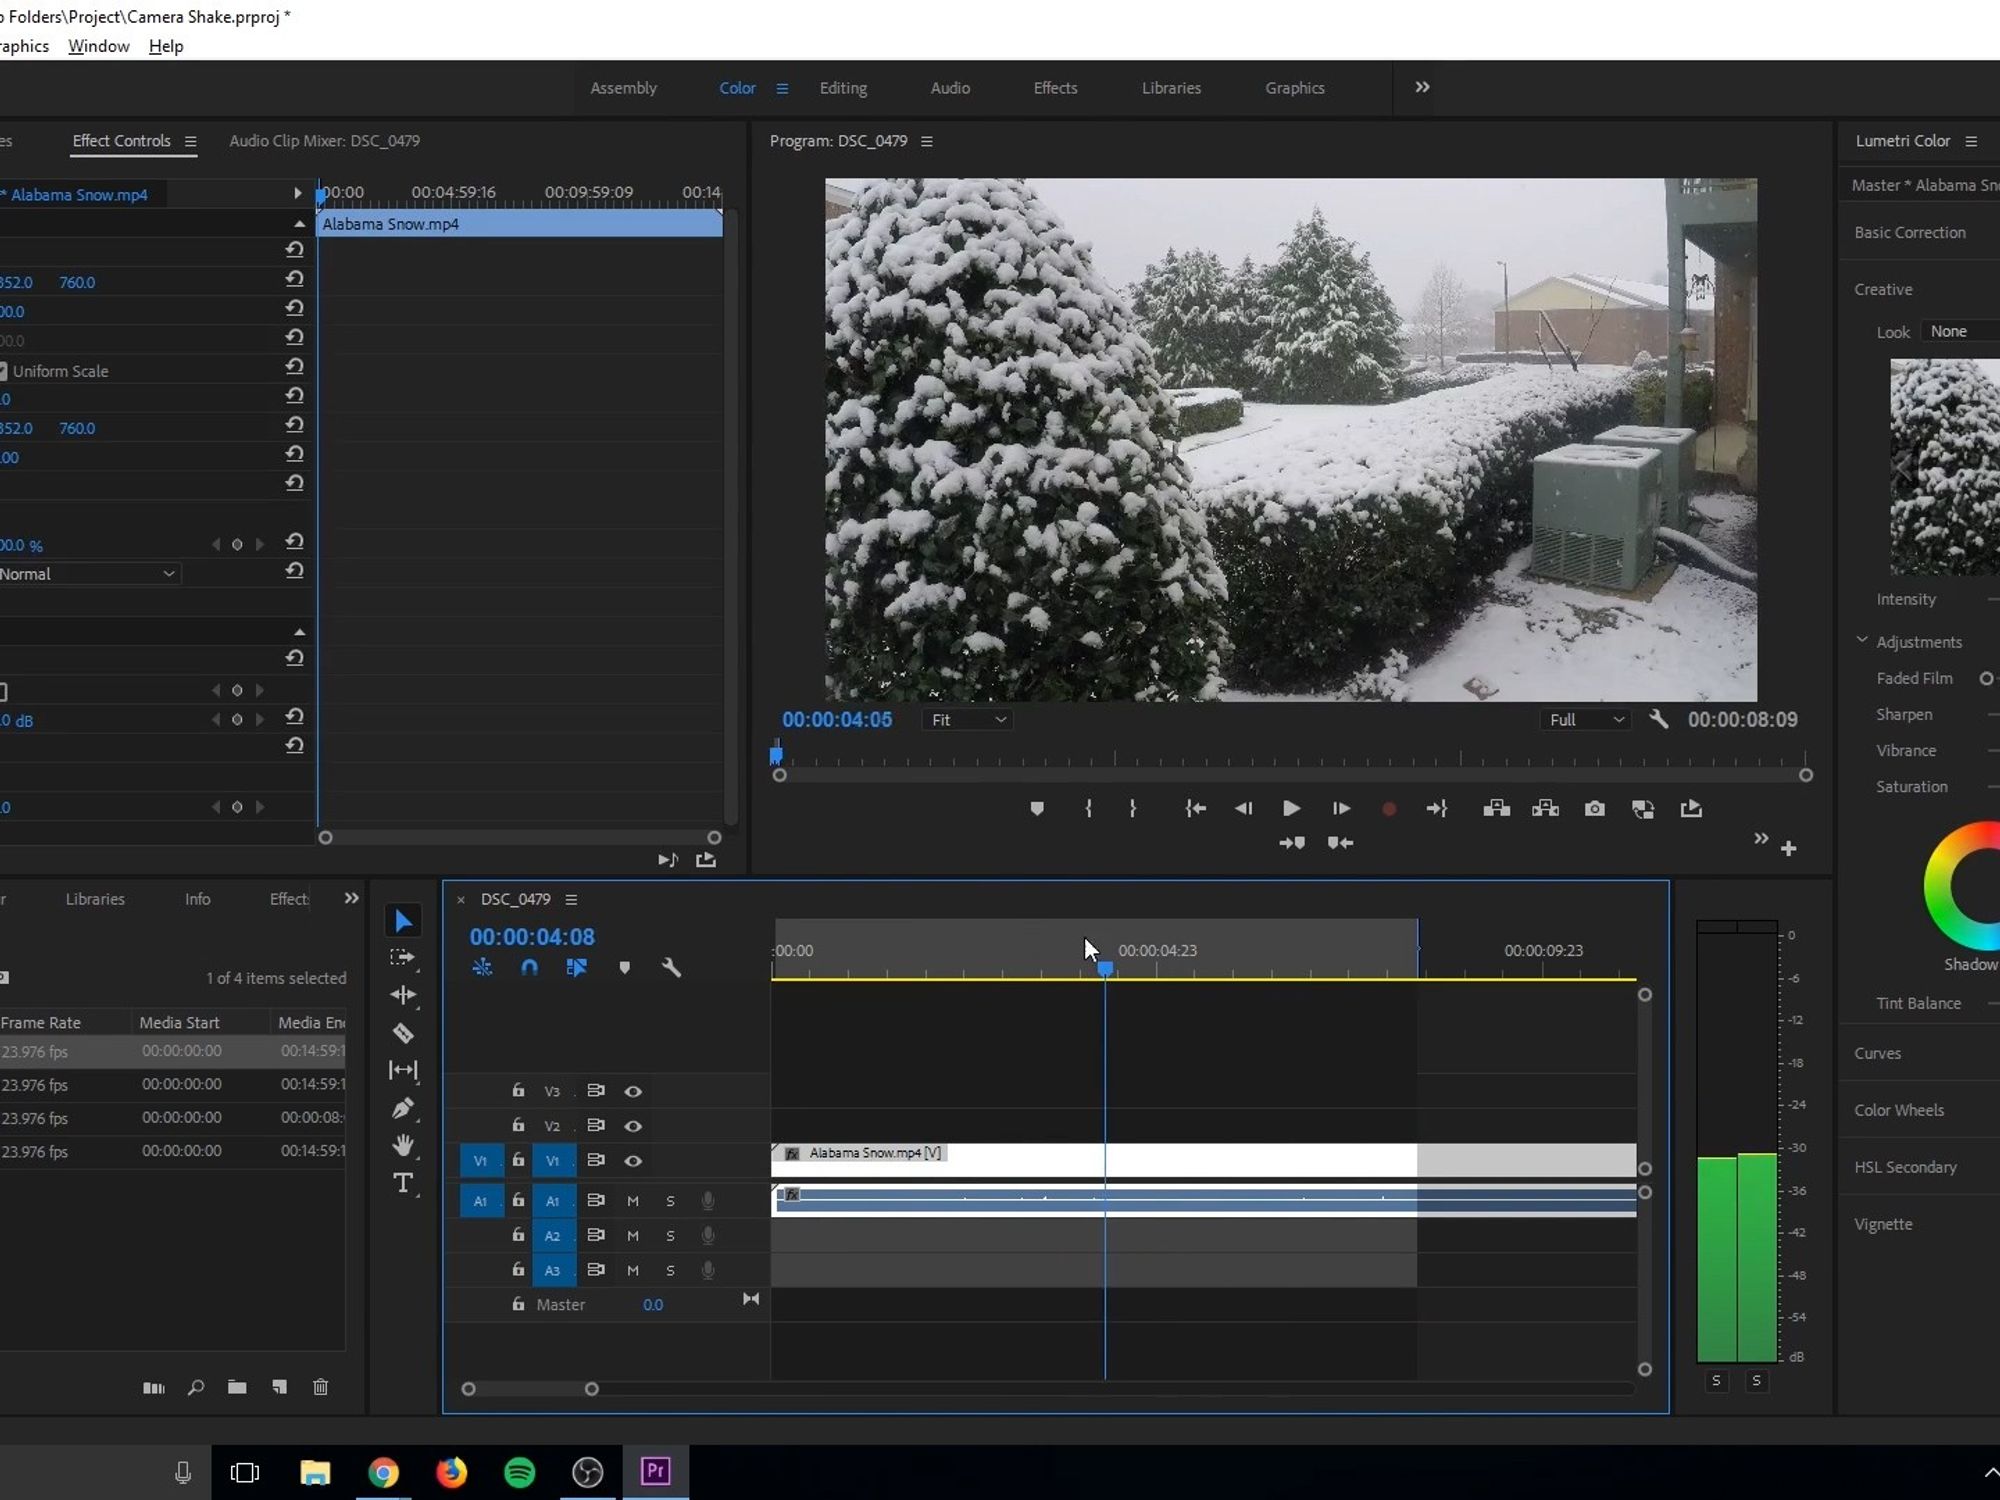
The most popular tool for stabilizing footage in Premiere Pro is Warp Stabilizer. Here’s how to use it:
- Import your footage into Premiere Pro and drag it onto the timeline.
- Select your clip in the timeline.
- Go to the Effects panel and search for “Warp Stabilizer.”
- Drag Warp Stabilizer onto your clip.
- Premiere Pro will analyze the clip automatically. You’ll see a blue bar saying “Analyzing in background.”
After analysis, you’ll notice the video is smoother. The default settings work well for most cases, but you can tweak options in the Effect Controls panel.
Key Settings In Warp Stabilizer
- Smoothness: Controls how much stabilization is applied (default is 50%). Higher values can look unnatural, so start with 20–40%.
- Result: Choose between Smooth Motion (preserves camera movement but reduces shake) or No Motion (tries to lock the shot completely).
- Method: “Subspace Warp” is default and very effective for most clips. If you see strange distortions, try “Position,” “Position, Scale, Rotation,” or “Perspective.”
Common Issues And How To Fix Them
Stabilization isn’t always perfect. Here are some common problems and solutions:
- Warping or Stretching: Sometimes the footage bends unnaturally. Lower the Smoothness or change the method to “Position.”
- Red Analysis Banner: If you cut a stabilized clip, you might see an error. Reapply Warp Stabilizer to the new segment.
- Black Borders: Heavy stabilization crops the video. Use the Borders > Framing option and set it to “Stabilize Only” to see what’s cropped, then adjust.
Here’s a quick comparison of stabilization methods:
| Method | Best For | Possible Issues |
|---|---|---|
| Subspace Warp | Most footage | Can warp faces/objects |
| Position | Simple shake | Less powerful |
| Perspective | Moving backgrounds | May distort edges |

Credit: shotkit.com
Pro Tips For Better Stabilization
- Trim your clips before stabilizing. Warp Stabilizer works best on final edits, not rough cuts.
- Avoid clips with fast motion or heavy blur. Stabilization can struggle with these.
- If your footage is still shaky after one pass, try nesting the clip (right-click > Nest), then apply Warp Stabilizer again.
Here’s a look at how stabilization compares visually:
| Before Stabilizer | After Stabilizer |
|---|---|
| Noticeable shake, jumps | Smooth movement, less jitter |
| Hard to watch | Professional look |
Frequently Asked Questions
How Long Does Warp Stabilizer Take To Analyze?
The speed depends on your clip’s length and your computer. Short clips (under 30 seconds) usually take less than a minute.
Can I Use Warp Stabilizer On 4k Footage?
Yes, but it takes more time to analyze. Make sure your PC has enough RAM for best results.
Is There A Way To Stabilize Only Part Of A Clip?
Yes. Cut the section you want to stabilize, then apply Warp Stabilizer only to that part.
Why Does My Clip Look Zoomed In After Stabilizing?
Stabilization crops the edges to hide black borders. Lower the Smoothness setting to reduce cropping.
Where Can I Learn More About Premiere Pro Effects?
Check out the official Adobe Premiere Pro guide for more tips and tutorials.
With these tools, your videos can look steady and polished—even if you didn’t use a gimbal during filming. Practice with different settings to find the best look for your project.
Credit: nofilmschool.com