To level a tripod for panoramic photos, adjust the legs. Use a spirit level or built-in bubble.
Ensure the camera is stable on the tripod head. Capturing panoramic photos requires precision. A level tripod is crucial for seamless shots. Uneven surfaces can tilt your camera, distorting your images. Achieving a balanced setup allows your camera to rotate smoothly.
This results in stunning panoramas without unwanted angles. Many tripods have built-in leveling tools. These tools help you find the perfect balance. With practice, setting up your tripod becomes second nature. You’ll notice how a leveled tripod enhances photo quality. Your panoramic shots will be crisp and clear. It’s all about preparation. Once you master this skill, your photos will impress. Every detail matters in photography. Start with a solid foundation for the best results.

Credit: www.amazon.com
Table of Contents
Choosing The Right Tripod
Tripods come in different materials. Aluminum and carbon fiber are common choices. Aluminum is strong and cheap. Carbon fiber is light but costly. Both have their uses. For stability, a sturdy build is crucial.
Consider the tripod’s weight. Heavy tripods are stable. Light tripods are easy to carry. Choose based on where you shoot. Portability matters for travel. A lightweight tripod is best for long walks. Easy to pack and carry.
Importance Of Leveling
Leveling your tripod is very important. It makes your photos look better. A level tripod ensures the camera stays balanced. This helps in capturing clear and sharp images. Without proper leveling, photos can look tilted or uneven.
Distortions can ruin your photos. They happen when the tripod is not level. A straight horizon is key for good panoramic shots. By keeping the tripod level, you avoid crooked lines. This results in beautiful and professional photos. Always check your tripod’s level before shooting.
Setting Up Your Tripod
Find a stable spot. Avoid rocky areas. Use your foot to test. Push gently on the ground. Make sure it does not move. Choose a flat surface if possible. If not, adjust the tripod legs. One leg may need more length. Make small adjustments. Keep your tripod steady. Check the bubble level. It helps with balance.
Extend each leg slowly. Start with one leg. Extend it fully. Lock it tight. Do the same for other legs. Make sure they are even. Adjust if needed. Check all locks. They should be firm. This keeps the tripod stable. Use the bubble level. It helps to check balance. Adjust until the bubble is centered.
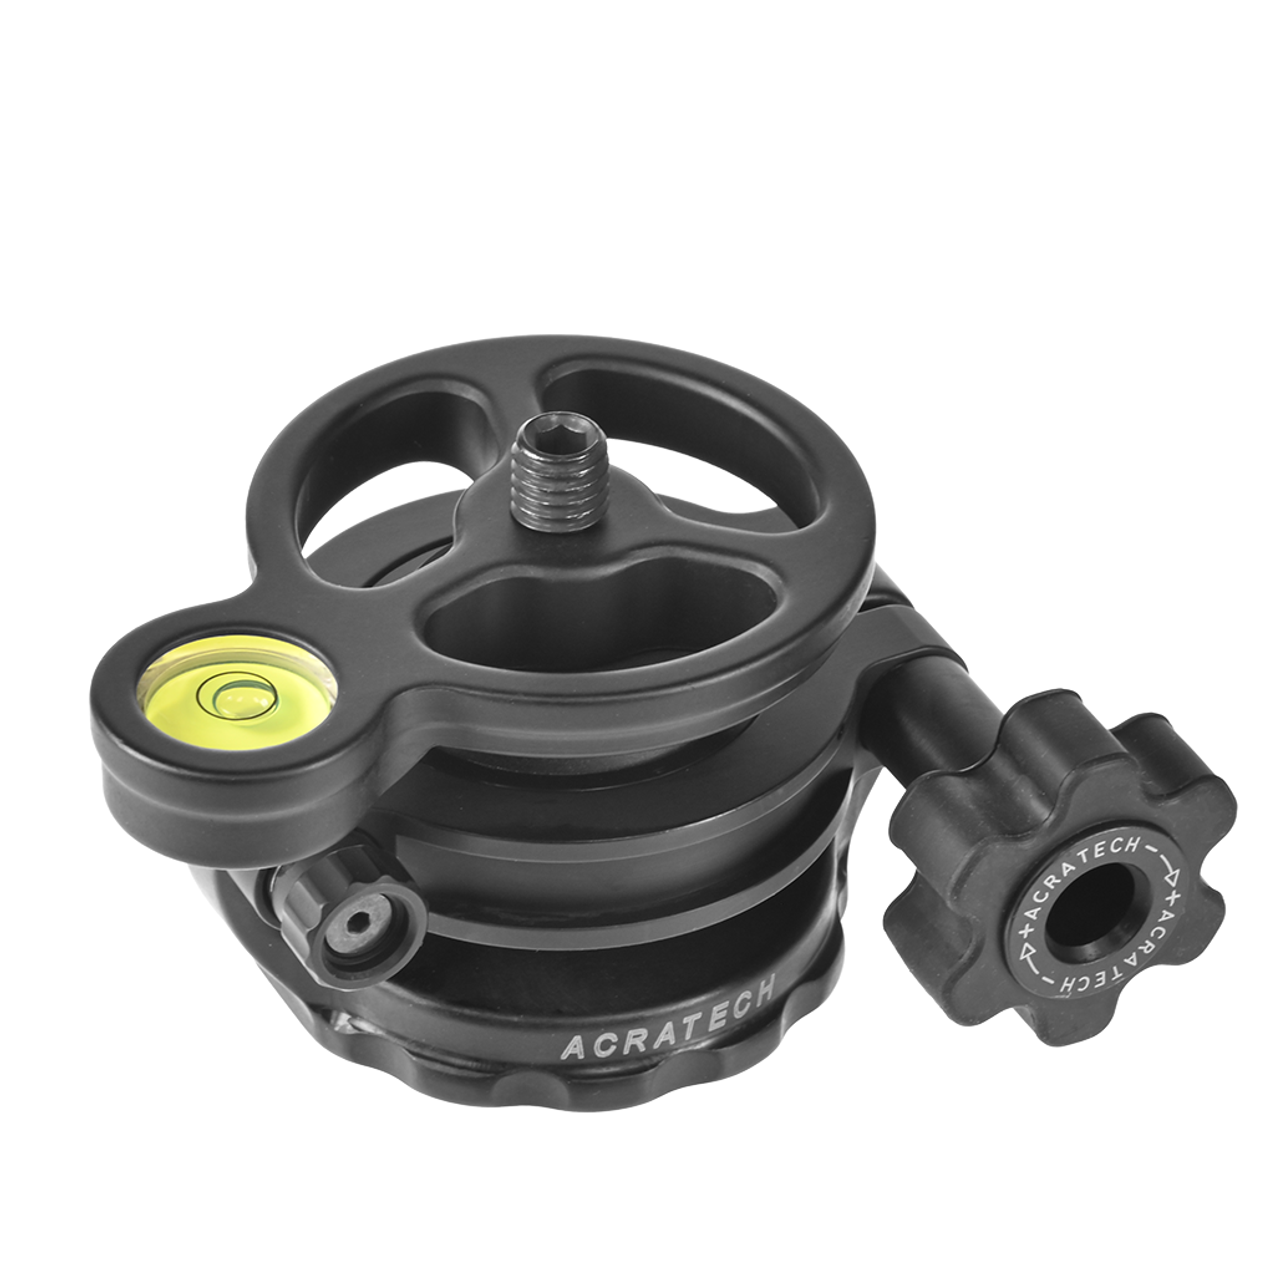
Credit: www.acratech.net
Using A Bubble Level
Bubble levels are small tools. They help keep things straight. Air bubbles are inside. You see them through a glass tube. Center the bubble between two lines. This means the surface is level. Easy to use. Many tripods have them.
Some tripods have built-in bubble levels. Others need a separate one. Attach the bubble level to the tripod head. Adjust the legs of the tripod. Look at the bubble. Make sure it is in the middle. Rotate the tripod head if needed. Panoramic photos need everything straight.
Adjusting The Tripod Head
Pan and tilt controls are vital for taking good panoramic photos. First, make sure your tripod is stable. Check if the legs are even. Use the bubble level, if available. This helps to keep the camera steady. Next, adjust the pan control. This allows the camera to move left and right. It is important for capturing a wide view. Now, focus on the tilt control. This helps the camera to move up and down. Make sure it is not too loose or tight. Fine-tune these controls for smooth movement. Practice a few times to get it right.
Precision is key for amazing photos. Use small adjustments for better results. Avoid sudden moves which can blur images. Always check the viewfinder. See if everything looks balanced. Keep practicing to improve your skills. Taking panoramic photos can be fun. Remember, patience is important. Enjoy capturing the world around you!
Camera Alignment Techniques
Horizontal leveling is very important for panoramic photos. Use a bubble level on your tripod. It helps you see if your camera is straight. Adjust the tripod legs until the bubble is in the center. Some tripods have built-in levels. You can use them too. Make sure the surface is flat. This keeps your camera steady.
Vertical adjustment is crucial for tall subjects. Tilt the camera gently to see the subject. Use the center column of the tripod. Raise it or lower it to adjust. Keep the camera balanced. This helps avoid blurry photos. Practice with different angles. Find what works best for you.
Testing The Setup
Trial shots help check the tripod’s level. Start by taking a few pictures. Look for any tilt or slant. Adjust the legs if needed. Make sure the camera sits steady. Test the position of the camera. It should move smoothly. Check the panorama feature on your camera. Try to capture a wide view. Take more shots to see the results.
Analyzing Panoramic Overlaps
Panoramic photos merge many images. Ensure the overlaps align well. Too much overlap can blur the photo. Too little overlap leaves gaps. Look closely at each photo edge. Adjust the camera angle to fix gaps. Review the photos on your screen. Make sure they blend smoothly. Adjust settings if needed. Repeat the process for best results. Practice makes perfect!

Credit: www.amazon.com
Expert Tips For Perfect Panoramas
Finding the right spot is key for a great panoramic photo. Look for open spaces. Wide areas help capture more of the scene. Trees and mountains add depth to your photo. Avoid busy areas with many people. This keeps your photo clear and focused. Try to find a high point. It allows you to see more of the landscape. Always check if the ground is flat. A stable tripod makes all the difference.
The best time for photos is early morning or late afternoon. This is when the light is soft and nice. Avoid taking pictures at noon. The light is too strong and can make shadows. Cloudy days are good for photos too. The clouds make the light even. Sunlight can change quickly. Be ready to take your photo fast. Adjust your camera settings to match the light. This will make sure your photo looks its best.
Frequently Asked Questions
How To Perfectly Level A Tripod?
Extend the tripod legs evenly for stability. Use a bubble level to check alignment. Adjust leg heights until the bubble is centered. Ensure the head is secure and level. Recheck the bubble after setup. Practice ensures quick leveling.
What Is The Best Tripod Leveling Base For Photography?
The Manfrotto 338 is an excellent tripod leveling base for photography. It offers precise adjustments and sturdy support. Compatible with various tripods, it enhances stability and ensures level shots, making it a favorite among photographers.
How To Balance A Tripod Head?
Ensure the tripod is on a level surface. Adjust the tripod head’s tension knobs. Center the camera on the tripod plate. Use a bubble level to check for balance. Tighten adjustments to secure the setup. Test stability by gently moving the tripod.
How To Improve Tripod Stability?
Spread tripod legs wide to enhance stability. Use a sturdy surface and avoid extending the center column. Add weight like a sandbag to the tripod’s base. Ensure legs are locked firmly. Adjust leg angles for uneven terrain. Maintain regular checks for loose screws or parts.
Conclusion
Mastering tripod leveling enhances your panoramic photography. Start with a stable base. Use a bubble level to check alignment. Adjust tripod legs carefully. Ensure the camera is balanced. Practice these steps regularly. Capture stunning panoramic views. With patience, your skills improve.
Remember, precision is key. Enjoy the process. Share your beautiful photos with friends. Experiment with different locations. Discover new perspectives. Panoramic photography can be rewarding. Focus on details. Your photos will impress others. Keep learning and exploring. Photography is an art.
Embrace each moment. You will create lasting memories.