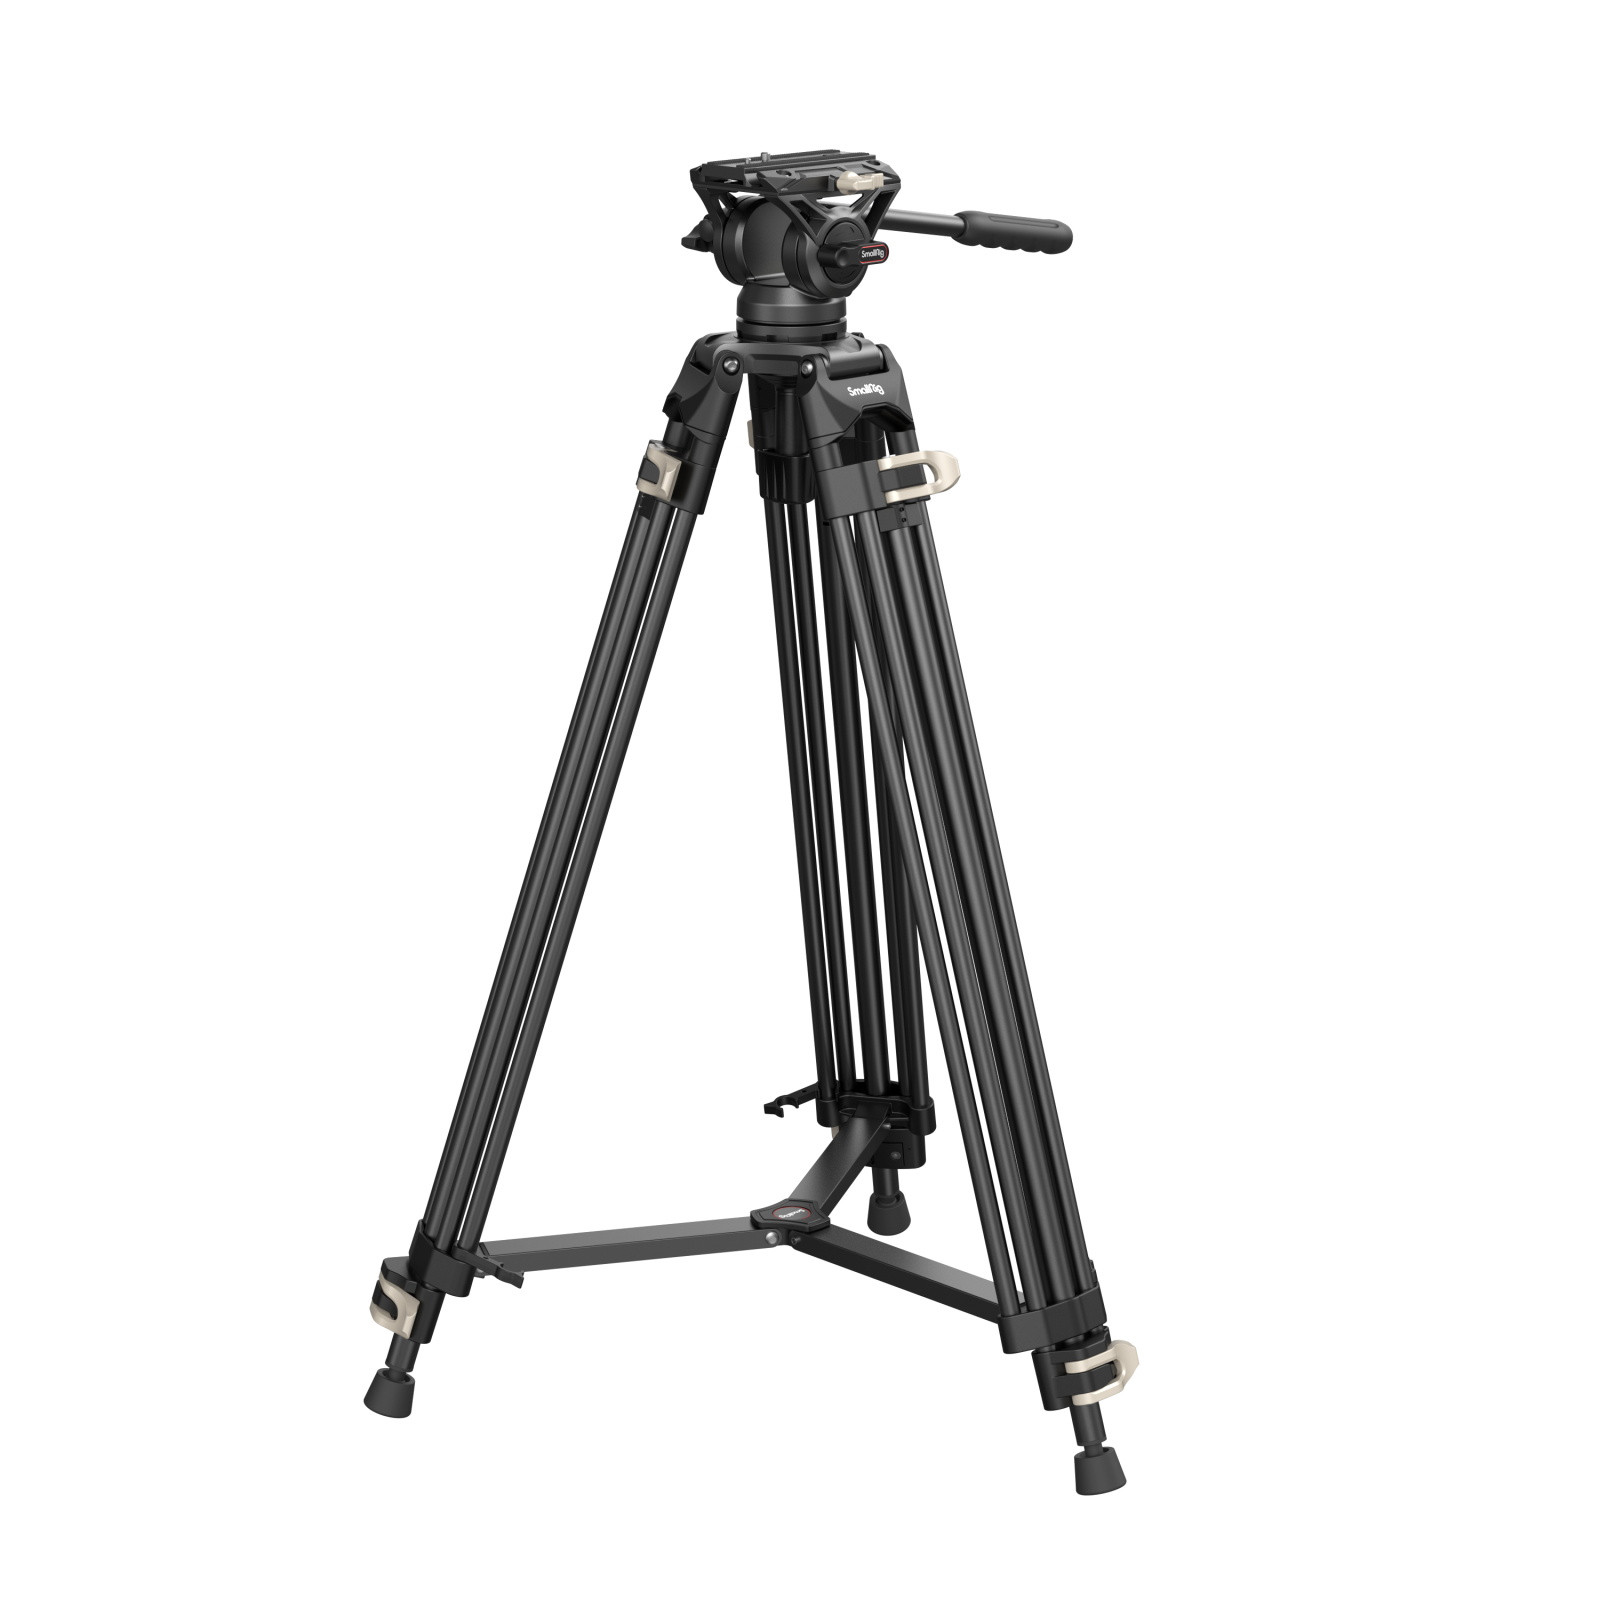
Assembling a fluid head tripod is simple and rewarding. Start by connecting the tripod legs to the fluid head.
Secure each part tightly to ensure stability. A fluid head tripod offers smooth camera movements for video shoots. It’s ideal for capturing dynamic scenes with precision. To assemble it correctly, you need to understand its components. The tripod legs provide support and height.
The fluid head allows for steady panning and tilting. Proper assembly ensures your equipment works efficiently. Follow our guide for a step-by-step process. This will help you achieve professional results. With patience and practice, you’ll master the setup. Whether you’re a beginner or seasoned videographer, this guide will help you. Let’s dive into the details and get started. Your perfect shot awaits!

Credit: www.ebay.com
Table of Contents
Choosing The Right Tripod
Fluid head tripods make video shooting smooth. There are pan-and-tilt heads. They help move the camera left, right, up, and down. Ball heads allow easy camera positioning. They are quick to adjust. Some tripods have geared heads. These offer precise control. Perfect for still shots. Fluid heads are great for smooth movements. They help in tracking a moving subject. Each type has its own use. Choose based on the need.
Weight is crucial. Heavy tripods are stable but hard to carry. Height matters too. Taller tripods help in capturing wide shots. Material affects durability. Aluminum is strong and light. Carbon fiber is lighter but costly. Leg locks should be easy to use. They keep the tripod steady. Check the load capacity. It should hold your camera well. Price can vary. Balance between cost and features. Choose what fits your purpose.
Unboxing Your Tripod
Open the box carefully. Find the main tripod legs first. They are the largest parts. Look for the fluid head next. It should be separate from the legs. There might be a plate too. The plate connects the camera to the tripod. Check for screws and knobs. These help in adjusting the tripod. Ensure nothing is missing.
The tripod legs are usually long. They have locks to change the height. The fluid head has handles. It allows smooth movements. The base plate is small and flat. It attaches to the camera. Look for knobs on the fluid head. These adjust the tension. Each part plays a role in keeping your camera steady.
Setting Up The Tripod Legs
The tripod legs must be extended for stability. Start with the bottom section. Pull each leg gently until it clicks. Check all legs are even. Ensure they do not wobble. Adjust the length if needed. Keep the tripod steady.
Secure the legs using the locking mechanisms. Turn the locks clockwise. Ensure they are tight. Loose locks may cause tipping. Double-check each lock. Feel for any movement. Adjust if necessary to keep the tripod firm.
Credit: www.smallrigreseller.com
Attaching The Fluid Head
Securing the Head is simple. First, find the screw under the tripod. Turn the screw to the left. This loosens the old head. Remove it carefully. Take the new fluid head. Place it on top of the tripod. Align it with the screw hole. Turn the screw to the right. This secures the new head. Make sure it’s tight. The head must not move.
Aligning the Base is important for balance. Check the tripod legs. They must be straight. Adjust each leg if needed. Make sure the base is level. Use a bubble level tool. Place it on the tripod base. Adjust until the bubble is centered. This ensures a stable setup. It prevents shaky camera shots.
Adjusting The Fluid Head
Balancing the tripod head is important. Start by placing your camera on the tripod. Check if it tilts. If it does, adjust the knob on the side. This helps in keeping the camera steady. Make sure the camera stays flat. A balanced camera makes filming smooth. Always double-check balance before filming.
Fine-tuning is easy with the right controls. Look for small knobs on the tripod. They help in adjusting the tilt and pan. Turn these knobs slowly. This will help in getting the right angle. Always be gentle with these controls. They are delicate and important. A well-tuned tripod gives better video quality.
Mounting The Camera
Find the quick release plate on your tripod. It is usually on top. Turn the knob to take it off. Check your camera’s bottom. There should be a hole there. Line up the plate with this hole. Twist the screw into the hole. Make sure it is tight. Your camera should not move around. Hold the plate and check for any wobbles. If it moves, tighten it more.
Place the camera on the tripod head. Slide the quick release plate into the slot. You should hear a click. This click means it is secure. Check the locking lever. It should be in the closed position. This keeps your camera safe. Try moving the camera gently. Make sure it does not slide off. Always double-check the locking mechanisms before using the tripod.
Testing The Setup
Testing the setup involves ensuring the fluid head tripod is stable and secure. Make sure all parts are tightly assembled. Test the tripod by gently panning and tilting to confirm smooth movement. This ensures optimal performance during shooting.
Checking Stability
Ensure the tripod is on a flat surface. Check all legs for equal length. Adjust them if needed. Firmly lock each leg in place. Try to shake the tripod gently. It should not wobble. Stability is key for clear photos. Look for any loose parts. Tighten them securely. A stable tripod improves picture quality. Make sure the tripod is not leaning. Adjust until perfectly upright. Stability keeps your camera safe.
Ensuring Smooth Movement
Test the fluid head’s movement. Rotate it left and right. It should be smooth without jumps. Try moving it up and down. Smooth movement helps capture steady shots. Look for any stiffness. Adjust the tension if needed. Smooth movement allows precise control. Check if the handle moves easily. It should be comfortable to use. A well-moving head avoids blurry images. Ensure all movements are fluid and easy.

Credit: www.amazon.com
Maintenance Tips
Dirt can harm your tripod. Always keep it clean. Use a soft cloth to wipe it. Avoid using water. Water can cause rust. Check the joints. Remove any dust from them. Use a brush for small parts. Look for mud on the legs. Clean it off gently. Keep your tripod shining and dust-free.
Store your tripod in a dry place. Moisture can damage it. Keep it away from direct sunlight. Sunlight can fade colors. Use a tripod bag. It offers extra protection. Make sure it’s folded properly. Don’t stack heavy things on it. This can cause it to bend. Always check before storing.
Frequently Asked Questions
How To Attach A Fluid Head To A Tripod?
Secure the tripod legs. Align the fluid head’s base plate with the tripod’s mounting screw. Tighten the screw clockwise until firmly attached. Ensure the head is level for smooth operation. Check stability to prevent movement. Always follow specific instructions from the fluid head and tripod manufacturers for best results.
How To Assemble A Tripod Head?
Attach the tripod head to the tripod base by aligning the screws. Secure it by tightening the locking knobs. Ensure the head is firmly fixed and moves smoothly. Adjust any additional features like pan or tilt according to your needs.
Check stability before mounting the camera.
How To Set Up A Tripod Step By Step?
Extend the tripod legs to your desired height. Secure the locks on each leg tightly. Adjust the center column to stabilize. Attach your camera to the tripod head. Ensure everything is balanced and secure for optimal use.
How To Fix The Tripod Head?
Tighten loose screws on the tripod head using a suitable screwdriver. Replace worn parts if necessary. Lubricate moving components to ensure smooth operation. Regularly check for damages and clean dirt buildup. Consult the tripod’s manual for specific repair instructions and part replacements.
Conclusion
Assembling a fluid head tripod is simple with practice. Follow the steps carefully. Start with the legs, then attach the head. Ensure every part is secure. Practice makes perfect, so try a few times. Once assembled, enjoy smooth camera movements.
Your tripod will be ready for any shoot. Remember to check stability before use. A well-assembled tripod lasts longer and works better. Keep these tips in mind, and you’ll feel confident. With patience, you’ll master tripod assembly. Ready for stunning shots?
Get started today!