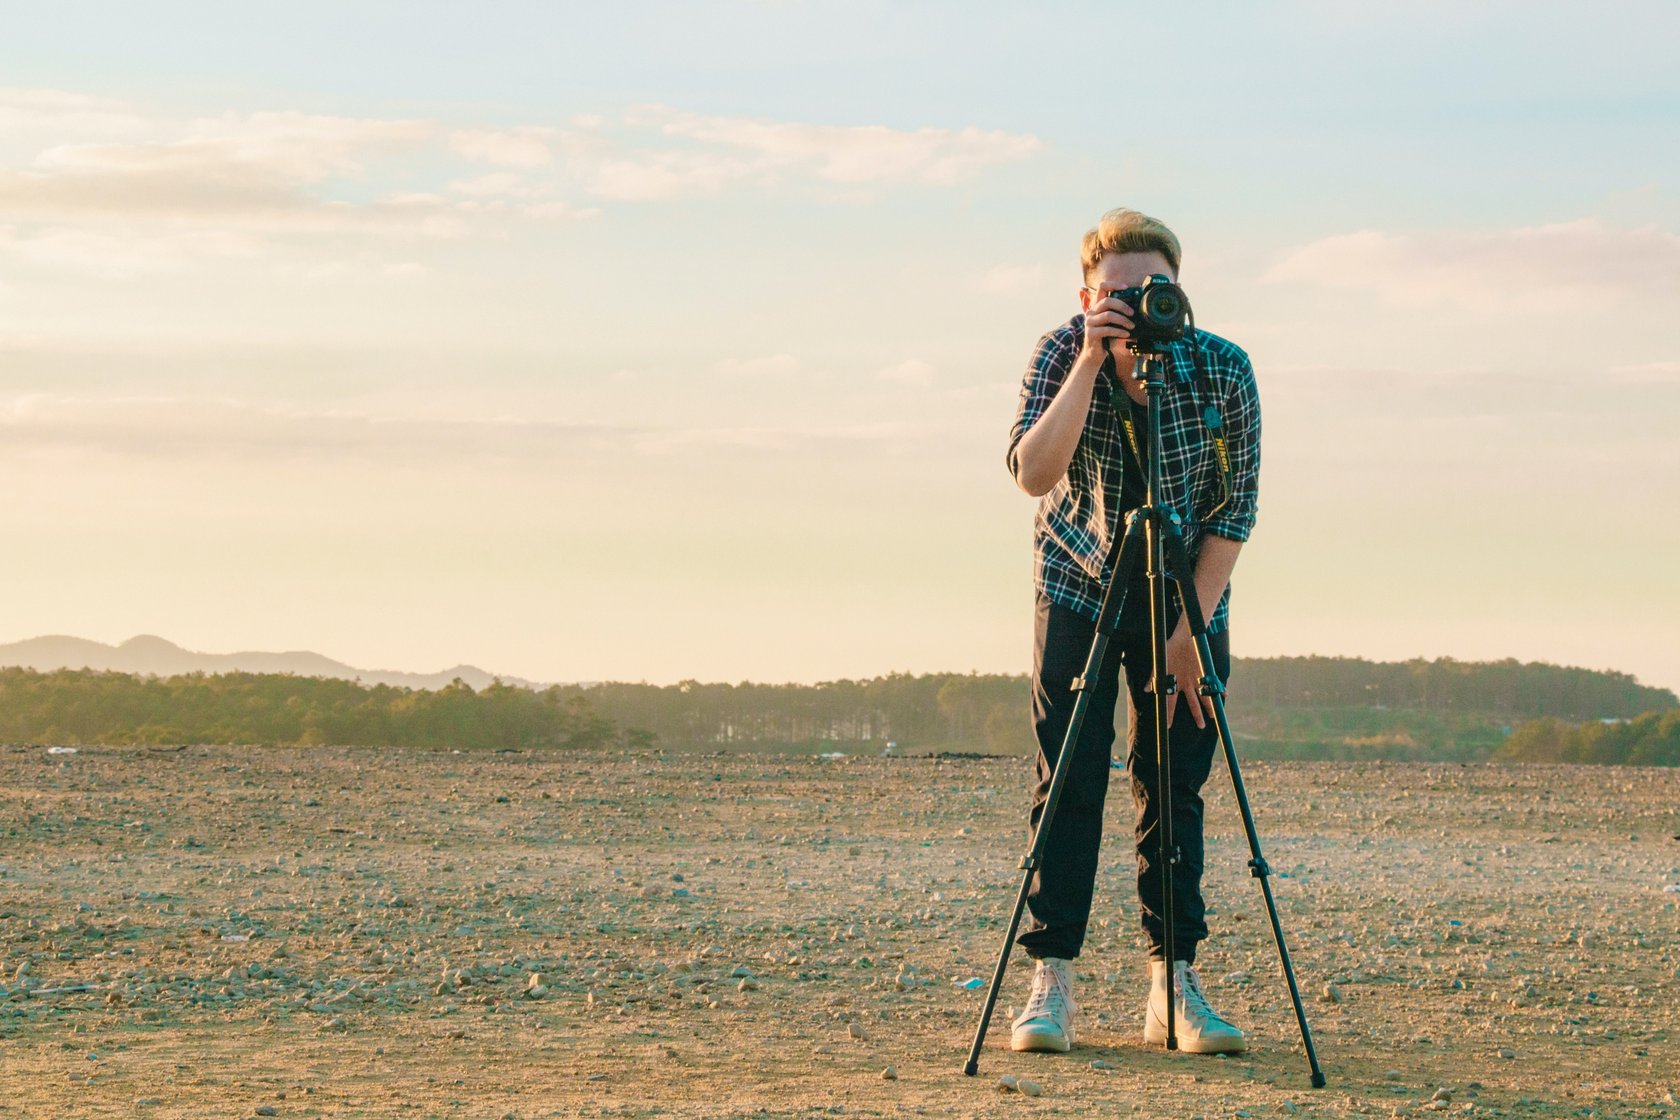
A tripod steadies your camera for clear photos. It’s essential for low-light and long-exposure shots.
Using a tripod can transform your photography skills, providing stability and precision that handheld shots often lack. Whether you’re capturing landscapes or portraits, a tripod is your best friend in achieving that perfect frame. It allows you to experiment with different angles and compositions without the fear of shaky images.
In this guide, we’ll explore the basics of using a tripod effectively. From setting it up correctly to understanding the best practices, you’ll learn how to maximize your tripod’s potential. This tool can truly enhance your photography experience, making it easier to capture stunning images. Let’s dive in and discover how a tripod can elevate your photography skills to new heights.
Table of Contents
Choosing The Right Tripod
Tripods come in different materials. Aluminum and carbon fiber are common. Aluminum is strong and heavy. Carbon fiber is light but expensive. Choose based on your needs. If you travel, light is better. If you stay local, weight is less important.
Tripod height matters for comfort. Choose one that reaches your eye level. This prevents neck strain. Stability is crucial for sharp photos. Wider legs mean more stability. Look for a sturdy tripod that can handle wind.

Credit: digital-photography-school.com
Setting Up Your Tripod
Make sure the tripod is on solid ground. Spread the legs wide. This gives more stability. Adjust the height by extending the legs. Use the locks to secure the legs. Always check if they are tight. Loose legs can cause falls.
Find the head of the tripod. It helps to hold the camera. Turn the knobs to move the head. You can tilt it up or down. It should move smoothly. Make sure it is balanced. A balanced head keeps the camera steady.
Securing Your Camera
A tripod stabilizes your camera, allowing for clear, shake-free photos. Adjust its legs for uneven surfaces. Attach your camera securely, ensuring balanced shots, even in windy conditions.
Mounting The Camera
Attach your camera to the tripod using the mounting plate. Align the plate with the camera’s base. Tighten the screws securely. This prevents the camera from falling. Ensure the mount is firm. It should not wobble. Check the mounting regularly. This ensures the camera stays safe.
Checking The Balance
Balancing the camera is important. The camera should be level. Use the tripod’s bubble level to check. Adjust the legs if needed. Balance prevents blurry photos. It keeps the camera steady. This is vital for clear images. Check balance often. This helps with perfect shots.
Optimizing For Different Terrains
Tripods help keep cameras steady. Uneven ground can make using tripods tricky. Spread the tripod legs wide. This gives better balance. One leg might need to be shorter. Adjust it until the camera is level. Some tripods have adjustable legs. These are great for bumpy places. A bubble level is helpful. It shows if the camera is straight. Always check if your tripod is secure before snapping a picture.
Wind can shake cameras. Tripods help keep them still. Use a heavy tripod for windy days. It stays firm when the wind blows. Some tripods have hooks. Hang a weight on them. This makes them more stable. Spread the legs wide to stop wobbling. Check each leg is locked tight. A shaky tripod means blurry photos. Always tighten the camera in place. This keeps it safe from the wind.
Enhancing Image Quality
A tripod helps keep your camera steady. This reduces blurry photos. Blurry photos happen when the camera moves. Using a tripod makes photos look clear. You can take photos in low light. No need to hold the camera for long. Your hands might shake. A tripod stops this shake.
A remote shutter is a helpful tool. It works with your tripod. You press the button from far away. This stops the camera from moving. The photo stays clear. Remote shutters are easy to use. Just connect it to your camera. Then, press the button to take a photo. No touch means no shake. Your photos will look great.
Credit: skylum.com
Advanced Techniques
Panoramic shots require steady hands. A tripod helps keep the camera still. Use the tripod’s panning feature. This lets you move the camera smoothly. Turn the camera slowly from left to right. Make sure each photo overlaps a bit. This helps in stitching them together later. Keep the tripod level for even shots. Adjust the legs if needed. Use a bubble level if your tripod has one.
Time-lapse photography captures changes over time. Set your camera on the tripod. Choose a spot with a good view. Decide how long you want to shoot. Set the timer on your camera. It will take pictures at set intervals. Check your camera’s battery. Make sure it lasts the whole session. Use a remote to avoid shaking the camera. This keeps each shot clear and sharp.
Maintaining Your Tripod
Keep your tripod clean for better performance. Dust and dirt can harm it. Use a soft cloth to wipe the legs. Regular cleaning helps keep it smooth. After using it near water, dry it well. Moisture can cause rust.
Check the locks and screws often. Tighten them if loose. This ensures your tripod stays steady. Proper care extends its life. Store it in a safe place. Avoid dropping or bumping it. These actions can cause damage.
Inspect your tripod regularly for signs of damage. Look at the legs and locks. Are they bent or broken? If yes, fix them soon. Prevent damage by checking before each use. A damaged tripod can affect your photos.
Look at the head and plate. Make sure they hold the camera well. If the camera slips, check the screws. Safety first is key. A good inspection keeps your tripod ready for action. Handle it with care to avoid problems.
Troubleshooting Common Issues
Setting up a tripod correctly enhances photo stability. Ensure all legs are evenly extended and locks are tight. Adjust the head for the desired angle, and always check the surface for stability to avoid camera shake.
Fixing Loose Joints
Sometimes tripod joints become loose. This can make it wobbly. Tighten the screws on each joint. Use a small screwdriver for this task. Check all the joints regularly. Tight joints keep the tripod stable. Stability helps in taking clear photos.
Addressing Tilt Problems
A tripod might tilt to one side. This happens if legs are uneven. Adjust the length of each leg. Make them equal in length. Ensure all legs touch the ground firmly. A level surface is important too. Use a bubble level if your tripod has one. This helps in ensuring straight photos.

Credit: ayearwithmycamera.com
Frequently Asked Questions
At What Shutter Speed Should You Start Using A Tripod?
Use a tripod at shutter speeds slower than 1/60th of a second. This prevents camera shake and ensures sharp images. Tripods are essential for low-light, night photography, or long exposures. Always prioritize stability to enhance photo quality.
Do Professional Photographers Use Tripods?
Yes, professional photographers often use tripods for stability and precision. Tripods help capture clear images in low light. They are essential for long exposures, landscape shots, and studio work. Using a tripod improves image quality and enhances creativity by allowing photographers to experiment with different angles and compositions.
What Is The Hook On The Bottom Of A Tripod For?
The hook on a tripod’s bottom stabilizes it. Hanging weight from it reduces vibrations and enhances stability, especially in windy conditions. It’s useful for sharper photos in challenging environments.
How Do You Position A Camera On A Tripod?
Secure the tripod on a stable surface. Extend the legs evenly for balance. Attach the camera to the tripod’s quick-release plate. Adjust the angle using the tripod’s head controls. Ensure the camera is level for optimal shots.
Conclusion
Using a tripod can really enhance your photography skills. It offers stability for clear, sharp images. You can explore new angles and compositions easily. It’s especially helpful in low light conditions. Remember to choose the right tripod for your camera.
Adjust its height and position carefully. Practice often to get comfortable with it. Soon, you’ll notice the difference in your photos. A tripod is a valuable tool in your photography journey. Embrace it and watch your creativity grow. Keep experimenting and enjoy capturing beautiful moments with ease.