Fixing a tripod may seem complicated, but with the right steps, most problems can be solved quickly at home. Whether your tripod has a loose leg, a stuck head, or a broken part, you don’t always need professional help. Learning how to fix a tripod can save you time, money, and frustration—especially if you rely on it for photography or video work.
Table of Contents
Common Tripod Problems And Quick Fixes
Understanding the issue is the first step. Here are some of the most frequent tripod problems and how to address them:
- Loose or Wobbly Legs: Tighten the screws or clamps at each joint. For twist-lock legs, make sure each section is fully engaged. If screws are stripped, replace them with the same size from a hardware store.
- Stuck Leg Sections: Dirt or sand can jam leg tubes. Carefully unscrew the leg, clean out debris with a brush or compressed air, and apply a tiny amount of silicone spray.
- Broken Leg Clamp: Most clamps are replaceable. Remove the damaged clamp (usually with a screwdriver), then install a new one from the tripod’s manufacturer.
- Slipping Center Column: Tighten the locking knob. If it still slips, check for worn rubber or plastic inside the mechanism.
- Stuck Tripod Head: For ball heads or pan-tilt heads, loosen all adjustment knobs. Use a soft cloth and isopropyl alcohol to clean moving parts, and lubricate lightly.
Tools You’ll Need
Having the right tools makes tripod repairs much easier. Most fixes require only basic items:
- Small Phillips and flathead screwdrivers
- Allen (hex) keys, usually 2–5 mm
- Soft cloth and brush
- Silicone spray or light grease
- Replacement screws or clamps
A small toolkit in your camera bag means you’re always prepared for on-the-go repairs.
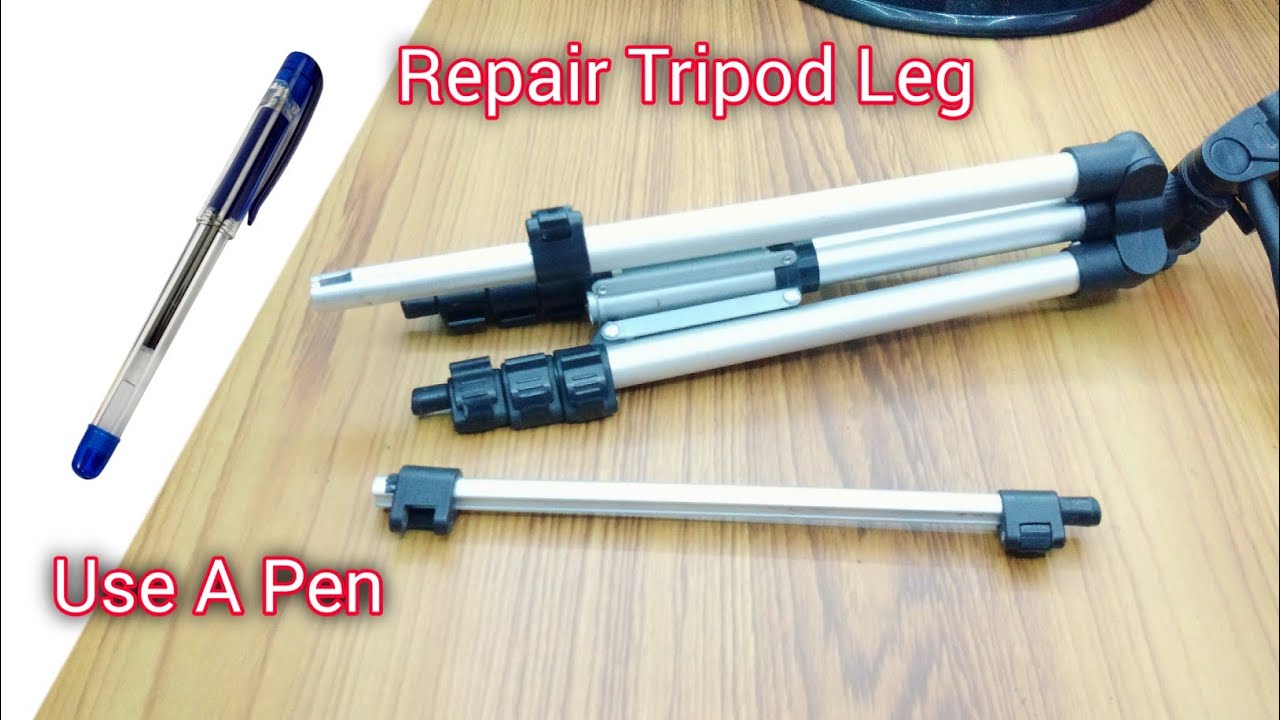
Credit: www.youtube.com
When To Replace Vs. Repair
Some tripod problems are not worth fixing. Here’s a quick comparison:
| Repair | Replace |
|---|---|
| Loose screws | Bent/broken legs |
| Worn rubber feet | Cracked head housing |
| Jammed locks | Severely rusted parts |
If the cost of replacement parts is more than 50% of a new tripod, consider buying a new one.
Preventing Future Tripod Issues
Simple habits can keep your tripod in good shape for years:
- After shooting outdoors, wipe down the legs to remove dust or moisture.
- Store the tripod with the legs retracted.
- Lubricate moving parts twice a year.
- Avoid over-tightening screws or locks.
Many beginners forget to check their tripod’s screws regularly—loose screws cause most stability issues. Another common mistake: using lubricants like WD-40, which attract dirt. Stick to silicone spray or light grease.

Credit: improvephotography.com
Sample Tripod Maintenance Schedule
| Task | Frequency |
|---|---|
| Wipe down legs | After each shoot |
| Check screws | Monthly |
| Lubricate joints | Every 6 months |
Frequently Asked Questions
How Do I Fix A Tripod That Won’t Stay Upright?
Check for loose leg joints or a slipping center column. Tighten all screws and locks, and replace worn feet if needed.
Can I Use Any Lubricant On My Tripod?
No. Use silicone spray or light grease. Avoid WD-40 or oils—they attract dust and cause sticking.
Where Can I Find Replacement Tripod Parts?
Visit the manufacturer’s website or camera stores. For common brands, try B&H Photo Video.
What Should I Do If My Tripod Leg Is Bent?
A bent leg often means replacement is needed. Don’t try to straighten aluminum or carbon fiber legs—they may break.
How Often Should I Clean My Tripod?
After every outdoor shoot. Dirt or sand can quickly cause locks to jam or damage moving parts.
With these tips, you can keep your tripod working smoothly and avoid costly replacements. Proper care and quick fixes make all the difference for stable, sharp photography.
Credit: tecres.com