Using a monopod with your iPhone can make mobile photography easier and more creative. Whether you want steady video, sharp photos, or just better group selfies, a monopod is a simple tool that can improve your results. Many people think monopods are just for professional cameras, but they’re also great for iPhone users.
In this guide, you’ll learn how to choose, set up, and use a monopod with your iPhone, plus tips for getting the best shots.
Table of Contents
Why Use A Monopod With Your Iphone?
A monopod is a single-legged support for cameras and smartphones. Unlike a tripod, it’s lighter and quicker to move. For iPhone photography, a monopod offers several benefits:
- Steady shots: Reduces hand shake, especially in low light or video.
- Better angles: Helps you shoot over crowds or from low perspectives.
- Portability: Easier to carry than a tripod.
- Selfies and group photos: Extends your reach.
In my experience, a monopod makes travel and outdoor photography much simpler. You can carry it in one hand, set it up in seconds, and get sharp images without carrying heavy gear.
Choosing The Right Monopod For Iphone
Not all monopods work well with iPhones. Here’s what you should look for:
Compatibility
Check if the monopod includes a phone mount. Some are made for DSLRs and need a separate smartphone holder. The mount should fit your iPhone model, even with a case.
Height And Weight
Consider the extended length and folded size. For example, a monopod that extends to 60 inches lets you shoot from high angles, but a compact 15-inch folded size is easier for travel.
Stability And Build
Monopods can be made from aluminum (strong and affordable) or carbon fiber (lighter but pricier). Look for non-slip feet and a comfortable grip. A wrist strap adds safety.
Features
Some have Bluetooth remote shutters or tripod feet for extra stability. Decide if you want these based on your shooting style.
Here’s a quick comparison of common monopod materials:
| Material | Weight | Durability | Price Range |
|---|---|---|---|
| Aluminum | Medium | High | Low |
| Carbon Fiber | Light | Very High | High |
| Plastic | Light | Medium | Low |
Pro Tip: Choose a monopod with a universal 1/4-inch screw. This lets you swap mounts if you upgrade your phone or use a GoPro.
Setting Up Your Monopod With Iphone
Setting up is quick, but doing it right helps avoid dropped phones or shaky shots.
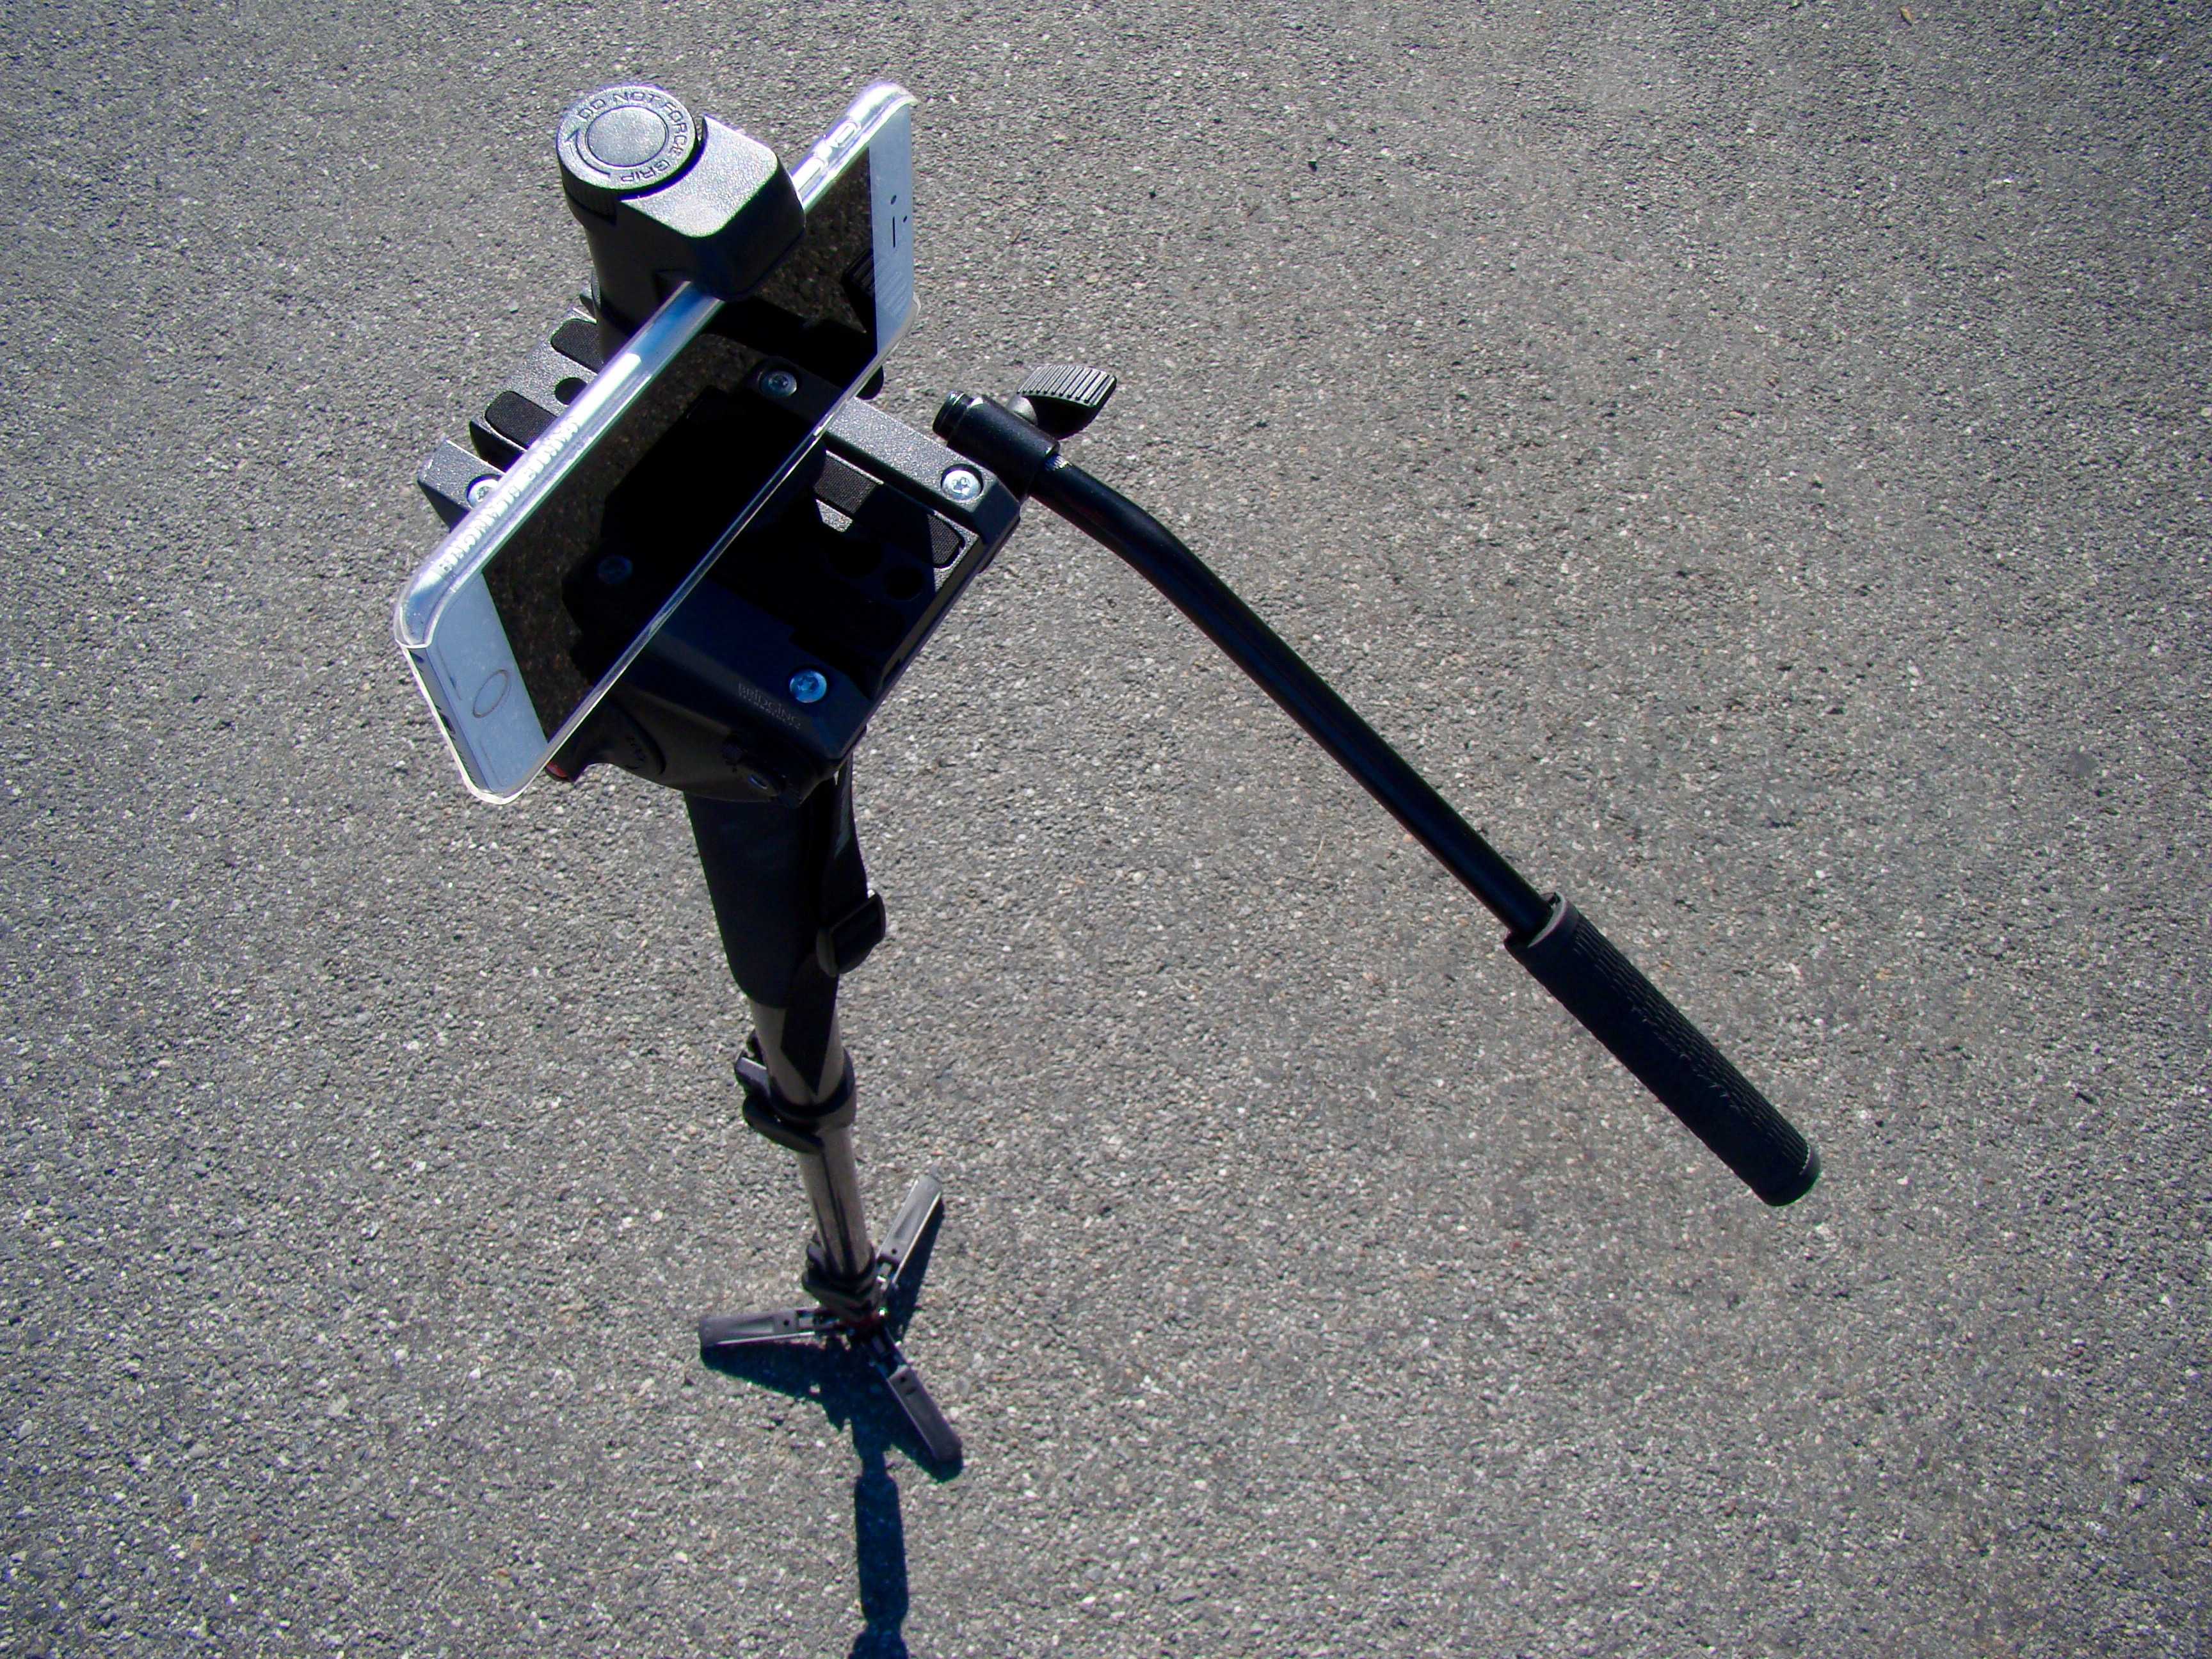
- Attach the phone holder: Screw the holder onto the top of the monopod.
- Insert your iPhone: Open the clamp, center your phone, and tighten until snug.
- Adjust the length: Extend the monopod to your desired height. Lock each section firmly.
- Check stability: Hold the grip and gently move the monopod to check for wobble.
If your monopod comes with a Bluetooth remote, pair it with your iPhone. Go to Settings > Bluetooth, select the device, and connect.
Here’s a quick look at setup steps and time:
| Step | Average Time | Difficulty (1-5) |
|---|---|---|
| Mount phone holder | 30 seconds | 1 |
| Insert iPhone | 15 seconds | 1 |
| Extend monopod | 20 seconds | 2 |
| Pair remote | 1 minute | 2 |
How To Shoot Great Photos And Videos
Once your iPhone is secure, you’re ready to shoot. Here’s how to get the best results:
For Photos
- Use the timer: If you don’t have a remote, set a 3- or 10-second timer. This avoids motion blur.
- Hold steady: Use both hands and brace the monopod against your body or a solid object.
- Try new angles: Raise the monopod above your head for crowd shots or lower it for creative close-ups.
For Video
- Walk slowly: Keep movements smooth. The monopod absorbs some shocks, but fast moves can still shake video.
- Pan and tilt: Use the monopod as a lever to pan (move left/right) or tilt (up/down) smoothly.
- Use stabilization: Turn on your iPhone’s built-in stabilization in the camera settings for even steadier footage.
Pro Tip: Shoot in landscape mode for video. This looks better on most screens and social media.
Common Mistakes To Avoid
Many beginners make simple errors with monopods. Avoid these for better results:
- Mounting the phone off-center: Always center the iPhone for balance.
- Not locking sections: Loose sections can collapse and damage your phone.
- Overextending: Extending all sections to the maximum can make the monopod wobbly. Use only as much length as you need.
- Ignoring wind: In outdoor settings, wind can shake the monopod. Hold it firmly or brace it against something.
Advanced Tips For Creative Shots
Once you’re comfortable, try these ideas:
- Overhead crowd shots: Extend the monopod and use the remote or timer to shoot over heads.
- Low-angle action: Place the monopod close to the ground for dramatic perspectives.
- Vlogging: Use the monopod as a selfie stick for walking videos. Keep your arm relaxed for smoother footage.
Example: When I tested a monopod at a street festival, I was able to get shots above the crowd that were impossible by hand. The difference in photo quality and variety was clear.
Credit: www.cultofmac.com
Care And Maintenance
A well-kept monopod lasts longer and works better. After each use, wipe the pole and clamp to remove dirt. Check for loose screws and cracks. If it’s wet, dry it to prevent rust. Store in a case or dry bag during travel.
Frequently Asked Questions
Can I Use A Monopod With An Iphone Without A Special Holder?
No, you need a phone holder that attaches to the monopod’s screw. Generic holders are cheap and widely available.
Is A Monopod Or Tripod Better For Iphone Photography?
A tripod offers more stability for long exposures or night shots. A monopod is faster and lighter, perfect for travel or action photos.
Will A Monopod Damage My Iphone?
If you use a quality holder and lock the clamp securely, it’s safe. Never force the phone into the holder, and always check for tightness before use.
Can I Use A Monopod For Facetime Or Video Calls?
Yes, a monopod can hold your iPhone steady during video calls. Adjust the angle for a comfortable view and stable image.
Where Can I Learn More About Mobile Photography Gear?
For more gear guides and tips, visit Pro Master Tripod