Taking a picture with a Canon camera is simple. First, power on the camera.
Next, adjust the settings to suit your scene. Finally, press the shutter button to capture your shot. Canon cameras are popular among photographers for their quality and reliability. They offer a range of models suited for beginners and professionals alike.
Understanding the basics of using your Canon camera can significantly improve your photography skills. In this guide, we’ll explore the essential steps to take a great picture. Whether you’re capturing landscapes or portraits, these tips will help you get the best out of your camera. Let’s dive into the world of Canon photography and discover how to capture stunning images effortlessly.
Table of Contents
Camera Basics
First, find the power button on the camera body. Press it to turn on the camera. The screen will light up. Check if the battery is charged. A low battery means the camera might not work well. Keep the battery charged for best results.
Cameras have different modes for taking pictures. The Auto mode is easy for beginners. It adjusts settings by itself. The Manual mode gives you more control. You can change settings like shutter speed and aperture. Each mode has a special use. Choose the mode that fits what you need.
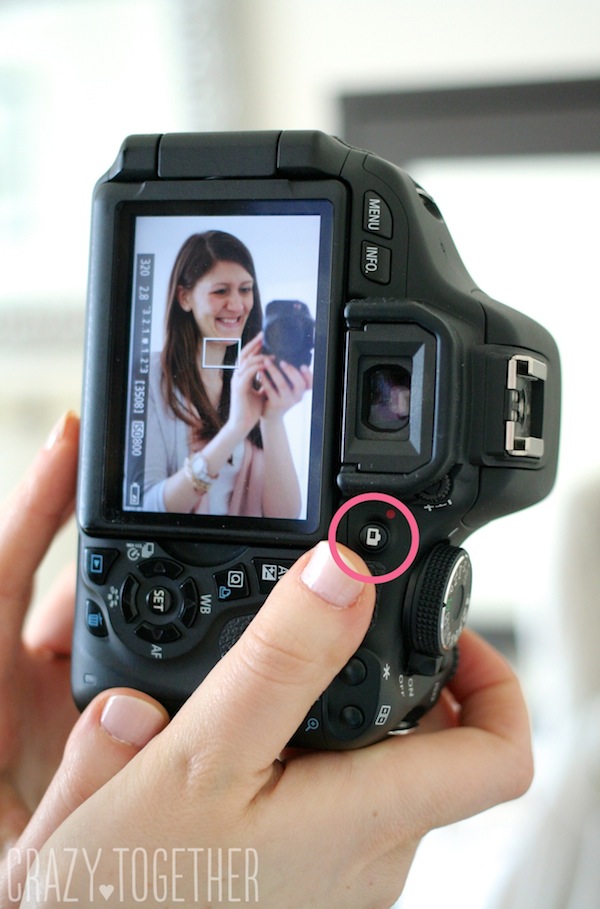
Credit: crazytogether.com
Setting Up The Camera
Start by turning on your Canon camera. Look for the Menu button. Press it to see options. The screen will show many choices. Focus on the quality settings. Choose the image format. JPEG is good for beginners. Check the white balance. Sunny days need different balance than cloudy ones. Adjust the exposure settings. More light means higher exposure. Less light needs lower exposure. Use the arrow buttons to change settings. Always press the OK button to save changes.
ISO affects the light in your photos. Look for the ISO button on your camera. Press it gently. Low ISO is best for bright places. High ISO is good for dark spots. Think of ISO as your eye. It helps you see in different light. Choose ISO 100 for sunny days. Pick ISO 800 for dim rooms. Higher ISO can make photos look grainy. Be careful with the settings. Try different ISO levels. Find what works best for your scene.
Mastering Focus
Auto focus makes things easy. The camera decides the best focus. This is quick and simple. Perfect for moving subjects. Manual focus gives control. Twist the lens to set focus. It’s ideal for still objects. Try both methods to see what works best.
Focus points are small areas on the screen. Select these to choose where to focus. Canon cameras have many focus points. Use them to get sharp pictures. Focus points help you control the shot. Place the subject in the center for clear focus. Adjust as needed to get a perfect image.

Credit: m.youtube.com
Framing The Shot
Start by deciding what you want in your picture. Pick a subject that stands out. A busy background can distract viewers. Keep it simple for a strong composition.
Imagine your screen is divided into nine equal parts. Place your subject on one of the lines. This makes your picture more interesting. The center is not always the best spot.
Lighting Techniques
Natural light makes photos look bright and beautiful. Try taking pictures outside on a sunny day. Early morning or late afternoon light is soft and nice. Avoid direct sunlight during noon. It makes shadows very hard. Find a shaded spot for softer light. Use a window indoors. Natural light from windows is gentle and lovely. Remember to turn off indoor lights. It keeps colors true.
Flash can help in dark places. Use it wisely. Set your flash to auto. The camera will decide when to use it. Sometimes, flash makes things too bright. Try using a diffuser to soften the light. Bounce the flash off walls or ceilings. It spreads light evenly. Avoid using flash on shiny objects. It causes glare. Practice using flash for better photos.
Capturing Action
Shutter speed is key for action shots. Faster shutter speeds freeze motion. Try 1/500 or 1/1000 seconds. They capture fast movements well. Adjust your camera settings. Higher speeds need more light. Check your environment. Bright areas work best. Indoor settings might need adjustments. Use wide apertures or higher ISO.
Continuous mode helps capture multiple shots quickly. It’s great for sports or wildlife. Press the shutter button once. The camera takes several pictures fast. This increases chances of a perfect shot. Keep the camera steady. Use a tripod if needed. Review your photos later. Choose the best one to save.
Portrait Photography
Aperture changes how much light enters the camera. A wide aperture like f/1.8 blurs the background. This makes the subject stand out. Small apertures like f/16 keep everything in focus. Use a wide aperture for beautiful portraits. It creates a soft background. Adjust the aperture using the camera dial. Practice changing it for different effects. Try taking photos with different aperture settings. Experiment with light and shadow. Notice how aperture changes the picture. Aperture is key in portrait photography.
Backgrounds make your portraits interesting. Choose a simple background. This helps the subject stand out. Busy backgrounds can distract. Nature backgrounds work well. Trees and flowers add color. Plain walls are also good. They keep focus on the subject. Try different backgrounds. Experiment with colors and textures. A good background makes the photo better. Change position for different effects. Move to find the best angle. A well-chosen background complements the subject.
Reviewing And Editing
Capturing moments with a Canon camera involves understanding basic settings. Adjust the mode dial for different shooting styles. Press the shutter button halfway to focus, then fully to take the picture.
Viewing Shots
Press the playback button on your Canon camera. This shows all your photos. Use the arrow keys to scroll through them. Find the picture you want. Look for details you like or don’t like. Press the zoom button to see closer. Check if the picture is clear. Notice if the colors look right. See if anything is too bright or dark.
Basic Editing Techniques
Basic editing is easy with Canon cameras. Use the menu to find editing options. Adjust the brightness if needed. Make the picture lighter or darker. Change the contrast to make colors stand out. Crop the photo to focus on important parts. Be careful not to crop too much. Save your edits before you finish. Always keep the original photo safe. This helps if you need to edit again later.
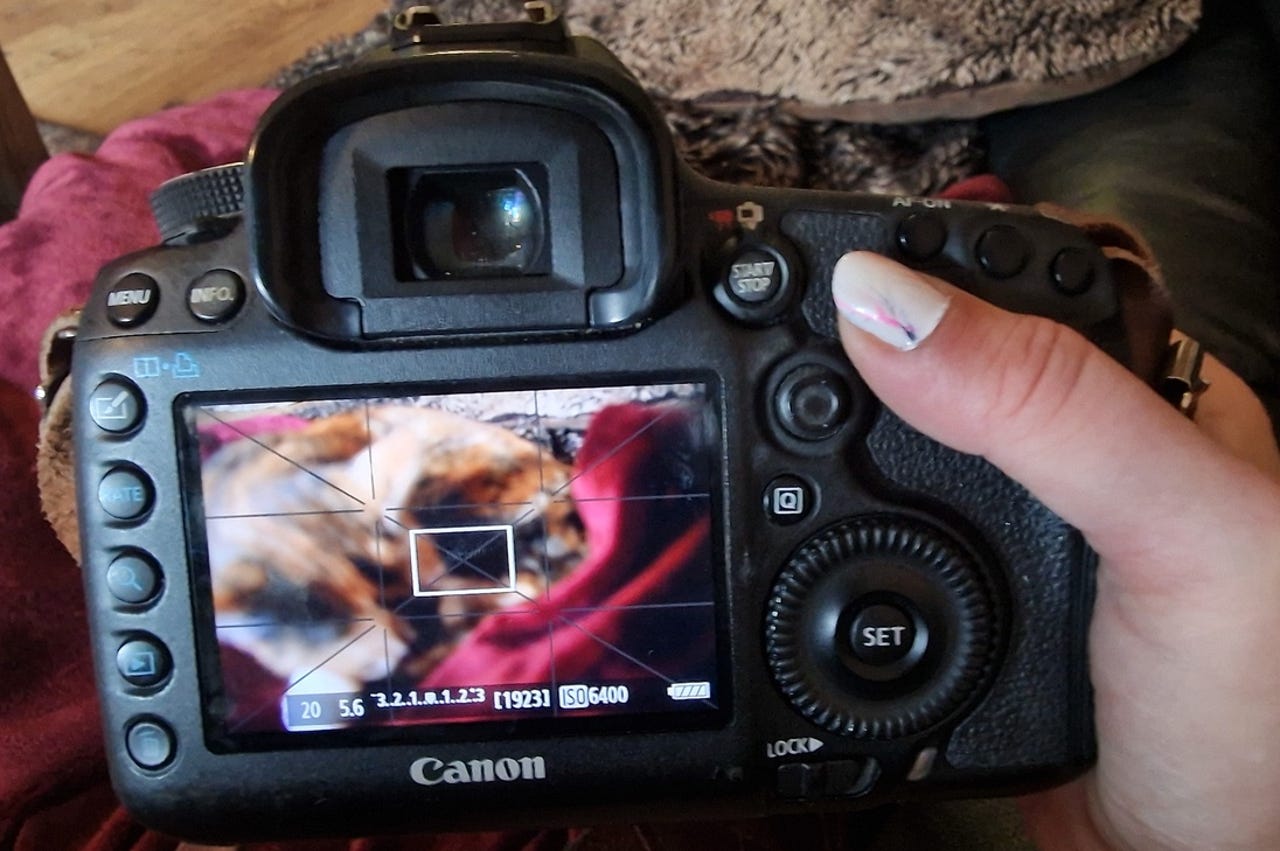
Credit: www.zdnet.com
Frequently Asked Questions
What Button Takes A Picture On A Canon Camera?
Press the shutter button to take a picture on a Canon camera. It is usually located on top.
How To Take Photos In A Canon Camera?
Turn the camera on and set desired mode. Adjust ISO, aperture, and shutter speed. Focus on the subject. Press the shutter button gently to capture the photo. Review the image on the screen for quality.
How Do You Take A Picture On A Camera?
Turn on the camera and adjust settings. Frame your subject using the viewfinder or screen. Press the shutter button gently to capture the image. Ensure proper lighting and focus for a clear photo. Practice regularly to improve your skills.
Why Won’t My Canon Camera Let Me Take A Photo?
Your Canon camera might not take photos due to a full memory card, depleted battery, or incorrect settings. Ensure the lens is attached properly and the camera is not in “Playback” mode. Check for any error messages on the screen to identify specific issues.
Conclusion
Capturing moments with a Canon camera can be simple and rewarding. Follow the steps and practice often. Experiment with settings to find your style. Remember, patience is key when learning new skills. Photography is about capturing your unique perspective. So, keep your camera handy and seize those special moments.
Each shot is a chance to improve. With time, you’ll notice progress. Enjoy the process and have fun with your Canon camera. Happy shooting!