Installing a SimpliSafe outdoor camera with a solar panel is simple. First, gather the necessary tools and materials.
Next, follow the instructions for a seamless setup. Outdoor security is vital for peace of mind. SimpliSafe offers reliable cameras that are easy to install. Pairing your camera with a solar panel ensures constant power. This means less worry about recharging or replacing batteries.
With a solar panel, your camera stays active day and night. This setup is perfect for those who want sustainability and security. The process is straightforward and suitable for beginners. You’ll enjoy hassle-free surveillance once everything is set up. Read on to learn how to install your SimpliSafe outdoor camera with a solar panel. You’ll find helpful tips and clear steps to guide you through the process.
Credit: kskcollegebeed.com
Table of Contents
Simplisafe Outdoor Camera Overview
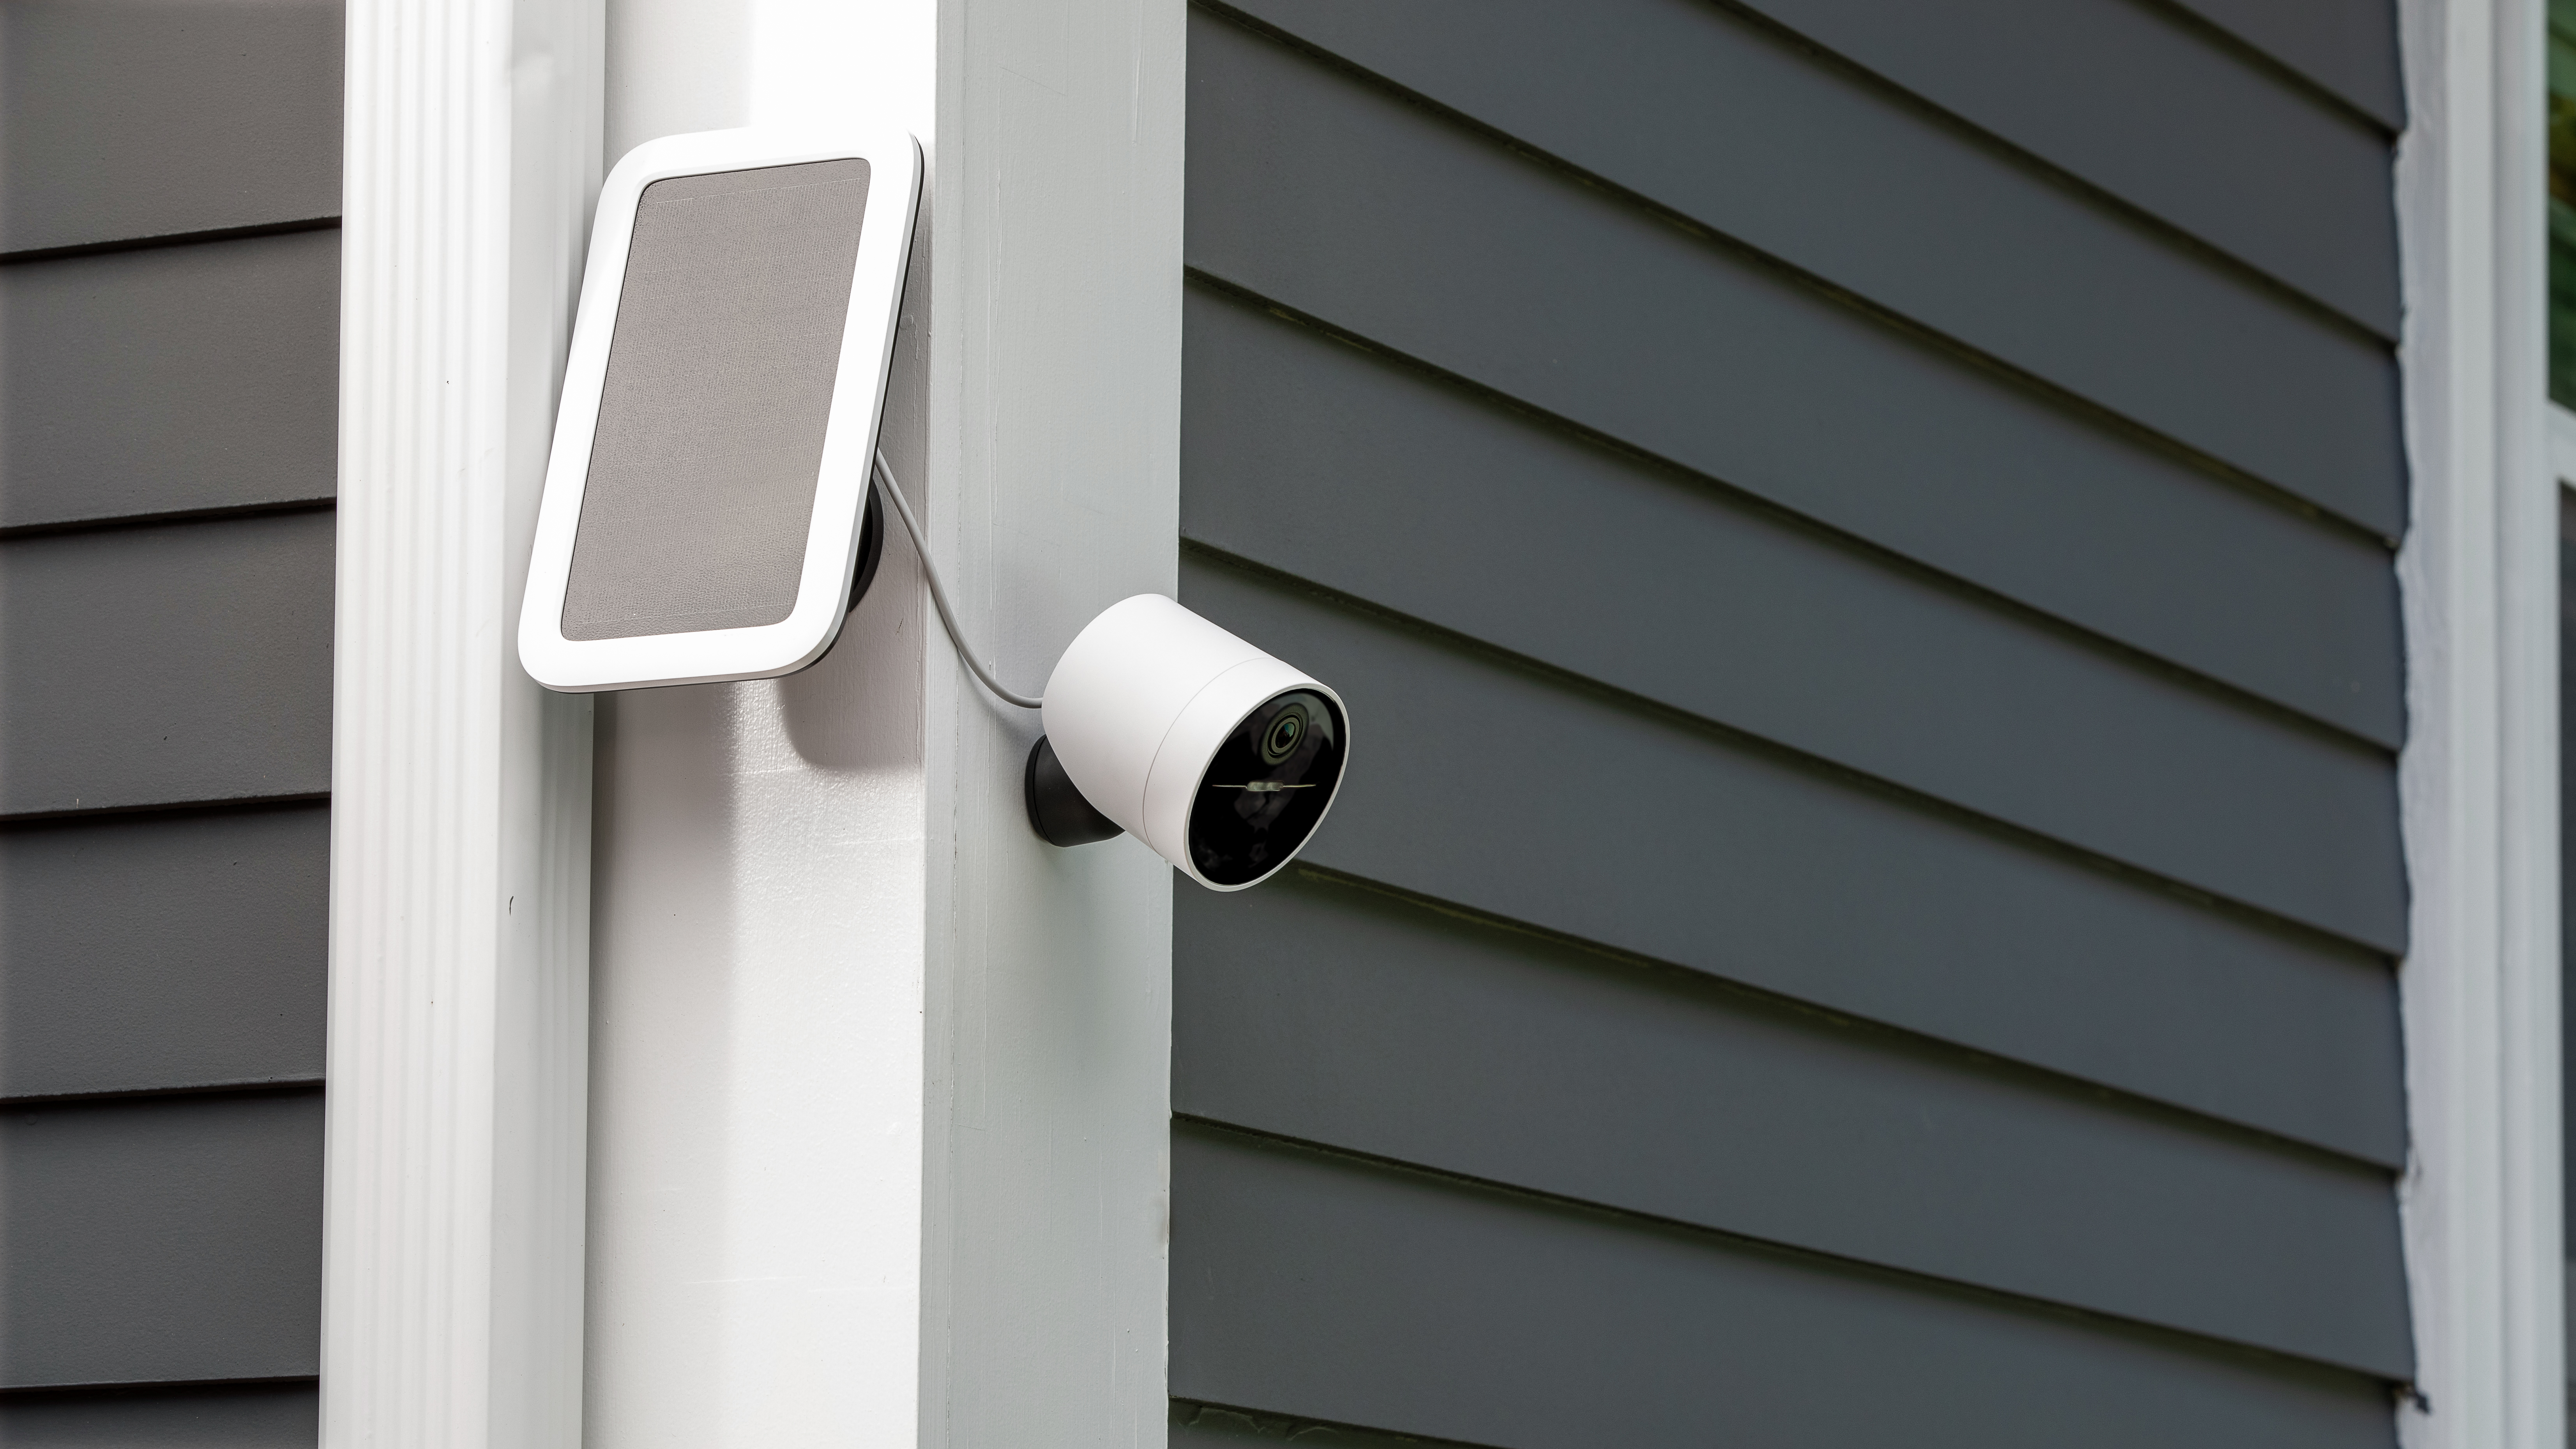
The Simplisafe Outdoor Camera is a smart choice. It offers HD video quality. You can see clearly day and night. The camera has motion detection. It alerts you when something moves. It is easy to set up. Connect it to your phone. It lets you watch over your home. The camera is weather-resistant. Rain or shine, it works well.
The camera works with a solar panel. This means it can be charged by the sun. No need for wires. This is great for outdoor use. The panel saves energy. It keeps the camera running all day. Make sure the camera is in a sunny spot. This helps the panel work better. Charging is easy and simple.
Credit: www.homedepot.com
Choosing The Right Location
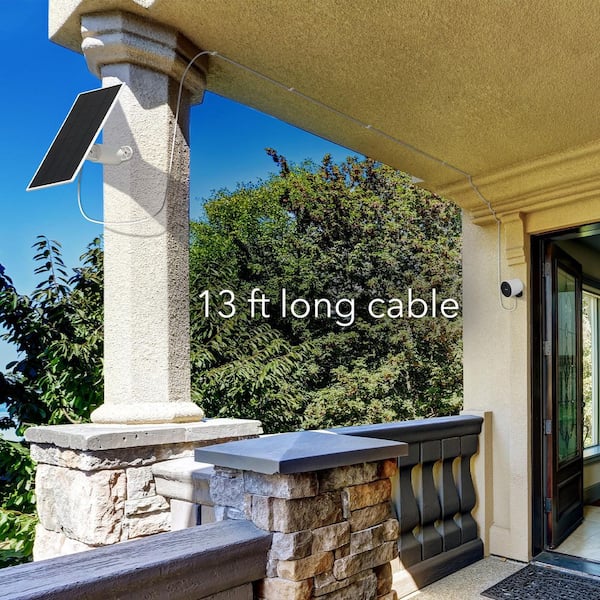
Sunlight is crucial for solar panels. Pick a spot with direct sunlight for most of the day. This ensures the panel works well.
Think about coverage. The camera should see the area you want. Avoid blocked views. Trees or buildings can hide important spots.
Check the distance from your Wi-Fi router. A closer spot helps with strong signals. This ensures the camera works smoothly.
Aim for high spots. Mount the camera above eye level. This keeps it safe from tampering.
Consider the angle. Tilt the camera to cover more area. This helps in capturing wider views.
Think about ease of access. You may need to adjust or clean it. Choose a spot that’s reachable.
Preparing For Installation
Start with a Phillips screwdriver. You need it for screws. Also get a drill. It helps make holes. Don’t forget the mounting brackets. They hold the camera. Bring a level. It keeps things straight. Gather wire cutters. They trim cables. A ladder is crucial. It reaches high places. Lastly, have the camera manual. It guides you step by step.
Wear safety goggles. They protect your eyes. Use gloves to keep hands safe. Ensure the ladder is steady. Check the ground. It must be flat. Avoid wet spots. They cause slips. Keep tools organized. Clutter can be dangerous. Turn off power when drilling. Electricity can be risky. Stay aware of surroundings. Always watch for hazards.
Installing The Camera
First, find a good spot for the camera. Make sure it has a clear view. Use a drill to make holes for the screws. Attach the mounting bracket to the wall. Use screws to keep it tight. Check that the bracket is firm. This stops the camera from falling.
Slide the camera into the bracket. It should click into place. Tighten the screws on the sides. This keeps the camera steady. Connect the solar panel to the camera. Make sure the cable is secure. Adjust the camera to face the right direction. Double-check everything is tight. Now, the camera is ready to use.
Connecting The Solar Panel
Installing the SimpliSafe Outdoor Camera with a solar panel is simple. Secure the camera in your preferred spot. Connect the solar panel for continuous power.
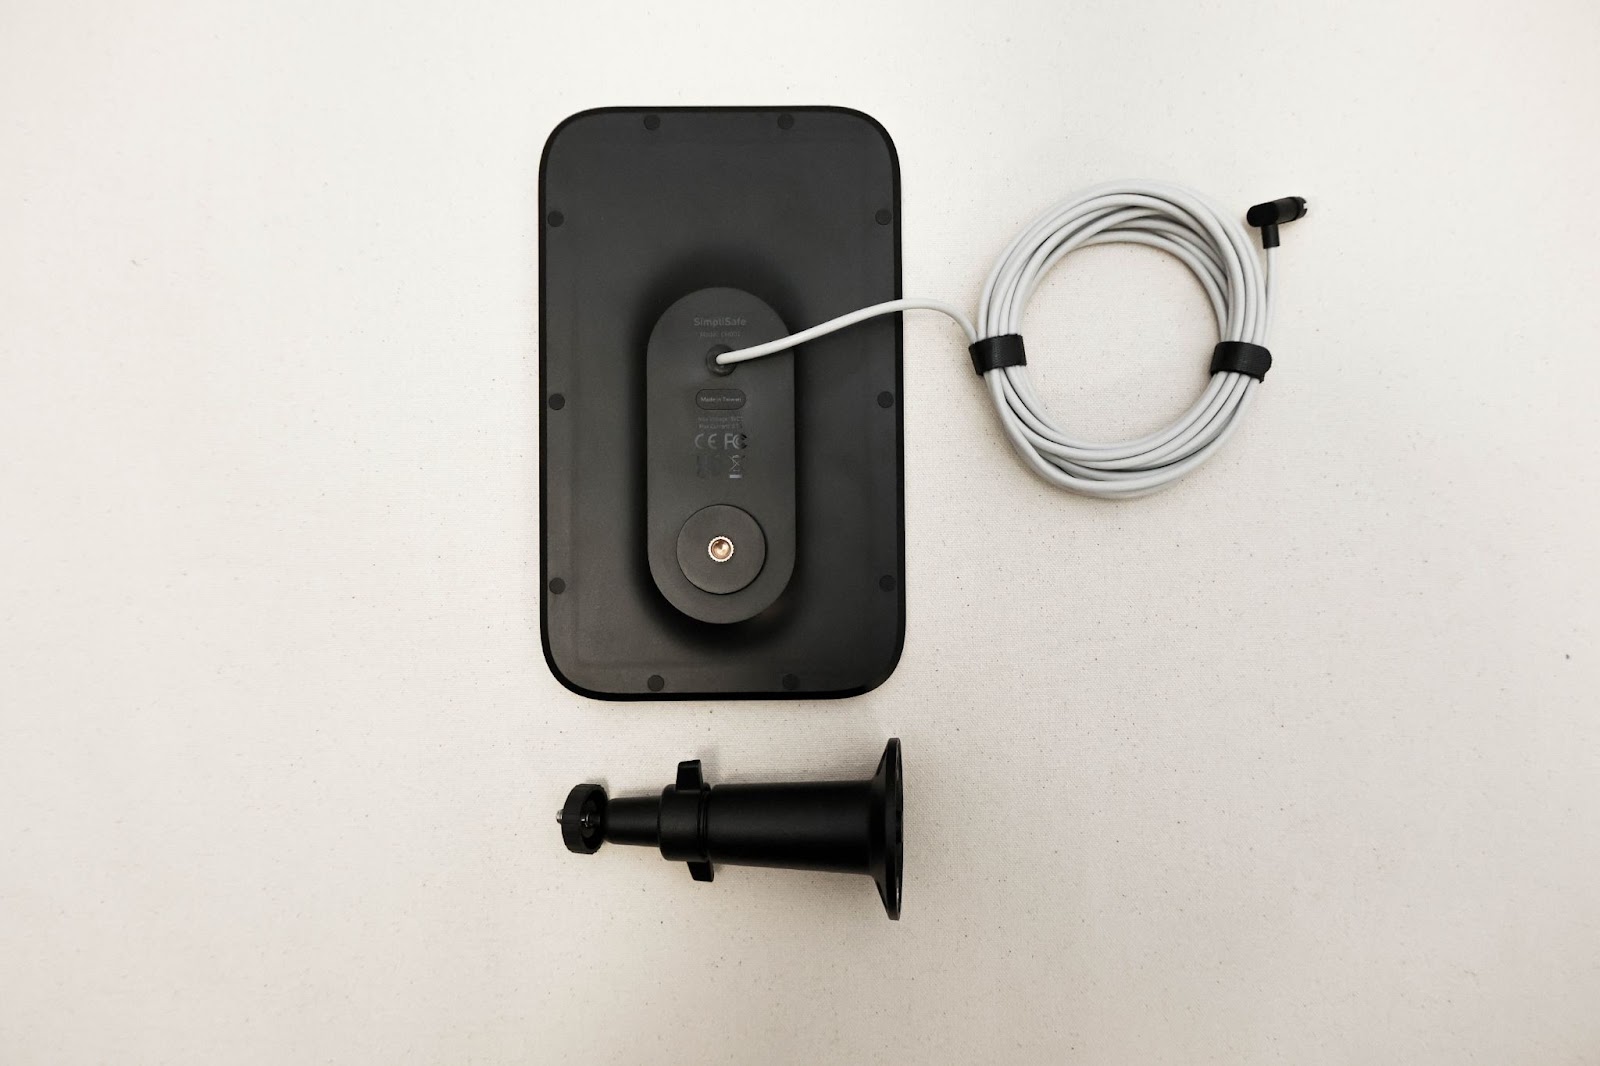
Panel Attachment Process
First, find a sunny spot for the solar panel. This helps the panel work well. Use the provided bracket to attach the panel. Make sure the panel faces the sun directly. Adjust the angle if needed. Tighten the screws to keep the panel in place. Ensure the panel is stable and won’t move in the wind.
Ensuring Proper Connectivity
Connect the cable from the panel to the camera. Check the connection is tight. Loose connections can cause problems. Look for the indicator light on the camera. It should show the camera is charging. If not, recheck all connections. Make sure nothing is blocking the solar panel. Trees or buildings can block sunlight.
Configuring Camera Settings
Setting up the Simplisafe outdoor camera with a solar panel involves a few simple steps. Begin by attaching the camera bracket to a sturdy surface. Then, connect the solar panel to the camera for continuous power. Adjust the camera settings for optimal security coverage.
Adjusting Video Quality
Select the right video quality for your needs. High quality uses more data but looks better. Lower quality saves data and loads faster. Choose medium quality for a balance. Test settings to see what works best. Make sure to save your changes after adjusting.
Setting Up Alerts
Alerts help you know when something happens. Set alerts for motion detection. Customize the sensitivity level. Too high and you get too many alerts. Too low and you might miss important ones. Schedule alerts for certain times to save battery. Always check if alerts are working well.
Testing The System
Installing the Simplisafe Outdoor Camera with a solar panel is straightforward. Start by mounting the camera securely. Connect the solar panel to ensure continuous power. Follow the manufacturer’s instructions for optimal setup.
Verifying Camera Functionality
Check the camera for clear videos. Ensure it captures images well. Look at night vision. Is it working properly? Test the motion detection. Does it alert you when someone moves? Try the app connection. Can you see live feed on your phone? Test the sound. Can you hear clearly? Make sure all parts are secure. Are cables connected tightly? Are the mounting brackets holding the camera steady? If the camera passes these checks, it’s ready.
Checking Solar Panel Performance
Inspect the solar panel position. Is it facing the sun? Check the wires. Are they connected well? Monitor the battery level. Does it stay charged? Look at weather effects. Does rain or shade affect charging? Clean the panel. Is it free of dirt? Test power output. Is it enough for the camera? Check for obstructions. Is anything blocking sunlight? If the solar panel works, your setup is complete.
Credit: support.simplisafe.com
Troubleshooting Common Issues
Encountering issues while installing the Simplisafe Outdoor Camera with a solar panel is common. Ensure the camera is correctly aligned with the panel. Check connections to avoid power disruptions.
Addressing Connectivity Problems
Sometimes, the camera might not connect well. Check your Wi-Fi signal. It should be strong. Move the router closer if needed. Make sure the camera has the latest updates. Updates fix many problems. Restart the camera and router. This can help fix issues. If the problem continues, check your internet provider. They can help with connection issues.
Resolving Power Supply Concerns
The camera needs power to work. If it stops, check the solar panel. Make sure it’s clean. Dirt can block sunlight. Ensure the panel is in direct sunlight. No shade should cover it. Check the cable connections. They should be tight. If the battery is old, consider replacing it. A new battery can solve many power issues.
Frequently Asked Questions
How Do I Power My Simplisafe Outdoor Camera?
Power your SimpliSafe Outdoor Camera using the rechargeable battery pack provided. Ensure it’s fully charged for optimal performance. Simply insert the battery into the camera, and it should power on automatically. Regularly charge the battery to maintain uninterrupted operation of your security system.
Can You Plug A Security Camera Into A Solar Panel?
Yes, you can connect a security camera to a solar panel. Use a solar-powered system with compatible voltage and output. Ensure your solar panel provides enough power for optimal camera operation. It’s a sustainable option for remote or off-grid locations.
Select equipment designed for solar compatibility for best results.
How To Recharge A Simplisafe Outdoor Camera?
Recharge the SimpliSafe Outdoor Camera by connecting it to a USB power source using the included charging cable. Ensure the camera is turned off during charging. The LED indicator will display charging status. Fully charge the battery before use for optimal performance.
How Long Does The Battery Last On A Simplisafe Outdoor Camera?
The SimpliSafe Outdoor Camera battery lasts up to 3 months with normal usage. Battery life may vary based on usage and environmental factors. Regular charging ensures optimal performance and uninterrupted security coverage.
Conclusion
Installing the Simplisafe outdoor camera with solar panel is simple. Follow the steps carefully for best results. Ensure the solar panel gets plenty of sunlight. This keeps your camera powered all day. Regularly check connections for safety. Enjoy peace of mind with this setup.
Your outdoor space stays secure. Monitor activity easily with this reliable system. No more worries about battery life. You have a smart solution for home security. Protect your property day and night. Installation takes a bit of effort but it’s worth it.
Stay safe and secure!