To use a flash camera effectively, follow a few simple steps. First, understand your camera settings.
Next, practice in different lighting conditions. Flash cameras can be tricky but rewarding tools in photography. They help capture clear images even in low light. Many beginners struggle with flash, fearing washed-out photos or harsh shadows. But mastering flash opens up creative possibilities.
It adds depth to your images and highlights details. In this guide, learn essential tips for using flash cameras. Discover techniques to balance natural and artificial light. Understand how to adjust flash intensity and direction. With practice, using a flash camera becomes second nature. Your photos will improve, capturing vibrant moments in any setting.
Table of Contents
Basics Of Flash Photography
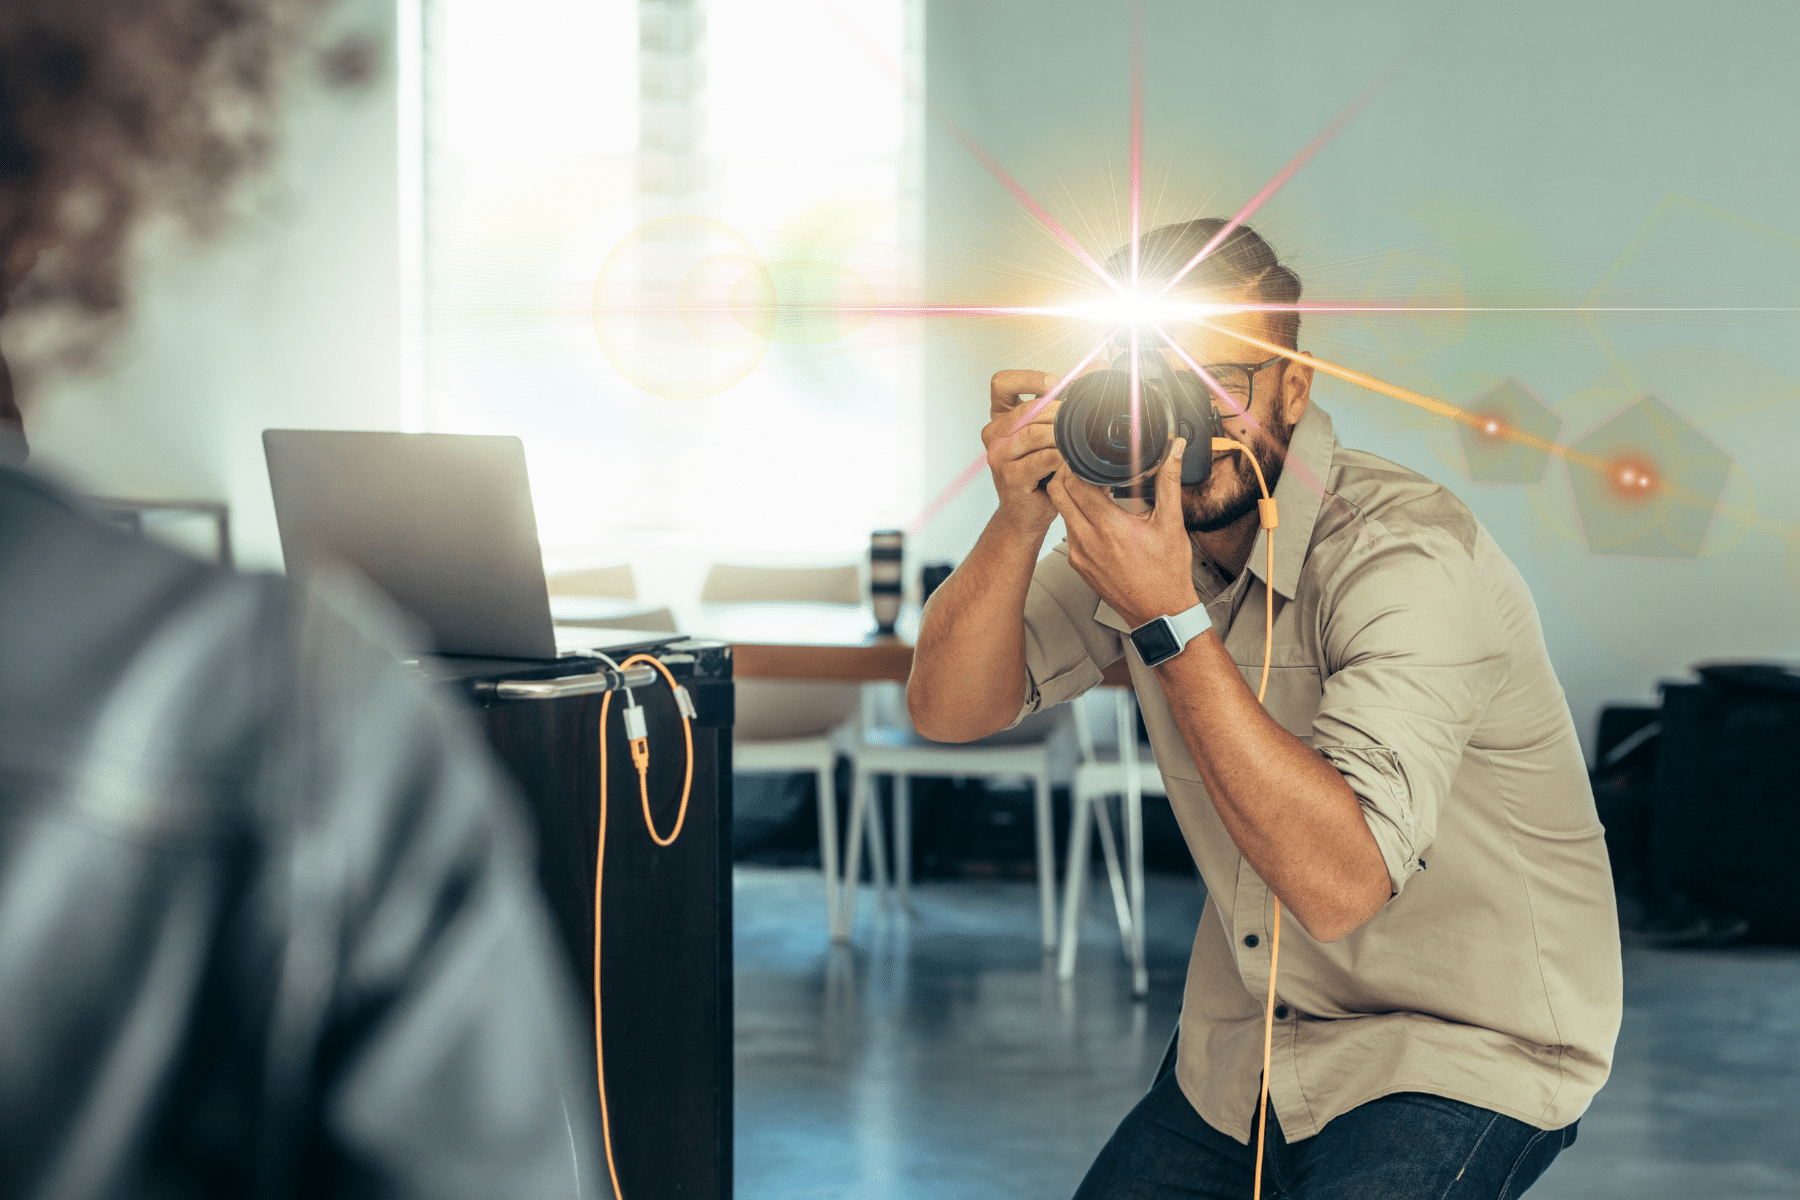
Flash cameras come in different types. Built-in flash is part of the camera. It is easy to use for beginners. External flash connects to the camera. It gives more control. Professionals often use external flash. Studio flash is large and powerful. It is used in professional studios. It needs special setup.
A flash system has several components. The flash unit is the main part. It creates the light. Trigger or sync cord helps the flash fire at the right time. Modifiers change the flash light. They soften or redirect it. Power source keeps the flash working. It can be batteries or direct power. All these components work together.

Credit: www.youtube.com
Setting Up Your Flash Camera
First, find the hot shoe on your camera. This is where the flash fits. Slide the flash into the shoe gently. Make sure it is secure. A loose flash can fall and break. Tighten the locking ring or lever. This keeps your flash in place. Always check the connection. It should be firm but not forced. You are now ready to take bright pictures.
Check the flash menu on your camera. Many cameras have it on the screen. Choose the brightness level you need. Bright for dark places. Dim for sunny spots. You can also set the flash mode. Options include auto, manual, or off. Auto flash picks the best settings for you. Manual lets you choose them. Off means the flash won’t work. Test your settings with a few shots. Adjust if they don’t look right.
Understanding Light And Exposure
Using a flash camera involves balancing light sources. Natural light can be tricky. It changes quickly. Artificial light helps control this. Flash adds extra light. It fills dark areas. Sometimes, flash can be too bright. Adjust flash settings carefully. Use soft filters if needed. Light balance makes photos look natural.
Exposure is key for good photos. It affects brightness. Shutter speed controls exposure. Fast speed means less light. Slow speed means more light. Adjust speed for different scenes. Aperture also controls light. Small aperture lets less light in. Large aperture lets more light in. Use these settings together. Make sure your photo is clear.
Flash Techniques For Beginners
Fill flash is useful in bright light. It helps balance shadows and highlights. Bright sunlight can cause dark shadows. Fill flash softens these shadows. It makes faces look even. The flash adds light to dark areas. This creates a balanced photo. Use it in outdoor settings. Try using fill flash with your camera. Practice helps improve results.
Bounce flash creates soft light. It is great for indoor photos. Point the flash at a wall or ceiling. Light bounces from the surface. This spreads the light out. It avoids harsh shadows and direct light. Photos look more natural. Walls and ceilings should be light in color. This helps the light bounce well. Practice this technique in different rooms.
Advanced Flash Techniques
High-speed sync lets you use flash with fast shutter speeds. This is useful for bright days. You can freeze motion while keeping your background bright. It works by firing many small flashes. This happens quickly to match the shutter speed. Fast action shots look clear and sharp with this technique. Try it for sports or moving subjects.
Rear curtain sync changes when the flash fires. It fires at the end of the exposure. This makes moving subjects look smooth. Light trails from moving objects appear behind them. This looks great for night shots. Imagine cars on a road with light trails behind them. It adds a dynamic feel to photos.
Credit: store.bandccamera.com
Creative Lighting Effects
Gels and filters change the color of light. They bring a unique touch to photos. Red gels add warmth. Blue gels create a cool feel. Filters soften harsh light. This helps in creating mood. Mixing gels gives new colors. Try mixing a red and blue gel. It makes purple light. Always test different gels. This helps find the best look. Use gels to highlight subjects. Filters can also reduce glare. This is useful in bright conditions.
Silhouettes show shapes without details. A strong light behind the subject works best. Position the camera facing the light. The subject should be in front of the light. This makes the subject dark. The background stays bright. Choose simple backgrounds. This helps the silhouette stand out. Experiment with angles. Different angles change the shape. Silhouettes are great for storytelling. They add mystery to photos.
Troubleshooting Common Flash Issues
Red-eye happens when flash reflects off eyes. It makes eyes look red. To fix it, use the red-eye reduction feature. Most cameras have this setting. It helps lessen red-eye. Try using a brighter room. It helps pupils shrink. Small pupils mean less red-eye. Another trick is to ask the person not to look at the camera directly. This simple change can help a lot. You can also fix red-eye using photo editing tools. Many free apps can help you. Find one and follow the steps. Red-eye is easy to fix. Don’t worry if it happens.
Overexposure makes photos too bright. It hides details. Lower the flash intensity to fix it. Many cameras let you change this setting. Try using a diffuser. It softens the flash. This helps reduce brightness. Move away from reflective surfaces. They increase light reflection. Choose a manual mode if your camera has it. Adjust exposure settings manually. Practice makes perfect. Take many photos. See what works best. Overexposure can be fixed. Keep trying different settings.
Tips For Mastering Flash Photography
Try different angles with your flash. You can hold the flash high or low. Bouncing the flash off walls or ceilings works well. This can make the light softer. It helps to reduce harsh shadows. A side angle can create interesting effects. Move around your subject to find the best light. Each angle tells a new story.
Using more than one flash can be fun. Place them in different spots. One flash can be behind your subject. Another can be to the side. This makes the subject stand out. Mix and match positions to see what you like. Try different settings on each flash. This can create unique looks.

Credit: www.digitalphotomentor.com
Frequently Asked Questions
How Do You Use The Flash On A Camera?
To use the flash, turn it on through the camera settings. Adjust the flash mode as needed. Aim the camera at your subject and press the shutter button. Ensure proper distance to avoid overexposure. Regularly check the battery level for optimal performance.
Practice to achieve the desired lighting effect.
How To Do Flash Photography For Beginners?
Start with manual mode and set ISO to 100 for clear images. Use bounce flash to soften light. Adjust flash power for perfect exposure. Experiment with angles and distances for creative effects. Practice often to understand flash capabilities better.
What Settings Do I Need For My Camera Flash?
Set your flash to manual mode for better control. Adjust flash power based on distance and lighting conditions. Use TTL mode for automatic adjustments. Modify ISO, aperture, and shutter speed to balance exposure. Consider using diffusers or bounce flash for softer light.
Experiment with settings to achieve desired results.
How Do You Use A Disposable Camera Flash?
Press the button to charge the flash until the indicator lights up. Aim at your subject and press the shutter button to capture the photo with flash. Check the camera instructions for specific details.
Conclusion
Using a flash camera can enhance your photography skills. Practice makes perfect. Adjust the settings to suit your scene. Experiment with angles and distances. Don’t forget to use soft light for portraits. Avoid harsh shadows by positioning the flash correctly.
Remember, natural light is your friend. Combine it with flash for better results. Keep your camera steady for clear shots. Finally, review your photos and learn from each click. With time, capturing great photos with a flash camera becomes easier.
Enjoy the journey of learning and creating beautiful images!