Long exposure photography captures movement beautifully. It creates stunning images with blurred lights or flowing water.
To turn on long exposure on your iPhone camera, follow a few simple steps. This feature isn’t directly labeled, but it’s hidden within the Live Photos option. By learning how to use it, you can elevate your photography skills. Capturing long exposure photos can seem tricky for beginners.
However, with iPhone’s built-in capabilities, it’s easier than you think. The long exposure feature helps in creating artistic images without needing professional equipment. It allows you to experiment with light and motion. Understanding this feature opens up a new world of creative possibilities. Whether you’re photographing a bustling city or a serene waterfall, long exposure can add a magical touch to your photos. Let’s explore how you can enable and use this feature on your iPhone.
Table of Contents
Introduction To Long Exposure
Long exposure lets more light into the camera. Photos look dreamy and soft. You can capture moving lights or flowing water. It is a fun way to make photos look magical. You need a steady hand or a tripod to keep the camera still. This feature helps in taking pictures at night or in low light.
Long exposure can make your photos more interesting. You can show motion in your pictures. It makes moving things look smooth and blurry. You can capture stars in the night sky. It is great for taking pictures of waterfalls. Your photos will look like art.
Long exposure is used in night photography. People use it for light trails from cars. It is great for capturing fireworks. You can make busy places look calm. It is fun for creative photography. Many photographers like to use it for special effects.
Credit: macpaw.com
Preparing Your Iphone
Not all iPhones support long exposure. Check your model first. iPhone 6s and newer models usually support it. Older models might not have this feature. Ensure your device is compatible. This step is crucial. It saves time later.
Keeping your iPhone updated is important. Go to Settings and tap on “General.” Then choose “Software Update.” If an update is available, install it. Updates often bring new features. They also fix bugs. This can improve camera functions. Always back up your data before updating. This prevents data loss.
Accessing Camera Settings
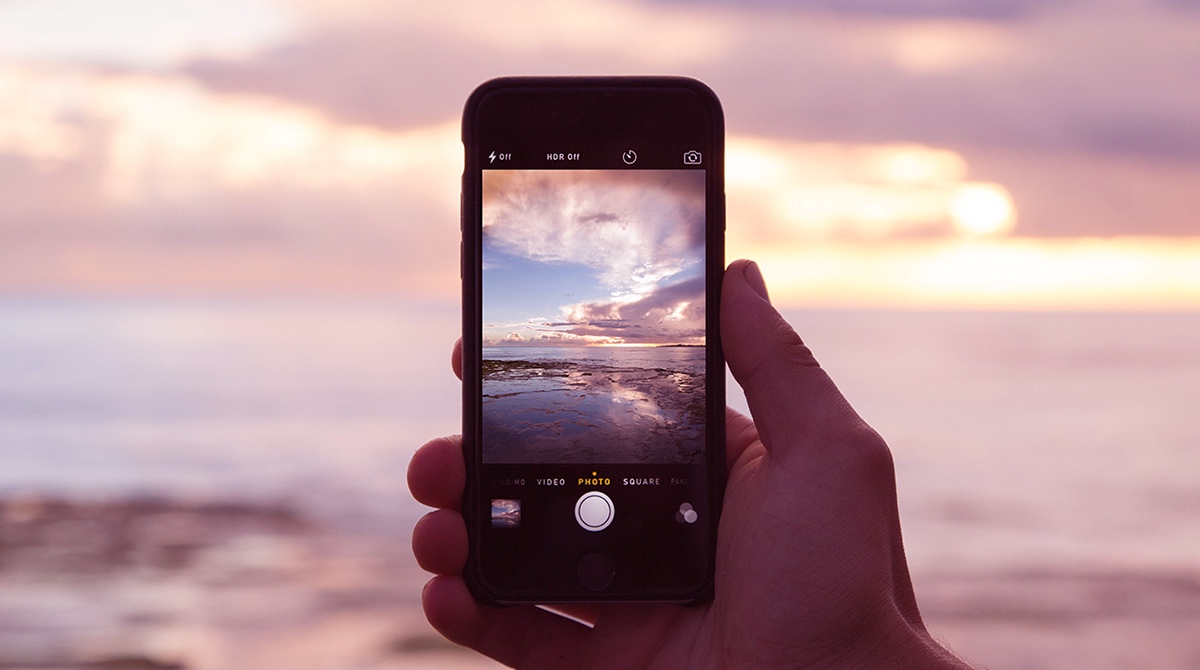
Open the Camera app. Locate it on your home screen. The app icon is a camera. Tap to open it. You will see your camera view. At the top, there are icons. These are settings. Explore them to learn more.
The camera has many features. You can zoom in or out. Tap the screen to focus. Adjust the brightness easily. Swipe up or down on the screen. Switch between photo and video mode. Look for the option on the bottom. Explore more to see what it does.
Using Live Photos For Long Exposure
Open your iPhone camera app. Tap on the Live Photo icon. It looks like a circle with a dot. When you see “Live” on the screen, you are ready. Hold your phone steady. Press the shutter button to capture. This will record a short video.
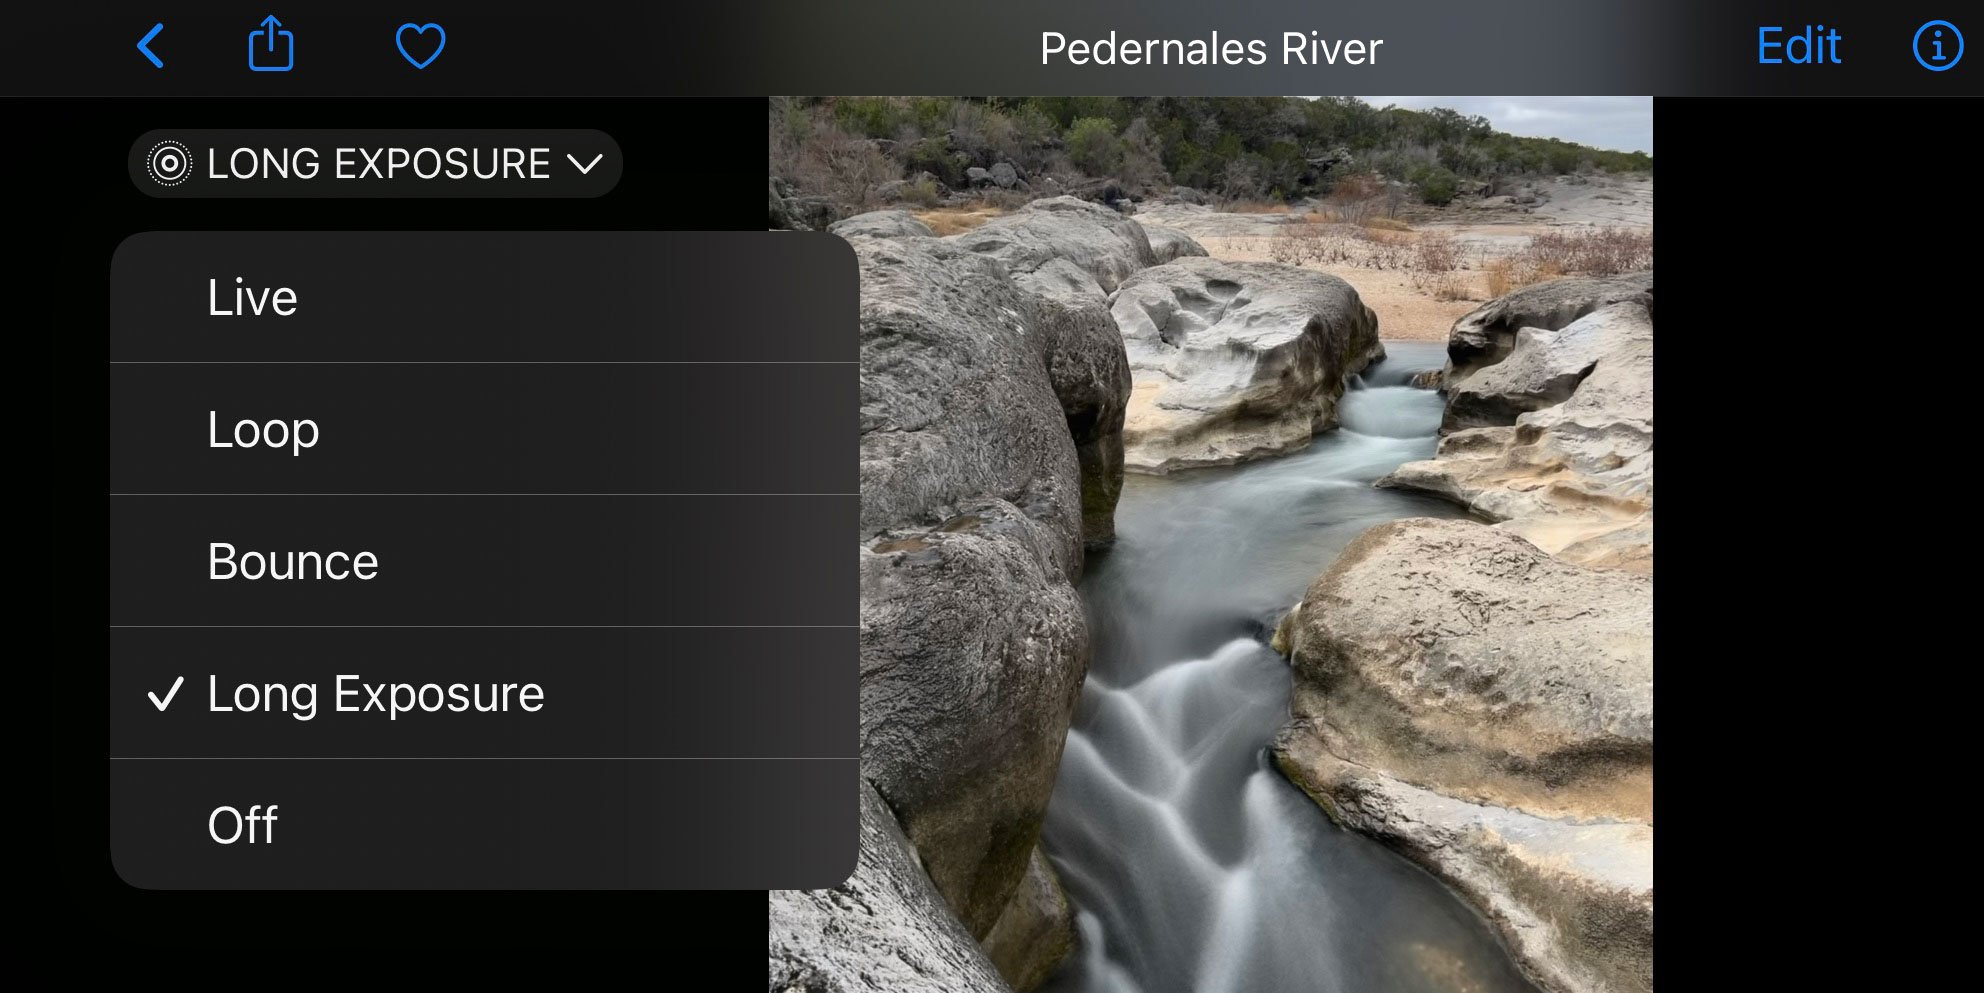
Open your Photos app. Find your Live Photo. Swipe up to see effects. Choose Long Exposure. Your photo will now show motion blur. This makes lights look like streams. You can switch back anytime. Just select the original Live Photo.
Manual Settings For Long Exposure
Open the camera app on your iPhone. Choose the “Pro” mode if available. Find the shutter speed setting. It might look like a circle with a “S”. Lower the shutter speed number. This allows more light into the camera. A lower number means longer exposure. Try starting with 1/4 second. Adjust the setting based on the light. More light needs less exposure time.
ISO controls the camera’s light sensitivity. Find the ISO setting in the app. Lower ISO gives better quality in bright places. Higher ISO is useful in dark areas. Start with ISO 100 for bright settings. For darker places, try ISO 400. Adjust based on the lighting condition. Lower ISO reduces image noise.
Credit: ihitthebutton.com
Enhancing Your Photos
Editing apps can make your photos look better. Snapseed is a popular choice. It has many tools to adjust your images. Lightroom is another great app. You can change brightness and contrast easily. VSCO is perfect for adding special effects. Each app offers unique features. Trying them will help you find your favorite.
Filters can change the mood of your photos. Black and white filters add a classic feel. Warm filters can make images cozy. Cool filters give a fresh look. Experimenting with filters is fun. You may find surprising results. Filters can make ordinary photos extraordinary. They are quick and easy to use. Give them a try for stunning images.
Practical Tips From Experts
Choosing the Right Location is important for long exposure photography. Pick a place with interesting scenery. Waterfalls and city lights work well. Keep your phone steady. Use a tripod if you have one. This helps the photo look clear.
Managing Lighting Conditions can make your photo better. Bright light is not good for long exposure. Choose a time when it’s cloudy or near sunset. The light should be soft. Adjust the camera settings to balance light. Experiment with different exposures. Find what works best for your scene.

Credit: www.youtube.com
Troubleshooting Common Issues
Turning on long exposure on iPhone involves using Live Photos. Open your camera, select Live Photos, and capture. To edit, swipe up on the photo and choose “Long Exposure” from effects.
Avoiding Blurry Images
Hold your iPhone very still. Even small shakes can cause blurry images. Try using a tripod for more stability. Using a timer can also help. This way, you won’t move the phone when pressing the button. Keep your hands steady. Always focus on a clear spot on the screen.
Handling Low Light Challenges
Low light can be tricky. Use a flashlight to brighten up the area. The iPhone’s flash can help too. Look for places with more light. Street lamps or window lights are useful. Adjust your camera settings for better results. Make sure the night mode is on.
Frequently Asked Questions
How Do I Turn On Exposure On My Iphone?
Open the Camera app, tap the screen to focus, and slide up or down to adjust exposure manually.
How Do I Extend The Exposure Time On My Iphone?
Open the Camera app, tap “Night mode” icon, then slide the exposure time slider to extend. Adjust settings for longer exposure.
Does The Iphone 13 Have Long Exposure?
The iPhone 13 does not have a built-in Long Exposure mode. Users can achieve long exposure effects using third-party apps or camera tricks. It’s popular for capturing motion blur and light trails in photography.
How Do You Set A Camera To Long Exposure?
Set your camera to manual mode. Adjust shutter speed to a slower setting, like 10 seconds. Use a tripod for stability. Lower ISO to reduce noise. Choose a small aperture, like f/16, for depth. Use a remote shutter release to avoid camera shake.
Experiment and refine settings for best results.
Conclusion
Mastering long exposure on your iPhone opens creative possibilities. Capture stunning light trails and smooth water effortlessly. Experiment with settings to find your unique style. Practice helps improve your technique and results. Share your photos with friends or on social media for feedback.
Remember, patience is key in photography. The more you practice, the better your shots will become. Enjoy exploring this feature on your iPhone camera. Create art through your lens and let your creativity shine. Photography is about expressing your vision.
Happy shooting!