Turning your favorite bag into a camera bag is easier than you might think. Many photographers want to protect their gear but dislike the look or price of typical camera bags. The good news is, with a few smart upgrades, almost any backpack, tote, or messenger bag can safely hold your camera and lenses. This method gives you flexibility and style, and can even save money. Let’s explore how to transform any bag into a safe, practical camera carrier.
Table of Contents
Essential Protection: Inserts And Padding
The main challenge is keeping your camera gear safe from bumps and scratches. The solution is simple: use camera inserts. These are padded dividers or boxes made to fit inside regular bags. You can buy ready-made inserts or use soft materials, like foam or thick towels.
| Insert Type | Protection Level | Average Price |
|---|---|---|
| Padded Box | High | $20–$40 |
| DIY Foam Dividers | Medium | $5–$10 |
| Old Towels | Low | Free |
Choose the insert size based on your bag and gear. Make sure there’s enough cushion to prevent movement. Many inserts have Velcro dividers, letting you adjust for different lenses or cameras.
Organizing Your Gear
A good camera bag keeps everything easy to reach. Use small pouches or zip bags for accessories like memory cards, batteries, and cables. If your bag has pockets, use them for quick access items.
| Accessory | Best Storage | Risk Without Pouch |
|---|---|---|
| Memory Cards | Hard Case | Loss, damage |
| Batteries | Small Pouch | Short circuit |
| Cables | Zip Bag | Tangling |
Non-obvious tip: label your pouches. This saves time and avoids confusion, especially when shooting outdoors.

Credit: www.youtube.com
Weatherproofing And Security
Camera gear is sensitive to water and dust. Protect your equipment by lining your bag with a plastic or waterproof cover. Some inserts are already water-resistant, but a simple shower cap or dry bag adds extra safety.
For security, consider using a small lock or a bag with hidden zippers. Many thieves target camera bags because they’re easy to spot. With a regular bag, your gear attracts less attention.
Practical Examples
Photographers often use school backpacks for city shoots, adding padded inserts and accessory pouches. Others turn messenger bags into camera carriers for street photography. Using your own bag means you know its layout and comfort.
One beginner mistake is forgetting about weight. Heavy camera gear can strain straps not built for it. Check your bag’s construction and add extra padding to shoulder straps if needed.
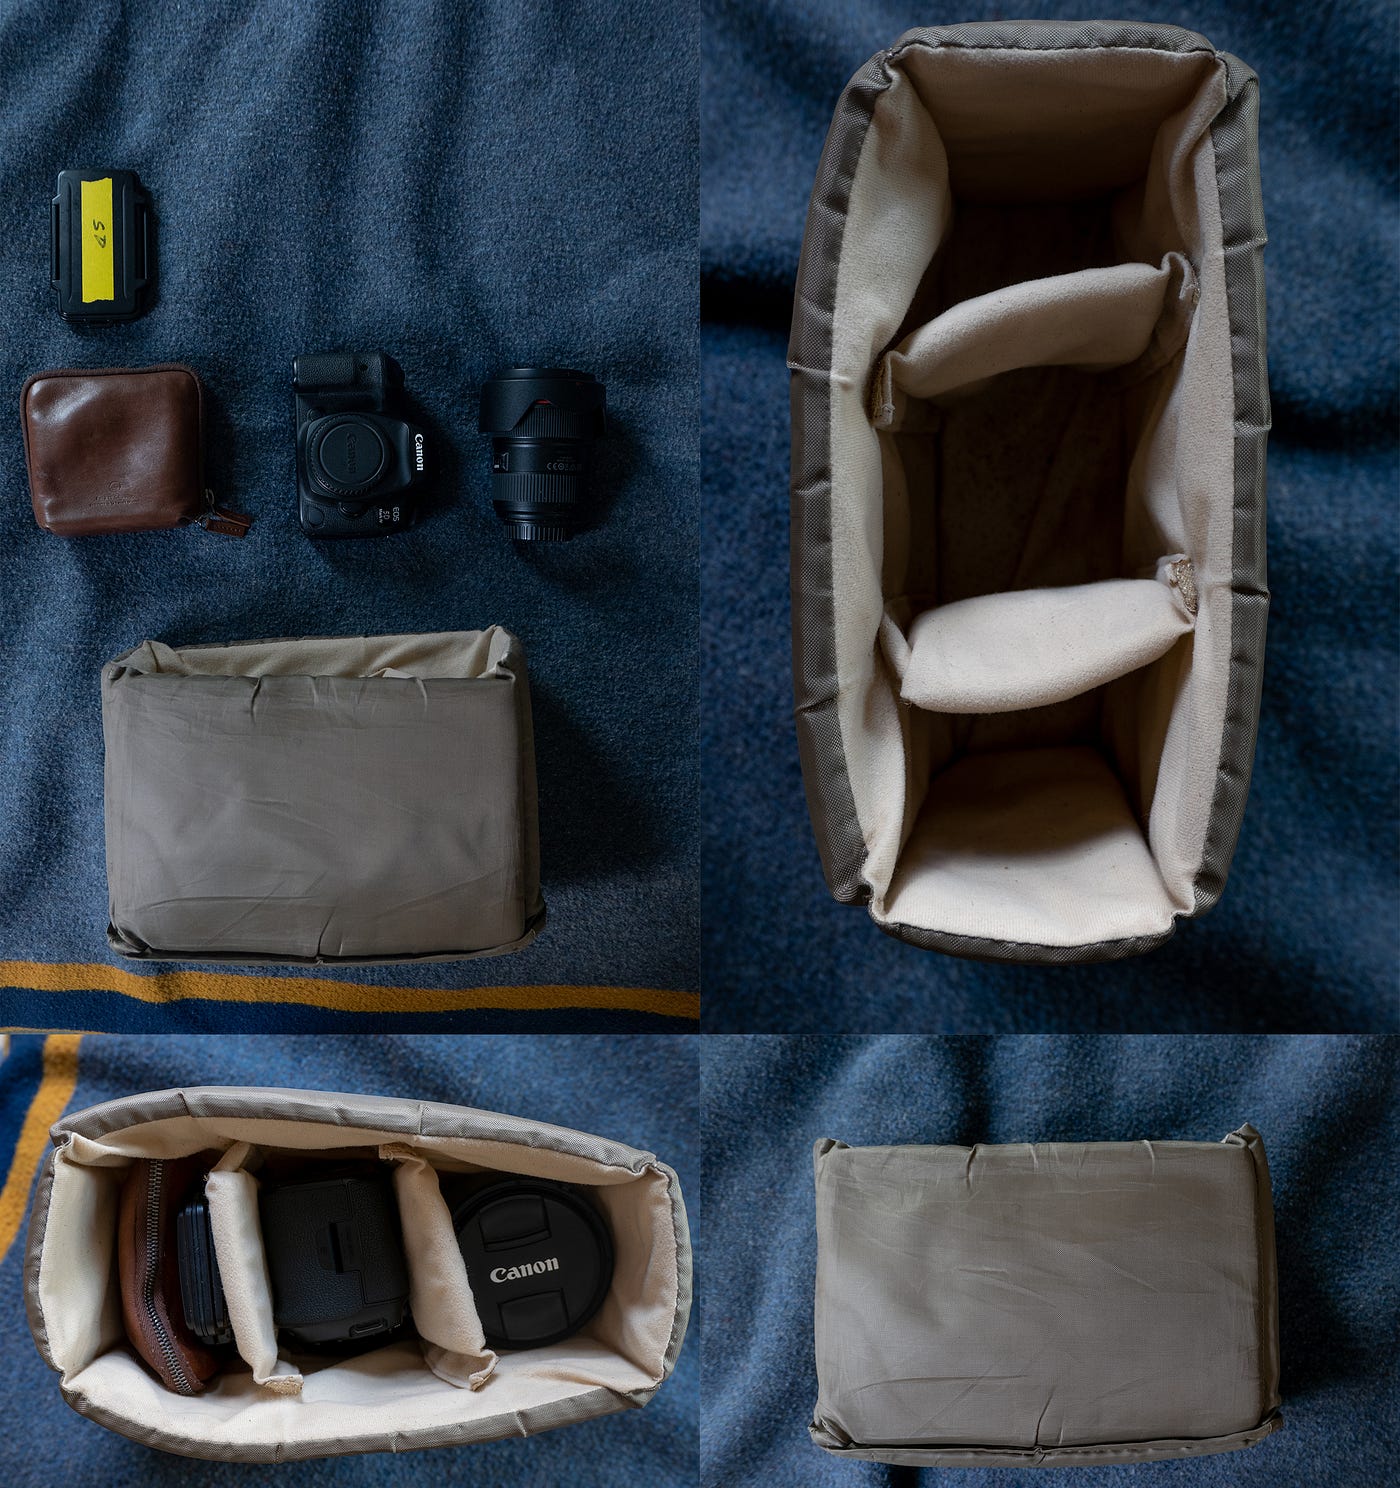
Credit: alexlostak.medium.com
Frequently Asked Questions
How Can I Make My Bag Waterproof For Camera Gear?
You can use a dry bag liner or waterproof insert. Even a large ziplock bag works for emergencies.
What Size Insert Should I Buy?
Measure your bag’s inside dimensions. Choose an insert slightly smaller, so it fits snugly without squeezing your gear.
Is A Regular Backpack Strong Enough For Camera Gear?
Most are fine for light cameras, but heavy gear needs strong straps and reinforced stitching.
Are Diy Inserts Safe For Expensive Cameras?
If made from thick, dense foam and fitted properly, DIY inserts can protect well. Avoid loose materials.
Where Can I Find Camera Inserts?
Many camera stores sell them. You can also find high-rated inserts online, for example at B&H Photo Video.
Transforming any bag into a camera bag gives you flexibility and style. With the right inserts, organization, and protection, your gear stays safe—no matter where your adventure takes you.