Mounting a Ring Pan Tilt Camera is a smart way to boost your home security. This camera gives you a wider view of your space, so you can check every angle with ease. Many users worry about the setup, but with a little guidance, you can mount your camera correctly in less than 30 minutes—even if you’re new to DIY projects.
Here’s how to do it step by step.
Table of Contents
What You Need Before You Start
Having the right tools and parts ready makes the process smoother. For a typical installation, you’ll need:
- Ring Pan Tilt Camera
- Mounting bracket (usually included)
- Screws and wall anchors (included)
- Phillips screwdriver
- Drill (for concrete or brick walls)
- Level (optional, but helpful)
If mounting outdoors, make sure the area is dry and the Wi-Fi signal is strong. Check your camera’s battery or power cord before you begin.
Step-by-step Mounting Guide
1. Choose The Right Location
Pick a spot that covers the main area you want to monitor. Corners often give the widest view. Avoid placing the camera where sunlight shines directly into the lens, as this can reduce image quality.
2. Mark And Drill Holes
Use the mounting bracket as a template. Hold it against the wall and mark the screw holes with a pencil. If you’re mounting on drywall, use the included anchors for a secure fit. For brick or concrete, you’ll need to drill pilot holes.
3. Attach The Mounting Bracket
Screw the bracket into place. Use a level to make sure it’s straight. A crooked mount can cause the camera to tilt at odd angles, making the view less useful.
4. Connect The Camera
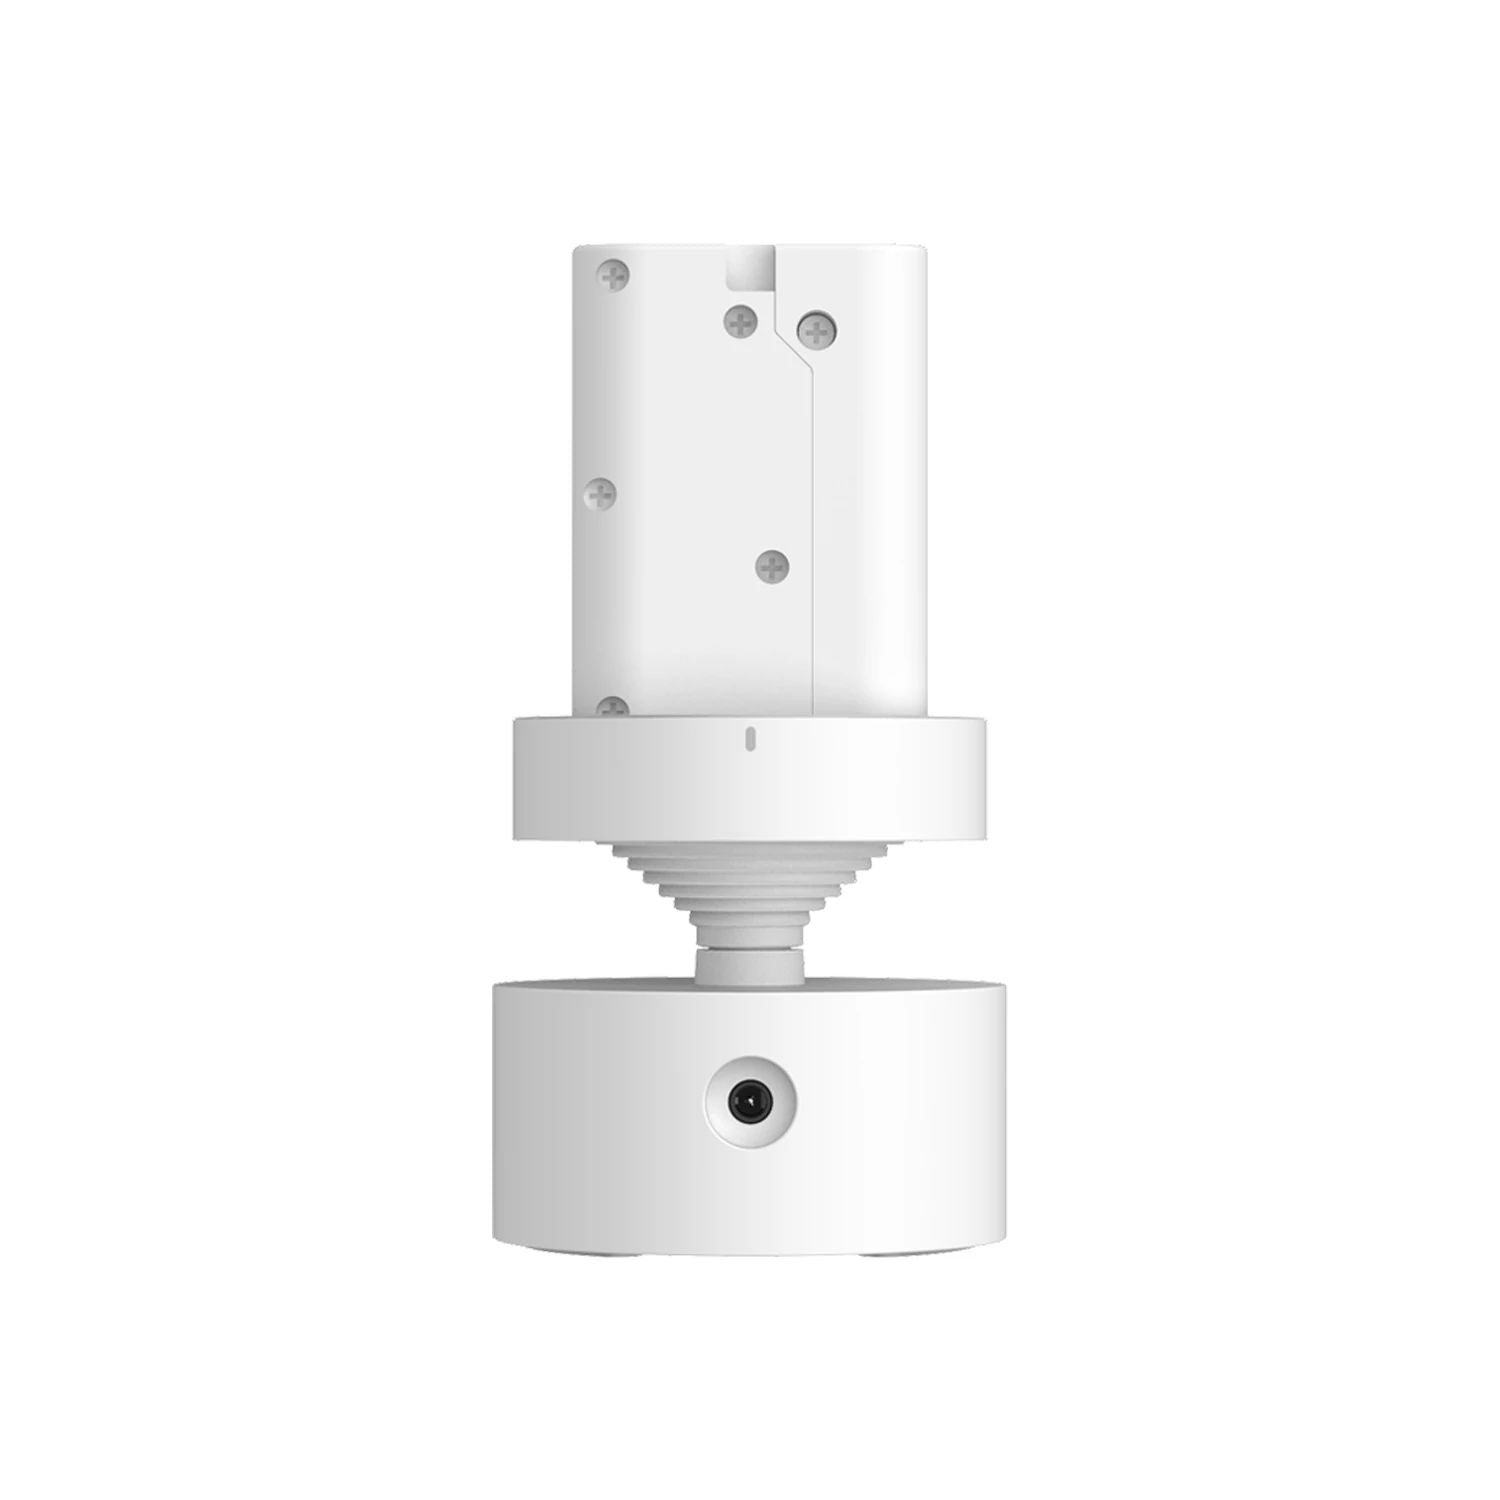
Snap the Ring Pan Tilt Camera onto the bracket. You’ll hear a click when it’s secure. If you’re using a wired connection, plug in the power cord now. For battery models, ensure the battery is fully charged and inserted.
5. Set Up In The Ring App
Open the Ring app on your phone. Add your new device and follow the on-screen instructions to connect to Wi-Fi. Test the camera’s movement and field of view. Adjust the tilt or pan angle as needed.

Credit: www.youtube.com
Mounting Surface Comparison
Here’s how different surfaces affect installation:
| Surface Type | Ease of Drilling | Anchor Needed |
|---|---|---|
| Drywall | Easy | Yes |
| Wood | Very Easy | No |
| Brick/Concrete | Hard | Yes |
Power Options At A Glance
Some users are unsure whether to use battery or wired setups:
| Power Type | Pros | Cons |
|---|---|---|
| Battery | Easy install, flexible location | Needs recharging |
| Wired | Continuous power | More cables, fixed spot |

Credit: www.amazon.com
Troubleshooting Tips
If your camera doesn’t connect, check the Wi-Fi signal near the mounting spot. If the camera is shaky, tighten the screws. For blurred views, clean the lens and check for obstructions. Always update the firmware using the Ring app for best performance.
Mounting your Ring Pan Tilt Camera gives you peace of mind and better control over your security. Take your time, follow these steps, and you’ll have a reliable system set up quickly. For more official guidance, visit the Ring Help Center.
Frequently Asked Questions
How High Should I Mount My Ring Pan Tilt Camera?
Mount it 7–9 feet above the ground for the best angle and motion detection.
Can I Use The Camera Outdoors?
Yes, but make sure it’s rated for outdoor use and protected from direct rain.
What If My Wi-fi Signal Is Weak?
Consider using a Wi-Fi extender to boost the signal near your camera.
Does The Camera Need A Subscription?
Basic features work without a plan, but cloud recording needs a Ring Protect subscription.
Can I Move The Camera After Mounting?
Yes. Unscrew and remount as needed, but patch old holes for a clean look.
Credit: ring.com