Mounting a Ring camera is a great way to boost home security. Many people worry about the installation, but it’s easier than you think. With the right tools and planning, you can set up your Ring camera in less than an hour. This guide will show you how to mount your camera safely, choose the best location, and avoid common mistakes.
Table of Contents
Choosing The Best Location
The placement of your Ring camera is crucial. You want a spot with a clear view of the area you want to monitor. Most users install cameras near entrances or garages.
Consider these points before mounting:
- Height: Place the camera 7-9 feet above the ground. This gives a wide view and helps with motion detection.
- Wi-Fi Signal: Ensure the camera gets a strong signal. Weak Wi-Fi means poor video quality.
- Lighting: Avoid pointing the camera directly at bright lights or windows. Too much glare can affect the footage.
Here’s a quick comparison of popular mounting spots:
| Location | Visibility | Security | Wi-Fi Needs |
|---|---|---|---|
| Front Door | High | High | Strong |
| Garage | Medium | Medium | Moderate |
| Backyard | Medium | Low | Strong |
Tools And Materials Needed
You don’t need advanced tools for this job. Here’s what you’ll need:
- Ring camera
- Mounting bracket
- Screws and anchors (usually included)
- Drill
- Screwdriver
- Level (optional but helpful)
If mounting on brick or concrete, use wall anchors. For wood, screws alone are enough.
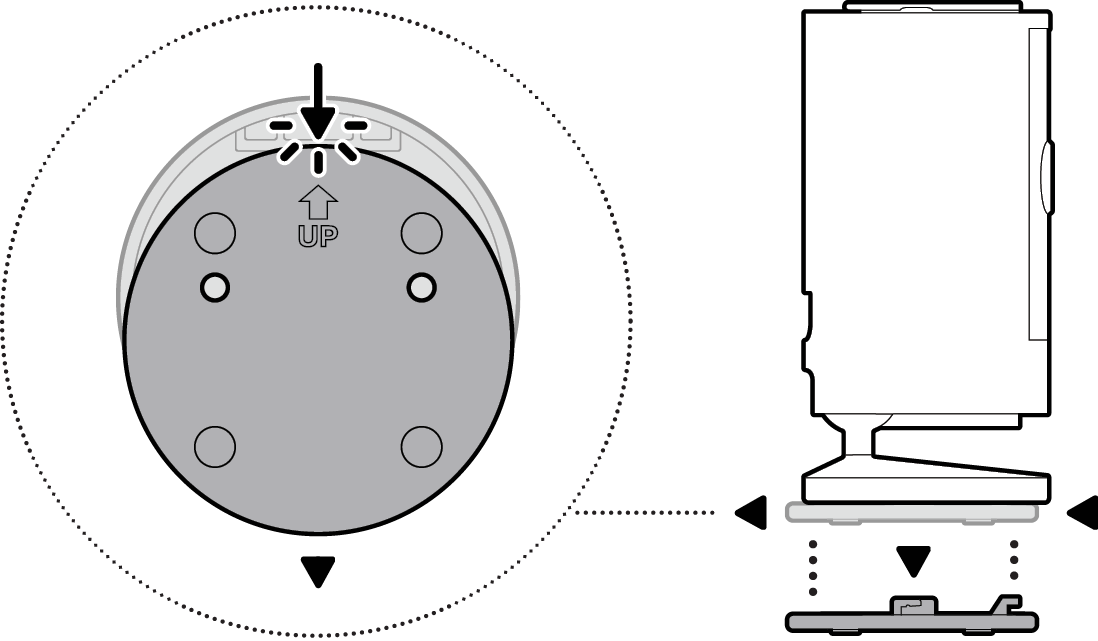
Credit: ring.com
Step-by-step Mounting Guide
Follow these steps for a secure installation:
- Mark the spot: Hold the bracket where you want the camera. Use a pencil to mark the holes.
- Drill holes: Use the drill for the marks you made. If needed, insert wall anchors.
- Attach bracket: Screw the bracket tightly into place.
- Mount camera: Slide or screw the camera onto the bracket.
- Connect power: Plug in the camera if it’s wired. For battery models, insert the charged battery.
- Test view: Open the Ring app and check the camera’s angle. Adjust as needed.
Here’s a simple comparison of wired vs battery Ring cameras:
| Type | Installation | Maintenance | Power Source |
|---|---|---|---|
| Wired | Moderate | Low | Electric Outlet |
| Battery | Easy | Medium | Rechargeable Battery |
Practical Tips
- Angle the camera slightly downwards for the best coverage.
- Check your local laws about surveillance.
- Clean the camera lens regularly for clear footage.
One insight many beginners miss: Test the camera’s live view before finalizing the mount. This avoids bad angles and blind spots.
Another tip: Use the Ring app’s motion zones feature. It lets you customize which areas trigger alerts.

Credit: www.youtube.com
Frequently Asked Questions
Can I Mount My Ring Camera Without Drilling?
Yes, but adhesive mounts are less secure. For outdoor use, drilling is best.
How Often Should I Charge The Battery?
Most Ring batteries last 6-12 months. Heavy use may need monthly charging.
Will Mounting On Brick Affect Performance?
No, but you must use proper anchors. Wi-Fi may be weaker through thick walls.
Can I Move The Camera Later?
Yes. Unscrew and remount it. You may need new anchors for a different surface.
Where Can I Find Official Mounting Instructions?
Visit Ring Support for detailed guides and videos.
Mounting your Ring camera is simple and effective. With careful planning, you’ll enjoy better security and peace of mind.