Creating a tripod for your iPad is simple and cost-effective. You can make it with everyday materials.
In the digital age, tablets like the iPad have become vital for capturing memories, video calls, and more. A sturdy tripod enhances these experiences by providing stability and ease. Store-bought options are often pricey, but making one yourself is affordable and fun.
You only need basic tools and materials found at home. This DIY project is perfect for tech enthusiasts who enjoy hands-on activities. It not only saves money but also lets you customize the tripod to suit your needs. Dive into this guide to learn how to craft a reliable iPad tripod, improving your tablet usage without breaking the bank. Let’s start building!

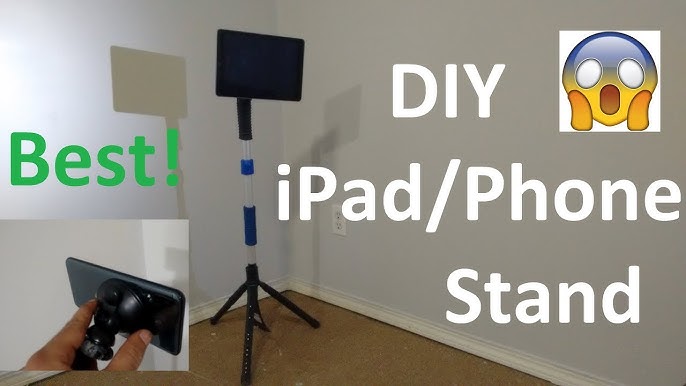
Credit: www.youtube.com
Table of Contents
Materials Needed
Selecting the right materials is important. Sturdy materials ensure the tripod holds the iPad safely. Wood, metal or plastic are good choices. Measure the iPad’s size. This helps in choosing the correct supplies. Rubber pads prevent slipping. Screws and bolts keep parts together. Clamps hold the iPad firm. These supplies build a strong tripod.
Tools help put the tripod together. Screwdriver tightens screws. Drill makes holes. Saw cuts wood or metal. Wrench adjusts nuts and bolts. Measuring tape helps with size. Level checks balance. These tools are needed for assembly. Safety goggles protect your eyes. Gloves keep hands safe. Use tools carefully. Follow safety rules.
Preparing The Base
Start with a sturdy piece of wood. This will be the base. Ensure it is flat and wide. Use a saw to cut the wood. Make sure edges are smooth. Smooth edges prevent scratches. The base should be big enough. Big enough for stability.
Attach rubber pads underneath the base. Rubber pads help prevent slipping. You can use strong glue. Glue the rubber pads firmly. Test the base by putting weight on it. It should not wobble. If it wobbles, adjust the rubber pads. Make sure the base is level. Level bases are safer.
Building The Legs
Choosing the right material is important. Wood, metal, and plastic are common choices. Wood is strong and easy to cut. Metal is durable but can be heavy. Plastic is light but less stable. Think about where you will use the tripod. If outside, make sure it can handle weather.
Secure legs with screws or bolts. Make sure each leg is tight. Check that the legs do not wobble. Use a drill to make holes. Place washers under screws to hold better. Make sure each leg is the same length. This keeps the tripod steady.
Creating The Mount
Start with a simple design. Use cardboard or plastic as the base. Cut it to the size of your iPad. Make sure it’s not too tight. You want your iPad to fit comfortably. Add some foam for padding. This keeps the iPad safe. Ensure the edges are smooth. Rough edges can scratch the iPad. Check if the base is sturdy. You want it to hold the iPad without bending.
Use rubber bands or velcro straps to secure the iPad. These are easy to find and use. Make sure they hold the iPad tightly. You don’t want it to slip off. Check the mount often. Make sure it stays tight. If the straps get loose, adjust them. Keep your iPad safe and secure.
Assembly Process
Connecting Parts is important. Start by gathering all parts. Find the base, legs, and holder. Connect the legs to the base. Make sure they are tight. Attach the holder on top. Check if it fits well. Each piece should be secure. This will make the tripod strong. Look carefully at each connection.
Testing Stability is the next step. Place the iPad on the holder. Check if it stands straight. Push the tripod lightly. See if it wobbles. If it shakes, tighten the parts more. Try again until it’s stable. Make sure it doesn’t fall. It should hold the iPad firmly. Stability is important for safety.
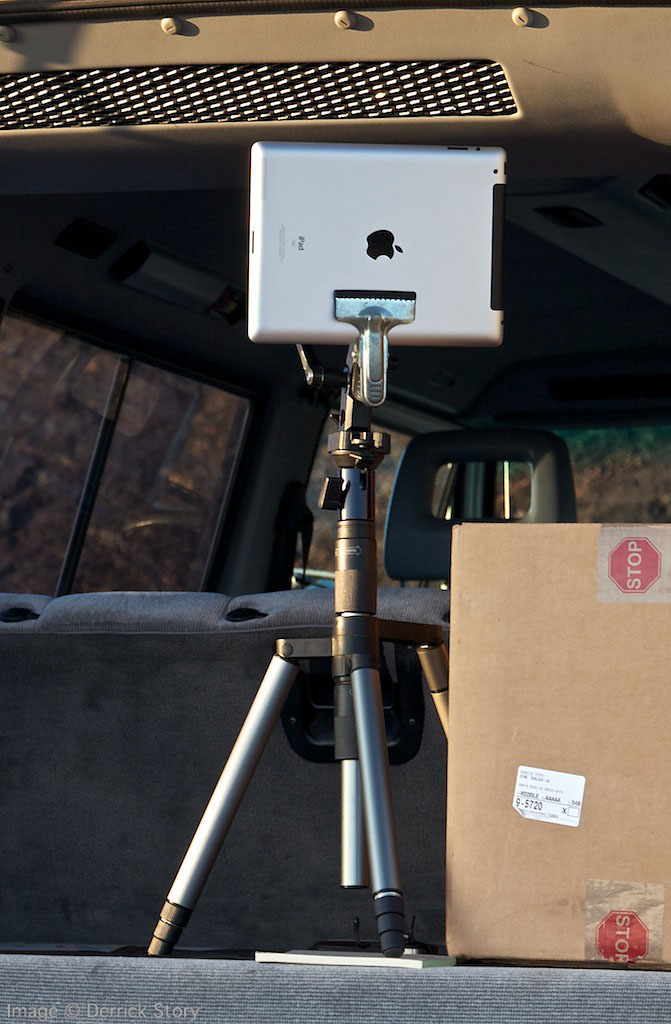
Credit: thedigitalstory.com
Customizing The Tripod
Crafting a custom tripod for an iPad involves using basic materials like PVC pipes and connectors. Assemble the pieces to create a stable, adjustable stand. This homemade solution offers flexibility for watching videos or video conferencing.
Adding Adjustability
Adjustability is important for a tripod. It helps in getting the right angle. Use adjustable legs for the tripod. This allows it to stand on uneven surfaces. Add a rotating head. This can turn in different directions. It helps in capturing different views. A tilting mechanism is also helpful. It allows the iPad to tilt up and down. This makes it easy to use for different activities. With these features, the tripod becomes more useful.
Personalizing Appearance
Personalizing your tripod can be fun. Use stickers to decorate it. Choose colors that you like. Add tape with patterns to the legs. This makes the tripod look cool. Paint the tripod in your favorite color. This gives it a unique look. You can also add charms or small decorations. Make it special and just for you. Personal touches make the tripod stand out.
Safety Tips
Crafting a homemade tripod for your iPad ensures stability during usage. Use sturdy materials like PVC pipes or wood for a reliable base. Secure the iPad with clamps or rubber bands for added safety.
Avoiding Hazards
Keep your workspace clean to prevent tripping over tools. Use stable surfaces for building your tripod. Ensure all parts are securely fastened. Check for loose screws or bolts often. Avoid using broken or damaged parts. Test the tripod’s stability before placing the iPad.
Protecting The Ipad
Use a soft cloth under the iPad to prevent scratches. Ensure the iPad is not placed near the edge of the tripod. Use a strong holder to keep the iPad in place. Check if the holder grips the iPad firmly. Make sure the iPad is not too high up. This prevents falls and damage.
Credit: www.youtube.com
Troubleshooting Common Issues
Creating a DIY tripod for an iPad can be simple and affordable. Start with basic materials like PVC pipes or wooden dowels. Adjust the height and stability by using clamps or rubber grips.
Fixing Loose Connections
Loose connections can make the tripod shaky. Check all parts. Ensure screws are tight. Use a screwdriver if needed. A firm connection is key. Test stability after tightening. Adjust as necessary. Secure all joints properly.
Addressing Imbalance
Balance is crucial for tripod stability. Check the iPad’s position. It should be centered. If tilted, adjust its placement. Ensure legs are even. Use a level tool if available. Balance prevents falls and damage. Make small adjustments as needed. Keep testing until stable.
Frequently Asked Questions
How To Make A Diy Ipad Stand?
Use cardboard to cut a triangle shape. Fold it to create a sturdy base. Add grooves for stability. Customize with colors. Enjoy your DIY iPad stand!
What Can I Use As A Homemade Tripod?
Use a stack of books, a sturdy box, or a chair as a homemade tripod. Secure your device with rubber bands or tape for stability. Ensure the setup is on a flat surface to avoid shaking during recording. These simple options can hold cameras or phones effectively for casual photography or filming.
How To Make An Ipad Cover Stand Up?
Fold the iPad cover along the designated creases to form a triangular shape. Ensure the cover’s edges align securely, creating a stable base. Adjust the angle for optimal viewing. Most covers have magnetic strips or grooves to aid in maintaining the stand position.
How To Prop Up An Ipad For Stop Motion?
Use an adjustable tablet stand to prop up your iPad for stop motion. Ensure it’s stable on a flat surface. Alternatively, use a DIY setup with books or boxes for support. Secure the iPad with non-slip pads or clips to prevent movement during shooting.
Conclusion
Crafting a tripod for your iPad is simple and rewarding. You save money and enjoy a personalized setup. The process involves basic materials and tools. Follow the steps carefully for a stable tripod. It’s ideal for video calls, streaming, or photography.
Customize the design to suit your needs. The handmade approach adds a personal touch. Enjoy the satisfaction of creating something useful. Share your creation with friends. Inspire others to try it too. Embrace creativity and resourcefulness. Your iPad tripod awaits.
Happy crafting!