Making a tripod for a camera is simpler than you think. You can create one with a few easy-to-find materials.
This DIY approach saves money and adds a personal touch to your photography gear. Many photographers face the challenge of stabilizing their cameras. Tripods are essential for clear, shake-free photos. But sometimes, buying one is not an option. Crafting your own tripod can be a fun and rewarding project.
It allows you to customize it to your needs and preferences. You can choose materials that fit your style and budget. Plus, it gives you a sense of accomplishment, knowing you built something useful. In this guide, you will learn step-by-step instructions. By the end, you’ll have a sturdy, reliable tripod for your camera. Let’s dive into this creative process!
Table of Contents
Materials Needed
Building a camera tripod requires a few basic tools. A saw is needed to cut the wood or metal for the legs. A drill helps make holes for screws. You will also need screws to hold everything together. A measuring tape ensures that each part fits perfectly. A screwdriver is handy for tightening all the screws.
Some extras can make your tripod better. Rubber feet help the tripod stay steady. A spirit level makes sure the camera is straight. You might want paint to make the tripod look nice. Foam grips can make it easy to carry. These add-ons are not needed but can be useful.
Choosing The Right Base
A wooden base can be strong and easy to find. Wood is stable and can hold weight well. To make one, you need a flat piece of wood. It should be about the size of a book. Drill three holes in a triangle shape. Use screws to attach three wooden sticks. These sticks will be the legs of the tripod. Make sure they are even in length. This helps the tripod stand straight. A wooden base is easy to make at home.
A metal base is durable and lasts a long time. Metal is strong and can support heavy cameras. You will need a flat metal plate. Drill three holes in it, just like the wooden base. Use metal rods for the legs. Attach them with screws or bolts. Ensure they are of the same length. This keeps the tripod stable. Metal bases are best for rough outdoor use.
Creating The Legs
Choose a strong and light material for the legs. Wood or aluminum are good choices. Wood is easy to cut and shape. Aluminum is light and strong. Both are easy to find.
Think about the weight of your camera. Heavy cameras need strong legs. Light cameras can use lighter materials. Cost is important too. Wood is cheaper than aluminum.
Cut the material into three equal pieces. Each piece is a leg. Make sure all pieces are the same size. Use a saw for wood. Use a hacksaw for aluminum.
Shape the ends for stability. Round the bottom ends for better grip. Make the top ends flat to attach the camera holder. Sand the edges to make them smooth.
Assembling The Tripod
First, gather three strong sticks. These will become the tripod legs. Choose sticks of equal length. This keeps the camera balanced. Tie the tops together using a rope. Make sure the knot is tight. The legs will form a triangle shape. This shape is stable. Spread the legs apart. Adjust the angle to your preference. A wider base holds more weight. A narrow base is easier to carry.
Find a small, flat piece of wood. This will be the tripod base. Drill a hole in the middle. The hole should fit a screw. Attach the base to the tied ends of the legs. Use a long screw and washer. This holds everything together. Make sure the base is level. This helps the camera stay steady. Test the tripod by placing weight on top. Adjust the legs if needed. Ensure the base is secure and doesn’t wobble.
Building The Mount
There are different types of mounts for camera tripods. The ball head mount is popular. It lets you move the camera easily. The pan-tilt head is another type. It is good for precise movements. Gimbal mounts help balance heavy cameras. Each mount has its own uses. Choose the right one for your needs.
Start by gathering all parts. Fix the mount on the tripod stand. Use screws to hold it tight. Make sure it does not move. Place your camera on the mount. Adjust the angle for the best shot. Always check the balance. Safety is important for your equipment.
Adding Adjustable Features
Adjusting the height of a tripod is simple. Use extendable legs for this. These legs have sections that slide out. Lock them in place with clips or knobs. This makes the tripod taller or shorter. You can set it to your desired height. Remember to keep the tripod stable. A stable tripod keeps the camera safe. Make sure all legs are the same length. This prevents the tripod from tipping over.
Tripods often come with a ball head. This lets you change the angle easily. You can tilt the camera up or down. Turn it left or right too. This helps capture different views. Use the knob to lock the angle. Ensure it is tight before taking photos. A loose head might slip. Always check before shooting. This keeps your photos clear and sharp.
Ensuring Stability
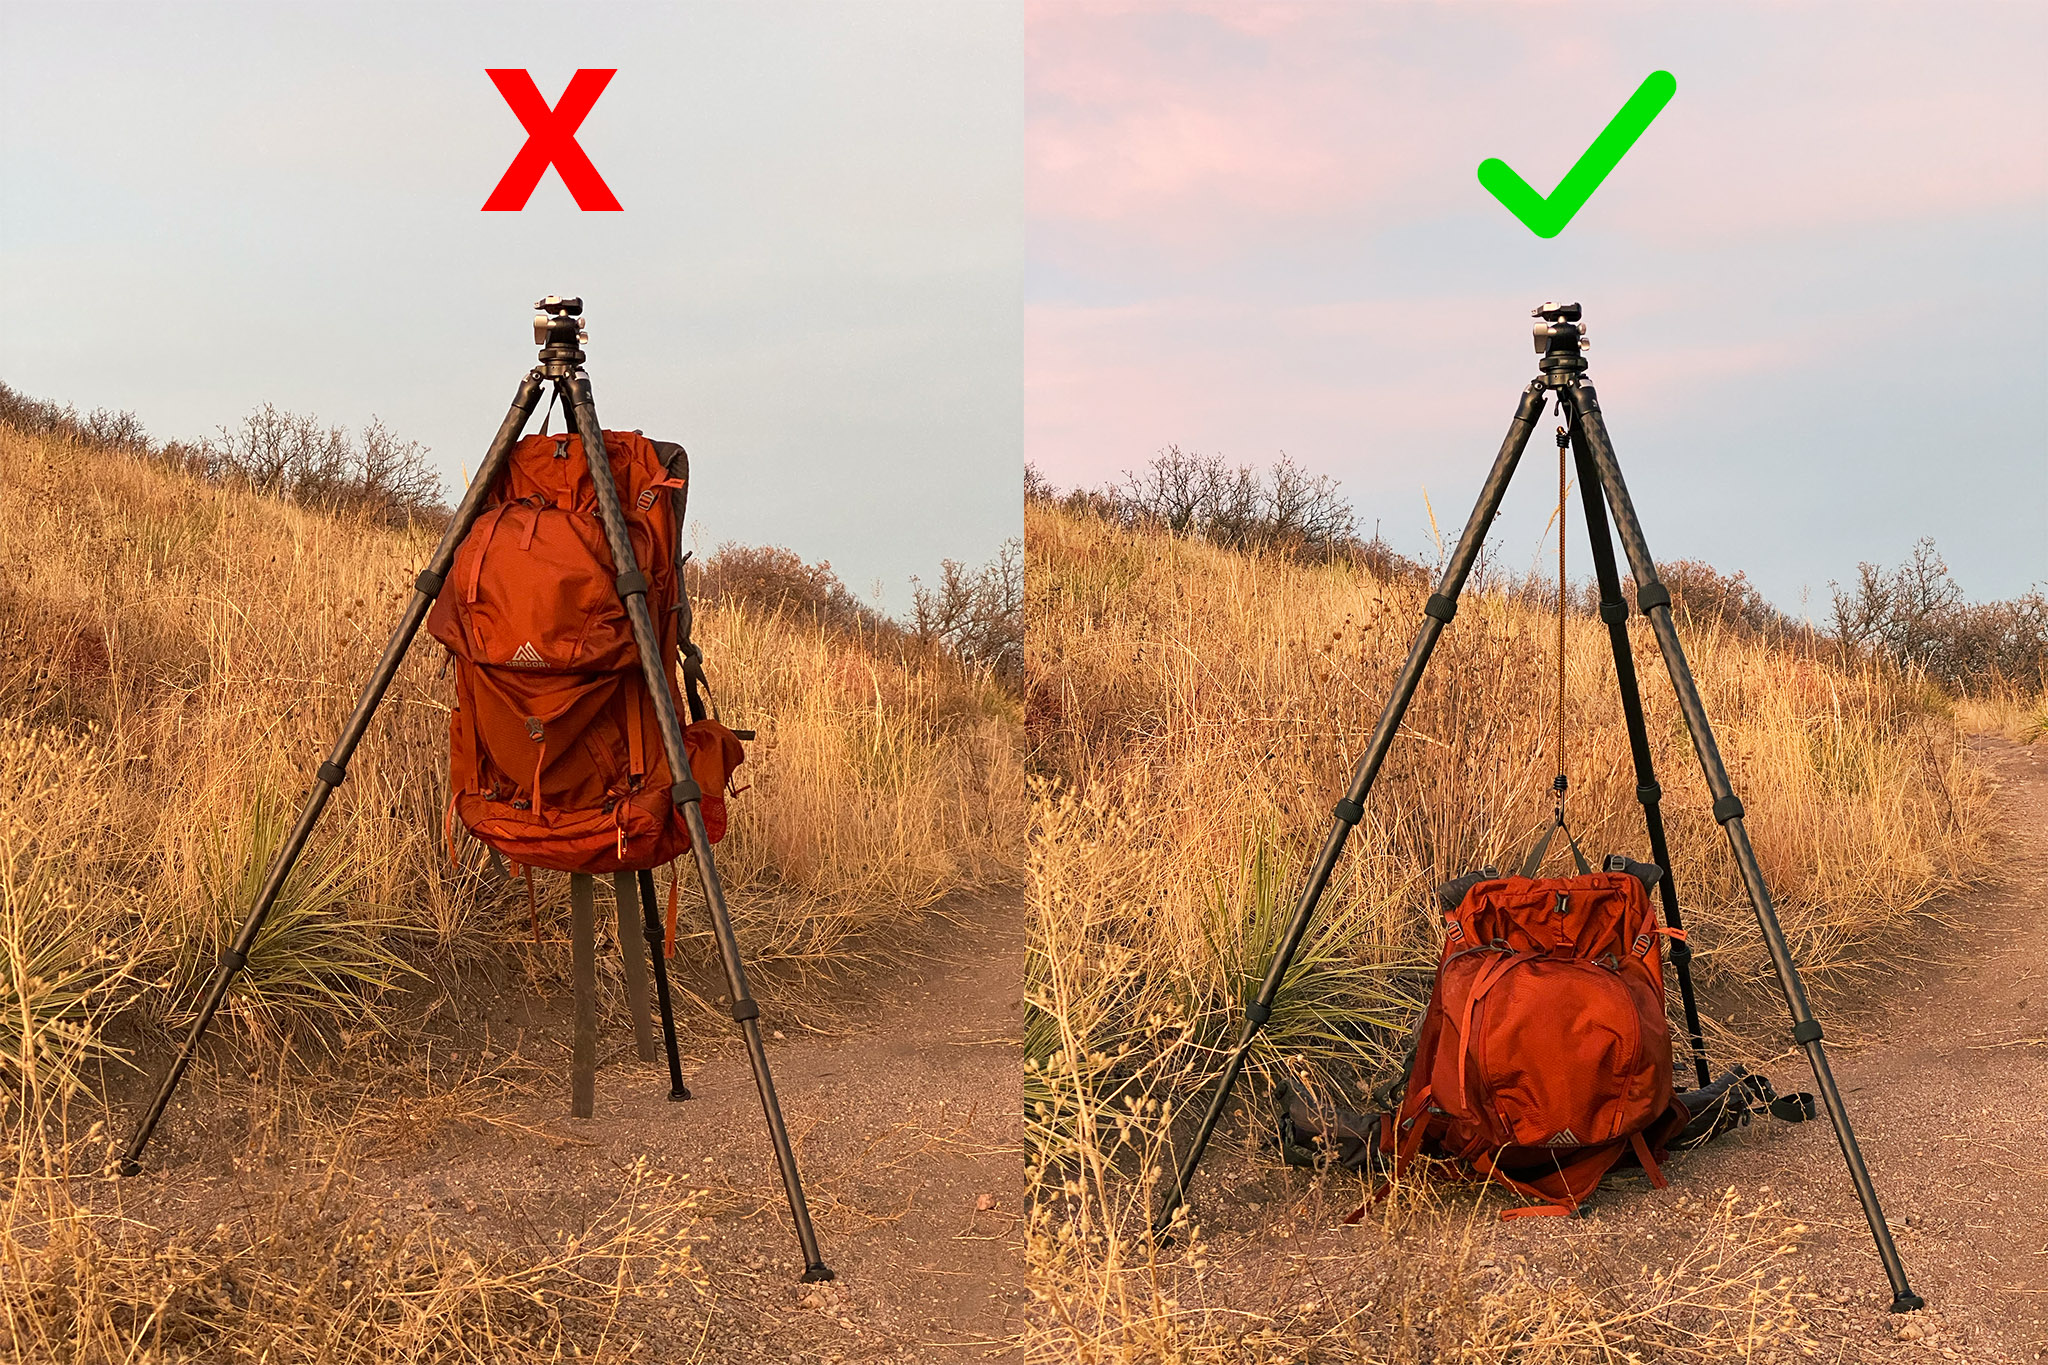
Proper weight distribution keeps the tripod steady. Place the camera in the center. Use a sturdy base. Heavy materials work best. They prevent tipping. Balance is key. Spread the legs wide. Ensure equal spacing. This helps stability.
Anti-slip measures are important. Use rubber pads. They prevent sliding. Firm grip on surfaces. Check the ground first. Avoid slippery spots. Secure the tripod firmly. Test it gently. Make adjustments if needed. Safety comes first. Ensure stability always.

Credit: www.pinterest.com
Testing And Tweaking
Crafting a camera tripod involves adjusting and refining each component for stability. Start by experimenting with different materials and designs. Continuous testing ensures your tripod holds steady during shoots, capturing clear, professional images.
Initial Tests
Start by setting up your homemade tripod. Ensure it stands firm and steady. Place your camera on top. Check if it holds the weight without shaking. Take a test photo. See if the image is clear. If the camera moves, the photo will be blurry.
Making Adjustments
If the tripod wobbles, try adjusting the legs. Make them even and stable. Tighten any loose parts. Use tape or glue for extra strength. Test again with the camera. Ensure that it remains still. Check the photos for any blurriness. Continue to adjust until the camera is stable.
Enhancing Usability
A lightweight tripod is easy to carry. It fits in bags. Materials like aluminum or carbon fiber are good. They are strong and light. Choose a tripod with collapsible legs. It should fold small. This helps in packing. A tripod should have a quick-release system. It saves time. You can set up the camera fast.
A compact design is important. It helps in travel. Look for a tripod with a hook. You can hang it for storage. Some tripods have a carrying case. This protects the tripod. It makes carrying easier. Try to keep your tripod in a safe place. This avoids damage. Always check the tripod’s weight limit. Ensure it supports your camera.
A simple setup is key. Easy to understand. Tripod should have clear instructions. Look for adjustable legs. This helps on uneven surfaces. A fluid head is smooth. It helps in moving the camera. A locking system is necessary. It keeps the camera stable. Make sure the tripod is sturdy. It should not wobble. Test the tripod before using it. Ensure it holds the camera well.
Credit: photographylife.com
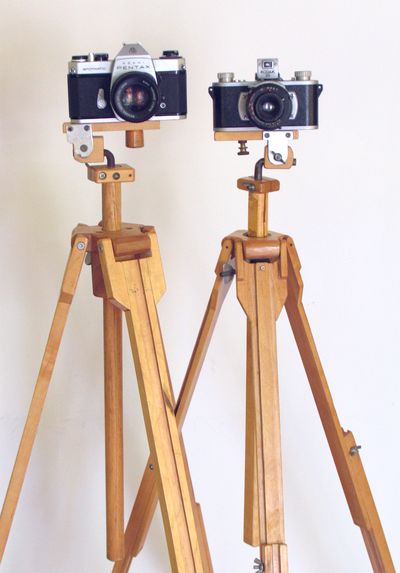
Credit: woodgears.ca
Frequently Asked Questions
How To Make A Diy Tripod?
Use a sturdy stick, rubber bands, and a phone holder. Secure the phone holder to the stick using rubber bands. Ensure the setup is stable. Adjust the height and angle as needed. This simple DIY tripod is perfect for quick photo or video needs.
What To Use As A Tripod If You Don’t Have One?
Use a stack of books or a stable chair as a makeshift tripod. Secure your camera with rubber bands for stability. A sturdy shelf can also serve as a temporary support for capturing steady shots.
How To Mount A Camera Without A Tripod?
Use stable surfaces like tables or shelves to place your camera. Secure it with adhesive mounts or clamps. Utilize a beanbag or sandbag for added stability. Consider using a smartphone holder or DIY solutions like PVC pipe stands for creative mounting options.
Ensure proper angles and safety.
What Is A Substitute For A Tripod?
Use a stack of books, a bean bag, or a sturdy surface as a tripod alternative. A monopod or selfie stick can also provide stability. These options offer convenience and portability for capturing steady shots without a traditional tripod.
Conclusion
Crafting your own tripod can be straightforward and rewarding. You save money. You learn new skills. Plus, you gain a useful tool for better photos. Use common materials like wood or PVC pipes. Follow simple steps. Stability is key. Ensure your camera stays secure.
Always test your tripod before use. Adjust as needed for balance. This DIY project suits beginners and hobbyists. Explore your creativity. Enhance your photography experience with your homemade tripod. Remember, practice makes perfect. Enjoy capturing beautiful moments with your camera.
Happy shooting!