Installing a reverse camera in your car enhances safety. It helps you see what’s behind you while reversing.
This guide will walk you through the installation process step-by-step. Reverse cameras have become a popular addition for car owners. They offer peace of mind by reducing blind spots. Installing one might seem challenging, but it’s manageable with the right tools and instructions.
You’ll need basic tools and a bit of patience. This guide will help you understand each step clearly. From choosing the right camera to connecting it properly, we’ll cover it all. Whether you have prior experience or are a beginner, you’ll find this process straightforward. By the end, you’ll feel confident and ready to install a reverse camera on your own. Let’s get started with making your driving experience safer.

Credit: www.wikihow.com
Table of Contents
Choosing The Right Reverse Camera
There are different types of reverse cameras. Wired cameras connect with a cable. Wireless cameras use signals to show video. License plate cameras fit on the license plate. Bumper cameras are placed on the car bumper. Each type has its own benefits. Choose based on your needs.
Pay attention to the camera’s view angle. A wide angle shows more area. Check for night vision capability. This helps see in the dark. Weather resistance is also important. A good camera can handle rain and dust. Look for easy installation. Some cameras are simpler to install. Make sure the video quality is clear. A clear picture helps while parking.
Gathering Necessary Tools And Materials
Begin with a simple screwdriver. You need it to remove screws. A wire stripper is vital. It helps to strip wires safely. Use a multimeter to check electrical connections. It ensures everything works well. Electrical tape protects wires. It prevents short circuits. A drill creates holes for mounting. Choose a small drill for neat work. A socket wrench helps in tightening bolts. Make sure it’s the right size. Safety goggles protect your eyes. You should wear them while drilling. Gloves keep your hands safe. Stay protected always.
A reverse camera kit is needed. It includes the camera and cables. A monitor displays the camera view. Choose one that fits your dashboard. Use mounting brackets to fix the camera. They ensure a stable hold. Cable ties help organize wires. Keep them neat and tidy. Connectors join wires together. Make sure they are secure. A user manual guides installation. Read it carefully. Follow each step.
Preparing Your Vehicle
Safety is very important. Always start by turning off your car. Make sure the keys are not in the ignition. This will keep you safe from electric shocks. Wear gloves to protect your hands. Use safety glasses to shield your eyes. These are simple steps but very important. Keep them in mind always.
Clean the area where you will install the camera. Use a soft cloth to wipe it. Remove any dust or dirt. This will help the camera stick well. A clean surface is key. It makes the camera work better. Double-check to ensure no dirt is left. A clean spot is the start of a good installation.
Mounting The Camera
First, remove the license plate from the car. Use a screwdriver to take out the screws. Next, attach the camera bracket behind the license plate. Ensure the camera lens faces the rear of the car. Fix the license plate back with the screws.
Choose the bumper or trunk lid for the camera. Drill a small hole for the camera cable. Be careful not to damage the car. Insert the camera through the hole. Secure it with screws or adhesive. Make sure the camera is straight for clear images.
Running The Wiring
Connecting to Power Source is a key step in installing a reverse camera. First, find your car’s fuse box. It’s usually near the driver’s seat or under the dashboard. Choose a fuse that works with the ignition. This ensures the camera only operates when the car is on. Use a multimeter to check the fuse’s power. Connect the camera’s red wire to the fuse using a fuse tap. This will safely draw power. The black wire should connect to a ground point. A bolt on the car’s metal frame works well. Make sure all connections are tight and secure. Loose wires can cause problems. Test everything before closing up the fuse box. Ensure the camera powers on when the car starts.
Routing Through Interior involves careful planning. The wire should run from the camera to the dashboard. Avoid pinching the wire in door frames. Tuck it under the carpet or along the car’s interior panels. Look for existing wire paths used by the manufacturer. These paths are safe and hidden. Secure the wire with clips or zip ties. This keeps it neat and prevents tangling. Check that the wire doesn’t interfere with pedals or other controls. A clean installation looks professional and works well.
Connecting To The Display Unit
Cars have different types of display units. Some have built-in screens. Others use external screens. Common types include dashboard screens and rearview mirror displays. Dashboard screens are located in the center console. They are easy to see. Rearview mirror displays show video directly on the mirror. They don’t take extra space.
Connecting the camera involves wiring techniques. First, find the camera’s wires. Connect them to the display unit. Use proper connectors. Ensure the wires are secure. This prevents loose connections. Follow the wiring diagram if available. It helps avoid mistakes. Check the video feed. Make sure it is clear. If not, adjust the connections.
Testing The System
Initial Power-up is exciting. Turn on the car. Check if the camera shows on the screen. Sometimes, the screen might stay blank. If so, check the wires. Ensure they are connected properly. A good power-up is crucial. It confirms that the setup works.
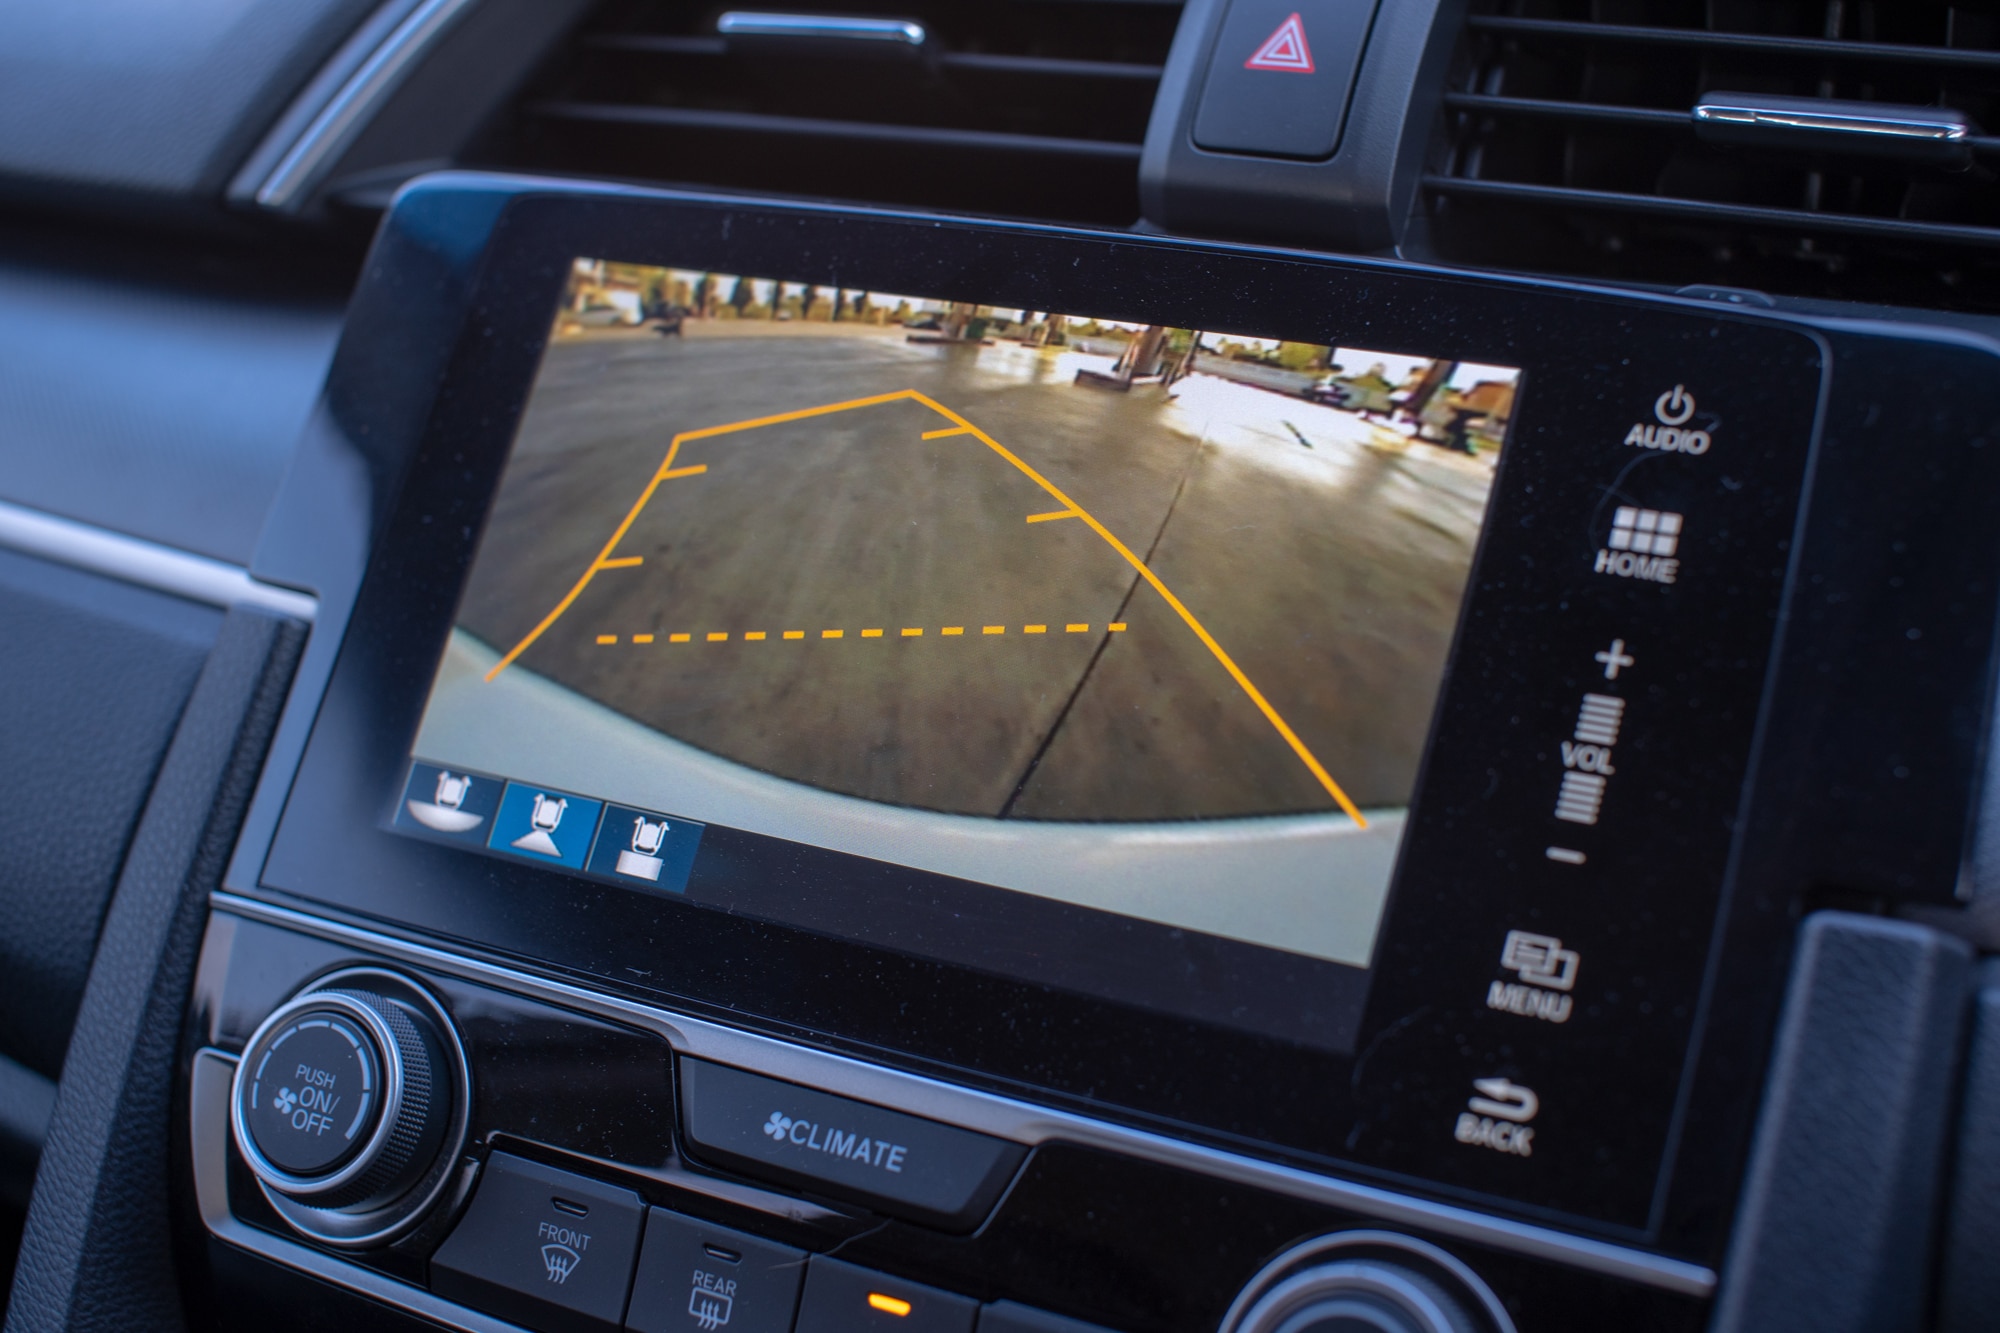
Adjusting Camera View is important. Make sure the view is clear. You should see the road and obstacles. Adjust the angle if needed. Use the settings on your screen. A clear view helps in parking. It also makes driving safer. Always ensure the view is straight. A tilted view can mislead.
Troubleshooting Common Issues
Signal interference can make your camera’s picture fuzzy. Check the wires for twists or breaks. Ensure they are straight and connected well. Using a shielded cable can reduce interference. Try repositioning the camera or antenna for a better signal. This might fix the problem. Test the connection after each change.
Sometimes the screen shows no picture or a blank display. Ensure the camera is on. Check the power connections. They must be secure and tight. Look at the screen settings. Make sure it is on the right input. If the problem stays, test the camera on another screen. This helps to see if the camera is the issue.
Maintaining Your Reverse Camera
Installing a reverse camera enhances safety while driving in reverse. Follow simple installation steps for a clear rear view. Regular checks and cleaning keep the camera functional and reliable.
Regular Cleaning
Keep your reverse camera clean. It helps you see clearly. Use a soft cloth. Wipe the lens gently. Dirt can block your view. Clean it often. Avoid harsh chemicals. They can damage the lens. Always check for dirt before driving. Clean it weekly for best results.
Periodic System Checks
Check the camera system regularly. Ensure cables are secure. Loose cables can cause problems. Test the display screen often. It should show clear images. Update the software if needed. Updates fix bugs and improve performance. Listen for unusual noises. They might signal a problem. A quick check can prevent bigger issues.

Credit: www.cjindustriesaustralia.com
Credit: www.capitalone.com
Frequently Asked Questions
Can You Install Your Own Reversing Camera?
Yes, you can install your own reversing camera with basic tools and vehicle knowledge. Follow the manufacturer’s instructions carefully. Ensure correct wiring and secure the camera properly for optimal performance. Consider professional installation if unsure.
How Much Does It Cost To Put A Back Up Camera In A Car?
Installing a backup camera in a car typically costs between $100 and $500. Prices vary based on camera type and installation complexity. Some high-end models can exceed this range. DIY installations are cheaper, while professional services add extra charges. Always compare options to find the best deal.
Are Reverse Cameras Easy To Install?
Reverse cameras are generally easy to install for most car models. Basic tools and some technical knowledge are needed. Manufacturers often provide detailed instructions. DIY enthusiasts can manage installation, but professional help ensures optimal functionality. Consider compatibility with your vehicle before purchase for a smooth installation process.
Can You Add A Reverse Camera To Any Car?
Yes, you can add a reverse camera to most cars. Choose a compatible camera system for easy installation. Ensure your car has a suitable display or add one. Professional installation may be necessary for optimal results. Reverse cameras enhance safety and convenience, making them a popular upgrade for older vehicles.
Conclusion
Installing a reverse camera enhances your driving safety. It’s a straightforward process. Gather necessary tools and follow the steps carefully. Securely mount the camera on your vehicle. Connect it to the monitor and power source. Double-check all connections for accuracy.
Test the system to ensure it works properly. A properly installed camera provides a clear rear view. This helps prevent accidents and makes parking easier. With patience, anyone can complete this task. Enjoy the added peace of mind and confidence on the road.
A reverse camera truly makes driving safer and more convenient.