Using a shooting tripod improves stability and precision in photography. It’s a vital tool for capturing clear, sharp images.
A shooting tripod is more than just a stand for your camera. It enhances the quality of your shots by providing stability, especially in low-light conditions or long exposures. It helps you maintain consistent framing and composition without the risk of shaky hands.
Learning to use a tripod properly can significantly improve your photography skills. Whether you’re a beginner or seasoned photographer, understanding the nuances of tripod use is crucial. This guide will provide you with insights on setting up and adjusting your tripod for optimal results. You’ll also discover tips to make the most of this essential tool, ensuring your photos always turn out stunning.
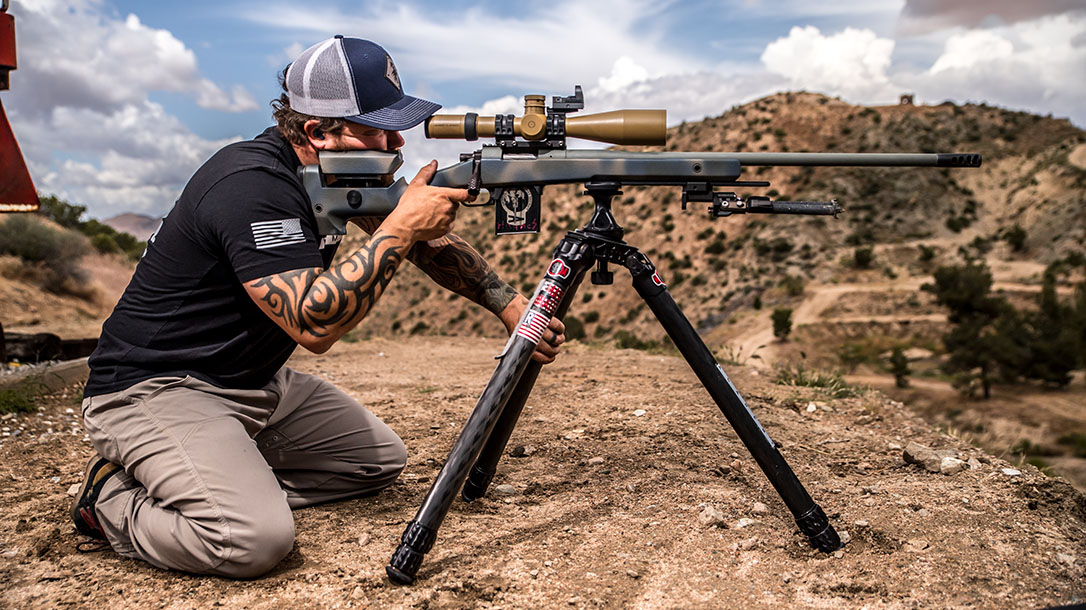
Credit: athlonoutdoors.com
Table of Contents
Choosing The Right Tripod
Tripods can be made from different materials. Aluminum tripods are strong and heavy. Carbon fiber tripods are light and strong. Plastic tripods are cheap and less strong. Choose a tripod that fits your needs. Sturdy tripods help keep your camera steady. Look for strong locks on the tripod legs. Locks must hold the tripod firm.
A lightweight tripod is easy to carry. It’s good for travel. Heavy tripods are stable but hard to carry. Think about how far you will walk. Is the tripod easy to fold? Foldable tripods fit in bags easily. Some tripods have straps. Straps help carry them. Choose wisely for your trips.
Setting Up Your Tripod
Setting up a shooting tripod involves extending the legs to a stable position and securing the camera mount. Adjust the height to your eye level for comfort. Ensure the tripod is on a flat surface to prevent shaking during photography.
Positioning For Stability
A tripod keeps your camera steady. It helps avoid blurry pictures. Place the tripod on a flat surface. This makes it stable. The surface should not be slippery. Avoid uneven ground. Check each leg is secure. This prevents falls. Move the tripod legs apart. Wider legs add stability. Keep the center column low. This adds more strength. Make sure the tripod head is tight. It keeps the camera in place. Remember, safety first. Stability is key for clear photos.
Adjusting Leg Length
Make each leg the right length. This helps balance the tripod. Start with one leg. Extend it to the needed length. Do the same for the other legs. Shorter legs give more support. Long legs work for uneven ground. Adjust the legs carefully. Listen for the lock click. It shows the legs are secure. Uneven legs can cause a fall. Check the height and balance often. Proper leg length ensures good shots.
Securing Your Equipment
Attach the camera firmly to the tripod. This prevents it from falling. Ensure the tripod is stable. Check all knobs and locks. Tighten them properly. Avoid shaky surfaces. A solid ground is best. Use the right plate for your camera. Compatibility is key.
Balance is crucial for clear shots. Adjust the tripod legs evenly. Make sure the camera is level. Use the bubble level if available. Check the weight distribution. Heavy lenses may require extra care. Keep the center of gravity low. Stability matters.
Optimizing For Different Terrains
Tripods help keep cameras steady. They work best on flat ground. Uneven ground can be tricky. Adjust each leg to the right height. Make sure the tripod is stable.
Some tripods have rubber feet. These grip the ground better. Others have spikes for dirt or grass. Choose the right type for your needs.
On slopes, use the tripod’s adjustable legs. Extend one leg longer than the others. This helps the tripod stay level. Check the bubble level on your tripod. It shows if the camera is straight.
Tripods can tilt. Ball heads allow easy angle changes. Adjust the angle to fit the slope. Practice makes perfect.
Enhancing Stability In Windy Conditions
Wind can make shooting tough. A weight hook can help. Most tripods have a hook under the center column. Hang a heavy bag on it. This adds weight and keeps the tripod steady. Use a backpack or a bag of stones. Make sure the weight is secure. It should not swing. This makes shooting easier.
Spikes are good for soft ground. They dig into the ground. This keeps the tripod from moving. Grass and sand are perfect for spikes. Be careful on hard surfaces. Spikes can slip there. Change to rubber feet if needed. This gives better grip on rocks or floors. Always check the ground. Use the right feet for the surface.

Credit: www.rifleshootermag.com
Adjusting For Different Shooting Angles
Adjusting a shooting tripod involves changing angles smoothly for better shots. Twist knobs gently to shift positions. Tilt the head for dynamic views.
Low Angle Shots
Place the tripod low to the ground. This helps in capturing subjects from below. Tilt the camera upwards. This gives dramatic effect. Keep the tripod stable. Stability prevents blurry photos. Use a wide lens for more coverage. It helps in getting more details. Check the camera position. It should be secure and tight. Avoid shaky hands during shots. Practice this setup for better results.
Overhead Shots
Extend the tripod legs fully. Make the camera reach above the subject. Tilt the camera downwards. This captures everything from above. Use a remote for camera control. It avoids movement during shots. Ensure the tripod is sturdy. Stability is key for clear photos. Adjust the camera angle properly. It should focus on the center. Zoom in if necessary. It helps in capturing finer details.
Tripod Maintenance Tips
Keep your tripod clean for better use. Use a soft, damp cloth to wipe it. Dirt can harm the tripod’s joints. A small brush helps clean tight spots. Avoid using harsh chemicals. They can damage the tripod’s surface. Dry the tripod completely after cleaning. Water can cause rust.
Store your tripod in a safe place. Use a tripod bag for protection. Keep it away from moisture. Moisture can cause rust. Store it in a cool, dry place. Avoid leaving it in direct sunlight. Sun can fade and weaken the tripod. Always fold the tripod neatly. This keeps it in good shape.
Common Mistakes To Avoid
Avoid common errors like unstable setup when using a shooting tripod. Ensure firm ground and tighten all joints securely. Check balance frequently to maintain focus and precision in your shots.
Overloading The Tripod
Tripods have a weight limit. Never put too much weight on it. Your camera equipment should be lighter than the limit. Heavy gear can make the tripod fall. This could break your camera. Always check the tripod’s weight limit. Keep it safe and steady.
Improper Leg Extension
Always extend the legs properly. Uneven legs make the tripod wobble. Secure each leg tightly. This keeps the camera steady. Avoid extending legs fully in windy places. It helps the tripod stay firm. Proper leg extension ensures good shots.

Credit: www.gregmchaleswildyukon.com
Frequently Asked Questions
How Do You Use A Tripod For Beginners?
Place the tripod on a stable surface. Extend its legs evenly. Attach your camera securely. Adjust the height and angle. Use the tripod’s pan and tilt features for smooth movements. Ensure everything is locked tightly before shooting.
What Is The Correct Position For Shooting A Tripod?
Position the tripod on a stable, level surface. Adjust the legs for balance and desired height. Ensure the camera is securely attached. Use the bubble level to maintain evenness. Extend the legs fully in windy conditions for stability. Keep the tripod head aligned with the subject for optimal shots.
How Do You Use A Tripod Support?
To use a tripod, extend the legs to the desired height. Secure them tightly. Attach your camera or device to the tripod head. Adjust angles using the tripod head controls. Ensure stability by checking the tripod’s position. Use the built-in level for alignment.
How To Use A Tripod Stand To Take Pictures?
Extend the tripod legs to your desired height. Secure your camera on the tripod mount. Adjust the camera’s angle using the tripod head. Ensure the tripod is stable on the ground. Use a remote shutter or timer for sharper images.
Conclusion
A shooting tripod is a handy tool for stable shots. Practicing makes using it easier. Adjust the height and angle for the best view. Ensure the tripod is secure before shooting. This enhances safety and accuracy. Lightweight tripods are great for travel.
Remember, patience is key. Take your time to set up each shot. The right tripod can improve your shooting experience. Explore different tripod types for your needs. Enjoy sharper photos with less blur. Keep experimenting for better results. Happy shooting!