If you love photography, you know how important it is to protect your camera. A camera pouch keeps your device safe from scratches, dust, and minor bumps. Making your own pouch is simple, cost-effective, and lets you customize the style and fit. In this guide, you’ll learn step-by-step how to create a camera pouch that suits your needs, even if you have little sewing experience.
Table of Contents
Materials You Need
To start, gather these items:
- Soft fabric (like felt, neoprene, or cotton)
- Padding material (foam or thick fleece)
- Thread and needle or a sewing machine
- Scissors
- Velcro, zipper, or button for closure
- Measuring tape
A typical camera pouch uses about 12 x 18 inches of fabric and 10 x 15 inches of padding. Choose colors and patterns you like. Neoprene is ideal for shock protection, but fleece is softer and easier to sew.
| Material | Protection Level | Difficulty |
|---|---|---|
| Felt | Basic | Easy |
| Neoprene | High | Medium |
| Cotton | Low | Easy |
Step-by-step Instructions
- Measure your camera. Use a measuring tape to check the length, width, and depth. Add 1 inch to each side for seam allowance and padding.
- Cut fabric and padding. Cut the fabric and padding according to your measurements. For extra protection, double the padding.
- Layer and pin. Place padding between two fabric pieces. Pin edges to hold them together.
- Sew edges. Sew along the edges, leaving one side open for your camera to slide in. Use a zigzag stitch for strength.
- Attach closure. Sew Velcro, a zipper, or a button to the open side. Velcro is quick and easy, but a zipper gives a tighter seal.
- Trim and finish. Trim any loose threads and check seams for gaps.
| Closure Type | Security | Ease of Use |
|---|---|---|
| Velcro | Moderate | Easy |
| Zipper | High | Medium |
| Button | Low | Easy |
Credit: www.kentfaith.com
Tips For Beginners
- Double-check measurements before cutting.
- If you’re new to sewing, start with felt and Velcro.
- Add a small pocket for memory cards or batteries.
Many beginners skip padding, but this reduces protection. Using two layers of foam inside the pouch can prevent damage from drops. Also, making the pouch slightly larger helps if you upgrade your camera later.
Why Make Your Own Camera Pouch?
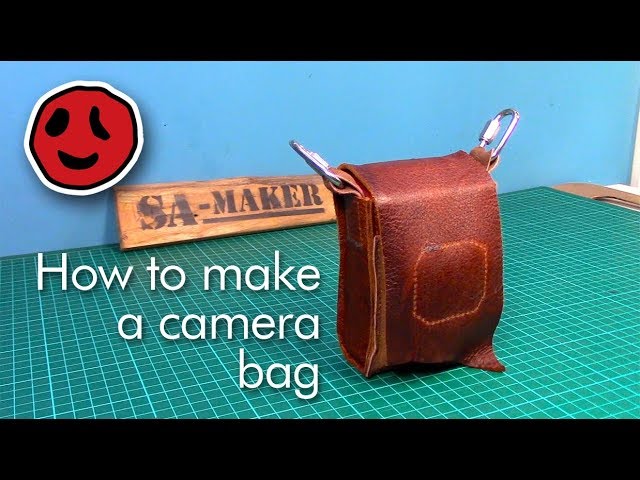
Store-bought pouches can cost $15–$50, but homemade ones cost less than $5. Customizing lets you match the pouch to your camera size and style. For more ideas, see DIY Camera Bag Tutorials.
Credit: www.youtube.com
Frequently Asked Questions
How Much Time Does It Take To Make A Camera Pouch?
Most pouches take about 30–45 minutes to make, depending on your sewing skills.
What Fabric Is Best For Camera Protection?
Neoprene offers the best shock protection, but felt is easier for beginners.
Can I Wash My Homemade Camera Pouch?
Yes, you can wash most fabric pouches. Avoid hot water if you used foam padding.
Do I Need A Sewing Machine?
No, you can sew by hand. However, a sewing machine makes the process faster and neater.
Will The Pouch Fit Different Camera Models?
If you add extra space when measuring, your pouch can fit cameras of similar size. Always check before sewing.
Making a camera pouch is easy and rewarding. With a little effort, you’ll protect your camera and express your personal style.