Mounting your Ring Indoor Camera Gen 3 can make your home safer and give you peace of mind. With its compact design and improved motion detection, this camera is ideal for keeping an eye on rooms, hallways, or entryways. Many people worry about installation, but the process is straightforward with the right steps and a few simple tools. This guide will help you mount your camera securely, avoid common mistakes, and get the best view for monitoring your space.
Table of Contents
What You Need Before Mounting
To mount your Ring Indoor Camera Gen 3, gather these items:
- The camera and mounting kit (included in the box)
- A screwdriver
- A drill (for wall mounting)
- Anchors (for drywall or plaster)
- Your smartphone with the Ring app installed
Check the camera’s Wi-Fi signal strength in your chosen spot. Weak signal can lead to missed alerts. Use the Ring app to test this before mounting.
How To Mount Ring Indoor Camera Gen 3
Choose a location with a clear view, away from direct sunlight or heat sources. Wall mounting is common, but you can place it on a flat surface.
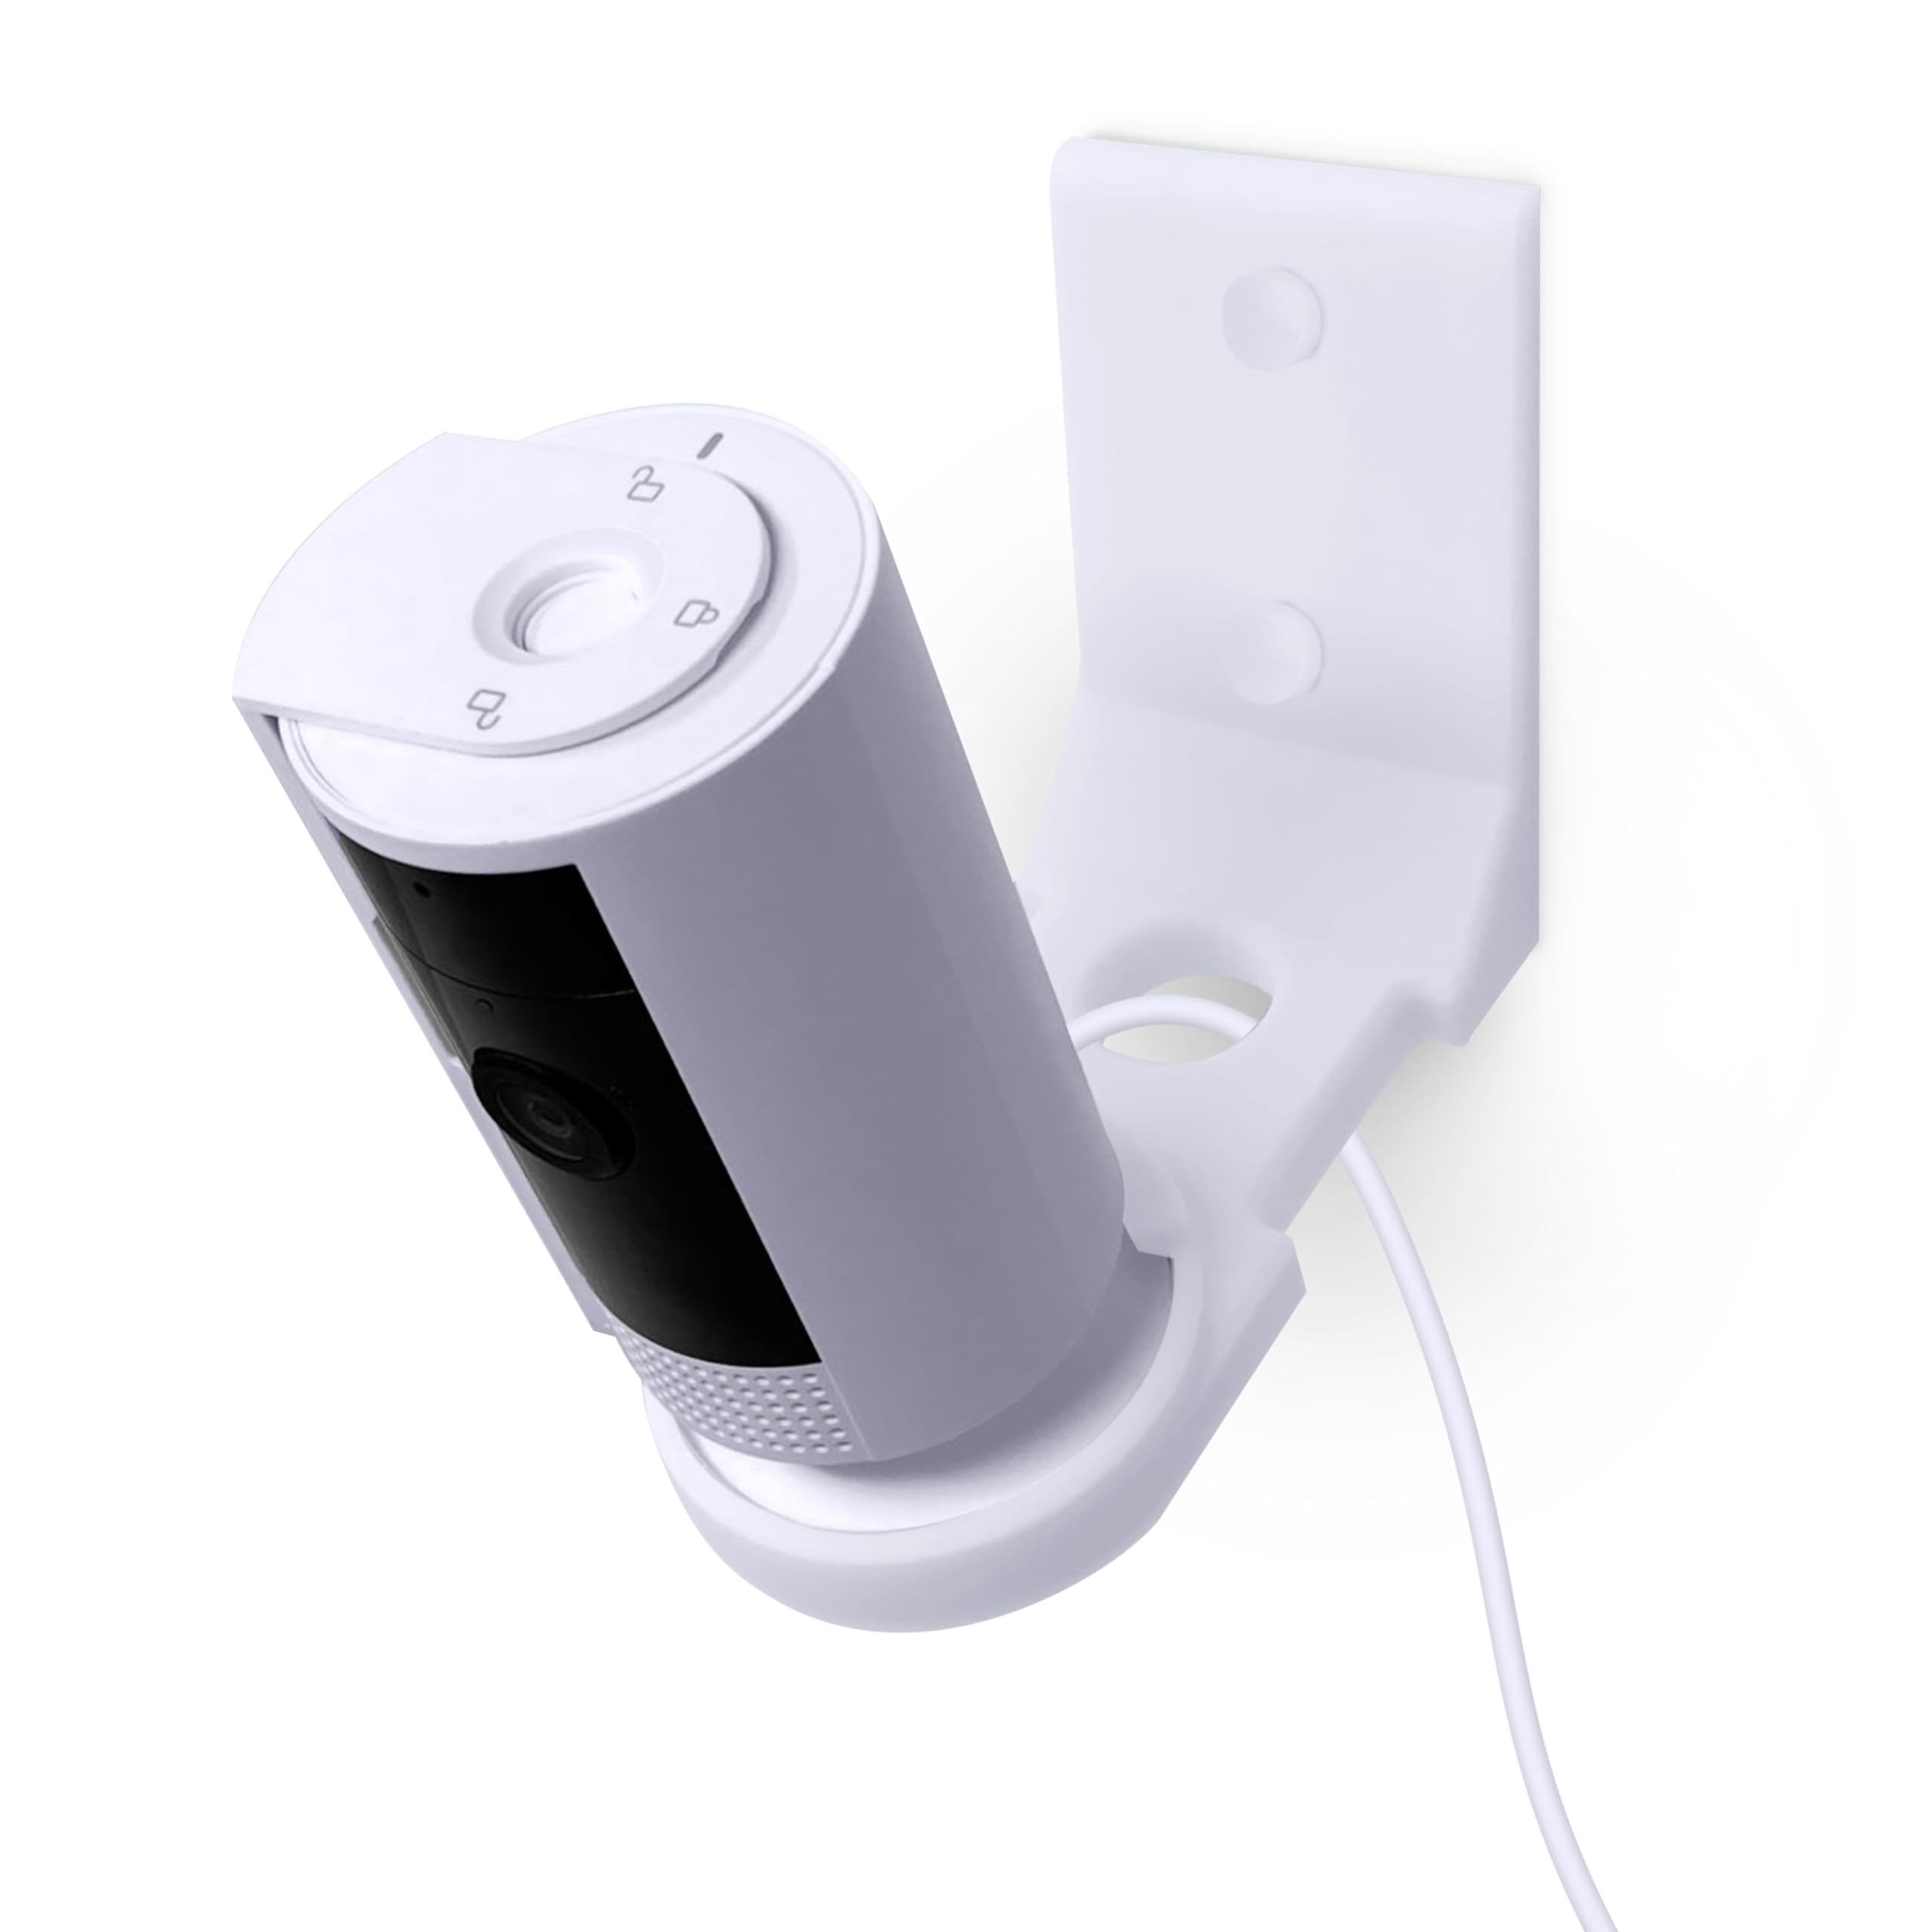
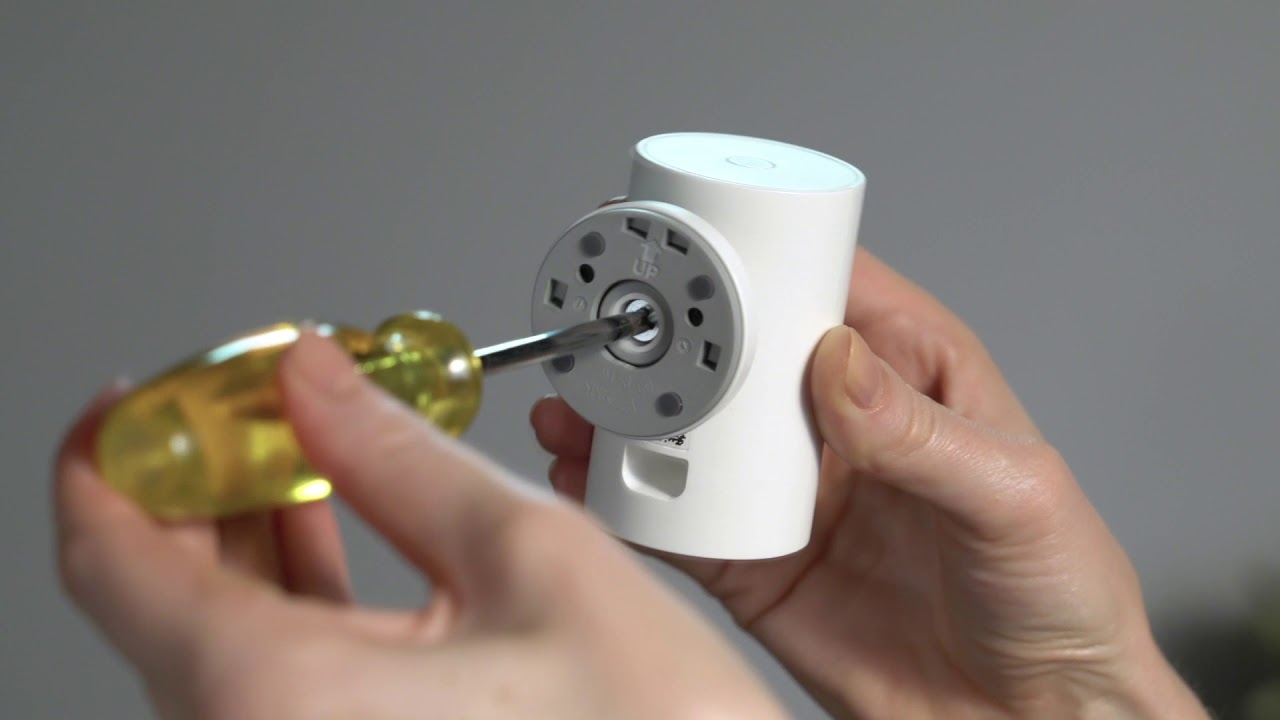
- Mark the spot: Hold the mounting bracket against the wall and mark the screw holes.
- Drill holes: For drywall, use anchors. For wood, anchors aren’t needed.
- Attach bracket: Screw the bracket firmly into place.
- Connect camera: Snap the camera onto the bracket. Adjust the angle for best coverage.
- Plug in and set up: Connect the power cable, and use the Ring app to finish setup.
Here’s a quick comparison of surface vs wall mounting:
| Mount Type | Stability | Field of View |
|---|---|---|
| Flat Surface | Moderate | Limited |
| Wall Mount | High | Wide |
Credit: www.amazon.com
Tips For Best Performance
- Place the camera at least 6 feet above the floor for a good view.
- Avoid corners, which reduce field of vision.
- Use the Ring app’s live view to check camera placement before finalizing.
- If you use multiple cameras, stagger their angles to avoid blind spots.
Here’s a quick comparison of recommended heights:
| Height | Coverage | Detection Accuracy |
|---|---|---|
| 3 feet | Low | Poor |
| 6 feet | High | Good |
| 8 feet | Max | Best |
A non-obvious tip: Mounting near a power outlet avoids messy extension cables. Also, check for obstructions like shelves or plants that might block the view.
Frequently Asked Questions
How Long Does Installation Take?
Most users finish mounting in 15–20 minutes. Drilling or finding studs may add time.
Can I Mount The Camera Without Drilling?
Yes. The camera can sit on a flat surface, but wall mounting is more secure.
Is The Camera Weatherproof?
No. Ring Indoor Camera Gen 3 is for indoor use only.
What If My Wi-fi Signal Is Weak?
Try moving your router closer or use a Wi-Fi extender. For more tips, see Ring Support.
Can I Move The Camera After Mounting?
Yes. The camera detaches easily from the bracket, letting you reposition as needed.
Mounting your Ring Indoor Camera Gen 3 is simple when you follow these steps. Careful placement and setup ensure you get clear coverage and reliable alerts. By avoiding common mistakes and making smart choices, you’ll enjoy better home security and peace of mind.
Credit: www.youtube.com