Fixing a camera on a Mac can be simple. Often, it involves basic troubleshooting steps.
Understanding the common issues can help you resolve them quickly. Many Mac users face camera problems. These can include poor image quality or a non-functioning camera. A malfunctioning camera can disrupt video calls or recordings. But don’t worry, solutions are usually straightforward.
This guide helps you diagnose and fix these issues. We’ll explore settings adjustments and software updates. Sometimes, it’s about checking permissions or restarting the system. Other times, it’s about resetting the Mac’s system management controller. By following these steps, you can often restore your camera to full functionality. Let’s dive into how you can fix your Mac’s camera efficiently.

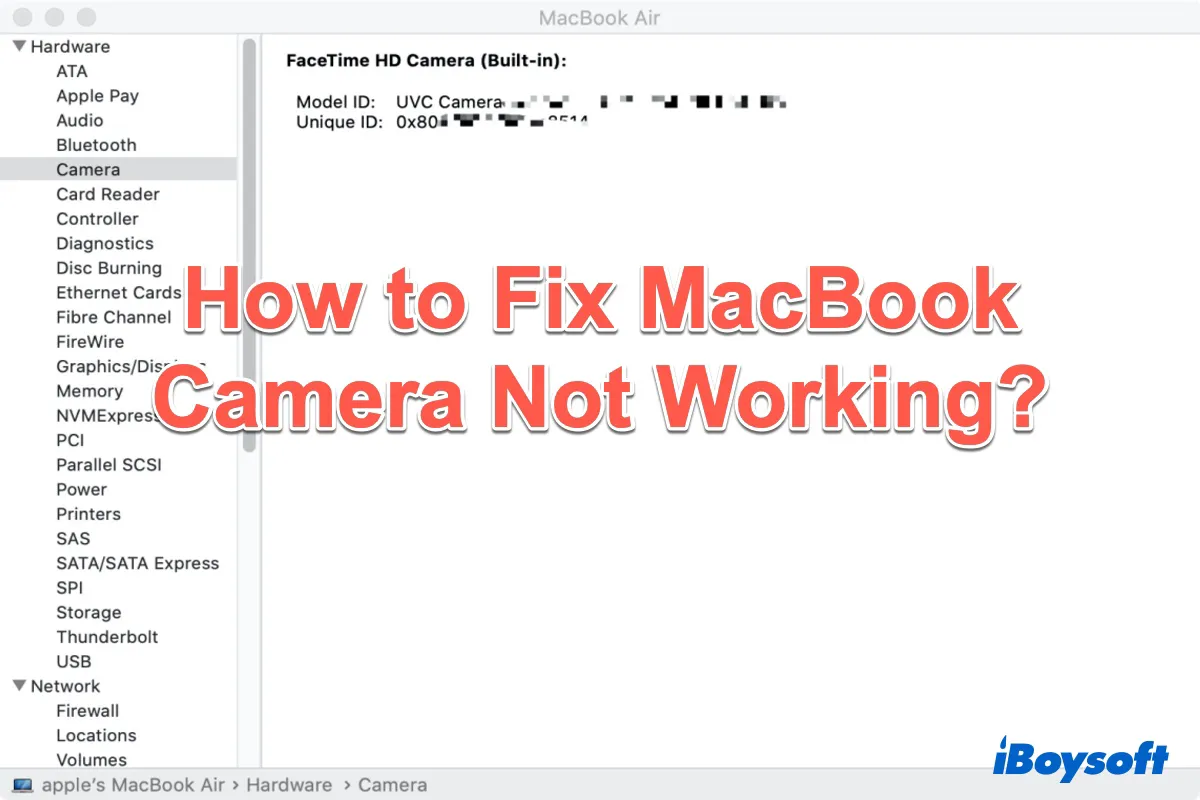
Credit: iboysoft.com
Table of Contents
Common Camera Issues On Mac
Fixing a camera on a Mac involves addressing common issues like software glitches and hardware problems. Start by checking camera permissions in system settings. Updating software or restarting the computer can often resolve the issue.
Software Conflicts
Some apps may block the camera. Restart the app to fix it. Check app settings for camera access. Update the app if needed. MacOS updates can also help. They fix many bugs. Check for updates regularly. Sometimes, a simple restart can solve the problem.
Hardware Malfunctions
Dust can cover the camera lens. Clean it with a soft cloth. Loose cables can cause issues. Check all connections. Restart your Mac to refresh hardware settings. Check for physical damage. If the camera doesn’t work, it may need repair. Apple support can guide you. Follow their steps carefully.

Credit: setapp.com
Checking System Preferences
Go to System Preferences on your Mac. Click on the Security & Privacy icon. Find the Camera tab on the left. Check if the box is ticked for your app. Apps need permission to use the camera. If it’s not ticked, click to allow.
Privacy settings might block your camera. Open System Preferences again. Click on Security & Privacy. Choose the Privacy tab. Scroll to Camera settings. Ensure your app is allowed. You might need to unlock settings. Click the lock icon at the bottom. Enter your password if prompted. Then make changes.
Updating Macos
Open the Apple menu and select System Preferences. Click on Software Update. Your Mac will check for updates. Wait until the search is complete. If an update is available, it will show up. Make sure your Mac is connected to the internet. Without internet, the update won’t work.
Click on the Update Now button to install the latest version. Follow the on-screen instructions. Your Mac might restart. Don’t worry, it’s normal. Ensure your Mac is plugged in or has enough battery. Updates can take some time. Be patient. After updating, check if the camera works.
Resetting The Camera
Terminal is a tool on your Mac. It helps fix camera problems. Open it by searching “Terminal” in the spotlight. Type sudo killall VDCAssistant and press enter. This command stops a service related to the camera. Next, type sudo killall AppleCameraAssistant. This also helps reset the camera. After typing these commands, close the terminal.
Sometimes, services need a restart. Click on the Apple logo. Choose “Restart” from the menu. Wait for the computer to restart. This can refresh the system. It may help the camera work again. If the camera still doesn’t work, check for updates. Go to “System Preferences” and select “Software Update”. Keeping your Mac updated can solve many issues.
Testing With Different Applications
Open FaceTime on your Mac. Look for the video icon. Click it to start a call. Check if your camera shows your face. If not, go to settings. Make sure the camera is selected. Sometimes, restarting FaceTime helps.
Download a third-party app from the App Store. Install it on your Mac. Open the app and allow camera access. Try a video call or a selfie. If the camera still does not work, the issue might be with the camera itself. Some apps also have camera settings. Check them for any issues.
Troubleshooting External Cameras
Make sure the camera is plugged in. Use a working USB port. Check if the cable is damaged. Replace it if needed. Try another USB port if the camera still does not work. Restart your Mac after plugging in the camera. Sometimes, this helps the computer recognize the device. Use a powered USB hub if the camera needs extra power.
Confirm the camera works with your Mac. Check the camera’s manual for details. Some cameras need special drivers. Download them from the camera maker’s website. Ensure the Mac’s software is up-to-date. Older systems might not support new devices. If the camera is incompatible, consider using a different one that works with Mac.
Reinstalling Camera Drivers
Finding the camera driver files is simple. Start by opening the Finder app. Search for Library and then Extensions. These folders contain important files. Be careful when you browse these folders. Find the camera driver file. This file needs reinstallation.
Start by deleting the current camera driver file. Move it to the trash. Next, download the latest driver from the official website. Follow the steps on the website. Install the driver carefully. Restart your Mac once the installation is complete. Check if the camera works. This process often fixes camera issues.
Seeking Professional Help
Apple Support can help with camera issues. Visit their website for solutions. You can also call them. Have your device serial number ready. This helps them find the problem faster. They might suggest steps to fix it at home. If not, they will guide you on what to do next.
The Apple Store has experts to fix your camera. Book an appointment online first. This ensures you get help quickly. Bring your Mac with you. Explain the problem clearly to the staff. They may fix it on the spot. If not, they will tell you the next steps.

Credit: setapp.com
Frequently Asked Questions
How Do I Fix My Camera On My Mac?
Restart your Mac and check camera settings in System Preferences. Update macOS and ensure apps have camera access. If issues persist, reset SMC and PRAM.
Why Is My Apple Camera Not Working?
Check your camera settings, update iOS, or restart your device. Ensure no apps block camera access.
How Do I Reset My Mac Webcam?
To reset your Mac webcam, restart your Mac and check System Preferences. Update macOS if necessary. Alternatively, reset the SMC by shutting down, unplugging, and holding the power button for 10 seconds. Ensure applications using the webcam are closed. Reconnect and test your webcam functionality.
How To Enable Camera On Mac?
Open “System Preferences” on your Mac. Click “Security & Privacy,” then “Camera. ” Check the box to enable camera access for your apps.
Conclusion
Fixing a camera on a Mac can seem tricky. But it’s doable. Start with simple checks like app permissions. Restart your Mac if needed. Update your operating system regularly. This keeps the camera software fresh. If problems persist, try resetting the SMC and PRAM.
Sometimes, a third-party app causes issues. Remove it and see if the camera works. Remember, patience is key. Follow these steps, and your camera should work fine. If all else fails, consider professional help. A working camera enhances your Mac experience.
Happy video calling!